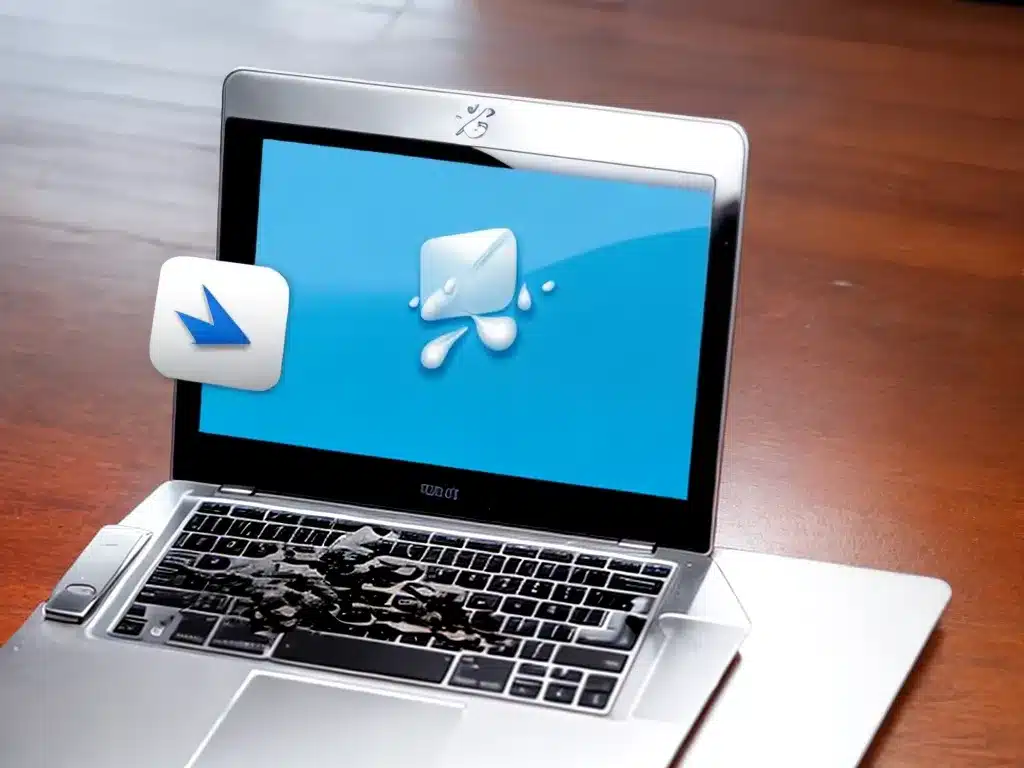
Spilling water or any other liquid on your laptop can be a nightmare. Electronics and liquids don’t mix, and a spill can easily fry components and render your laptop unusable. However, with some quick action, you may be able to save your laptop and avoid an expensive repair or replacement. Here’s what you need to know about how to handle a laptop spill:
Assess the Situation
When you first spill a liquid on your laptop, your first reaction may be panic. But try to stay calm and take quick action. Here are the steps to follow:
1. Unplug the Laptop Immediately
As soon as you realize liquid has been spilled, unplug your laptop from any power source. This will prevent shorts and fires that could be caused by liquid meeting electricity.
2. Turn the Laptop Off
If your laptop is still on, press and hold the power button to shut it down. Turning off the device will minimize any potential damage. Don’t worry about losing unsaved work – your data is less important than saving your hardware.
3. Remove the Battery
Flip over your laptop and locate the battery release latch. Slide it to release the battery, then gently remove the battery from its housing. This will prevent electrical shorts and damage.
4. Assess the Amount of Liquid
Is it a few droplets or did you knock over an entire glass? The amount spilled will determine your next actions. A minor spill can often be resolved by draining and drying out, while a major spill may require professional cleaning.
Drain Excess Liquid
Once you’ve turned off and unplugged your laptop, the next step is to drain away any pooled liquid:
-
Tilt the machine – Gently tilt your laptop back and forth and side to side to allow liquid to drain from all areas.
-
Blot with towels – Use a dry, soft lint-free cloth or paper towels to blot up any pools of liquid on the keyboard, screen, and casing.
-
Shake gently – With the battery removed, gently shaking your laptop may help dislodge droplets trapped under keys or the casing.
-
Do not wipe – Wiping can push liquid further inside your machine. Only blot to soak up liquid.
-
Dry any wet spots – Use a different dry cloth to absorb moisture from any damp areas after draining. Getting up all visible moisture is key.
Dry Out the Laptop
Drying your laptop is critical to avoid permanent water damage. Here are tips for effective drying:
Let It Air Dry
Leave your laptop open in an upright position and allow it to completely air dry before turning it on. This could take 1-2 days if the spill was moderate. Place it on an elevated, dry surface. Point a fan directly at it to speed up drying.
Use Desiccant Packs
Place desiccant moisture absorber packs (like silica gel packs) around your laptop to aid drying. These will help draw out lingering moisture from inside.
DO NOT Use an External Heat Source
Avoid using a hairdryer, heating pad, or other source of extreme heat to dry out your laptop. The heat can damage internal components. Air drying is best.
Clean Out All Liquid Residue
Once your laptop is fully dry, it’s time to clean:
-
Use cotton swabs dipped in isopropyl alcohol to swab under keys, around vents, or other small areas. This will clean traces of sugary liquids that can leave residue.
-
For sticky keys, spray electronic contact cleaner under keys to free up movement. Press keys repeatedly to work the cleaner in.
-
If liquid leaked under the keyboard, you may need to remove the keyboard to clean underneath. Look up your model for instructions.
-
Vacuum ventilation holes to remove any dust or liquid trapped inside.
Thoroughly cleaning all areas of potential liquid residue reduces the risk of corrosion over time.
Inspect for Damage
Before turning your laptop back on after a spill, inspect it carefully for any apparent damage:
- Remove RAM, wireless card, etc and check for hidden liquid
- Examine ports and connectors for moisture or corrosion
- Check for keyboard issues, screen artifacts, bezel damage
- Try reconnecting the battery and adapter to check for issues
- Any sign of visual damage is a red flag. You may need professional repair.
If everything looks dry and undamaged, it’s safe to reassemble and reboot. However, liquid spills can cause issues over time so continue monitoring closely.
When to Seek Repair
In some cases, a serious liquid spill requires more than DIY repairs:
- Liquid reached internal components like the motherboard
- Corrosion is visible on electronics
- Shorts, electrical issues, or random crashes start happening
- The laptop won’t power back on after drying
Seeking professional repair is wise if moisture reached inside the laptop or caused any apparent damage. The cost is often worth recovering your data and restoring performance.
Preventing Future Spills
While accidents happen, you can take measures to avoid repeats:
- Never eat or drink over your laptop
- Close water bottles before putting them in a laptop bag
- Keep laptop on stable surfaces and away from table edges
- Consider a waterproof laptop case or skin for extra protection
A bit of caution goes a long way in keeping liquids far from your electronics. But if disaster strikes again, just stay calm and follow these steps to give your laptop the best chance of survival!

