What causes an optical drive to jam?
An optical drive can jam for a few different reasons:
-
Dust and debris – Dust, dirt, and hair can get caught in the optical drive and cause it to jam. This is especially common if you use your laptop in dusty environments.
-
Misaligned or bent parts – The intricate moving parts inside an optical drive are sensitive. If something gets knocked out of alignment, it can cause jams.
-
Faulty motors or belts – Optical drives use little motors and belts to move parts back and forth. If these components become worn out or defective, it can cause the drive to jam.
-
Damaged or warped discs – If you insert a disc that is badly scratched, warped, or otherwise damaged, it may jam the drive as it struggles to read it.
-
Problem with the drive sled – The sled is the moving tray that pulls discs into the drive. If it gets stuck or bent, it can cause jams.
How to fix a jammed optical drive
If your laptop optical drive is jammed, here are some steps you can take to try and fix it:
1. Remove any discs
- If there is a disc still inside the drive when it jams, you’ll need to remove it before proceeding.
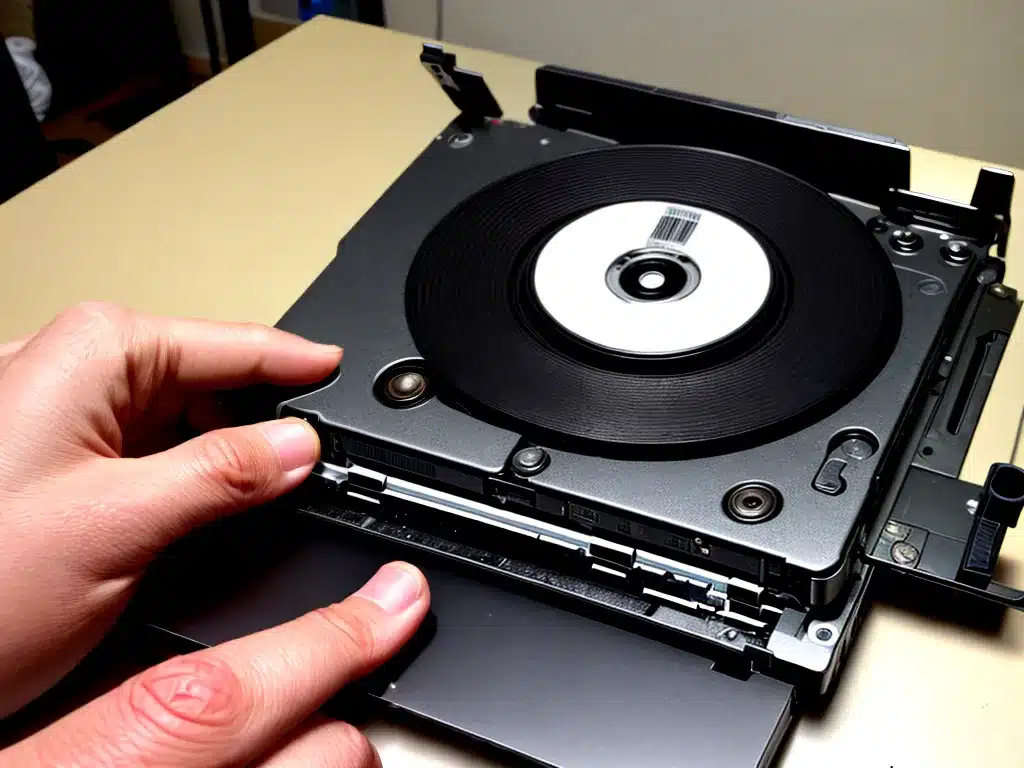
- Carefully insert an unfolded paperclip into the manual eject hole on the drive bay. This will release the disc tray.
- If that does not work, you may need to disassemble the drive bay to remove the disc. Refer to your laptop’s service manual for instructions.
2. Clean the drive
- Use a cotton swab dipped in rubbing alcohol to clean the lens and the interior of the drive bay.
- This will remove built-up dust, grime, and debris that could be causing friction and jams.
3. Check for obstructions
- Closely inspect the drive bay and mechanism for any obstructions.
- Look for things like pieces of broken discs, stray screws or brackets that may have come loose inside the drive.
- Remove any debris that could be causing interference.
4. Test the drive motor and belt
- The drive motor spins the disc. The belt connects the motor to the disk tray.
- Try ejecting a disc with the computer powered off. If it ejects normally, the motor and belt are likely fine.
- If the tray does not open, the drive motor or belt may need to be replaced. This requires disassembling the drive.
5. Realign drive parts
- With the drive disassembled, look closely for any parts that may have become misaligned.
- Gently bend them back into their proper position using tweezers.
- This includes the sled, motor, gears, and lens assembly.
6. Update drive firmware
- Outdated firmware can sometimes cause glitches that result in jams.
- Download and install the latest firmware update for your optical drive model.
7. Replace the drive
- If cleaning, realigning, and updating the drive does not help, the unit itself may just be defunct.
- Optical drives are inexpensive and easy to replace in most laptops. Purchase a compatible replacement drive.
Tips to prevent future jams
- Use compressed air to routinely blow out dust.
- Avoid moving your laptop while the drive is active.
- Only use discs that are in flawless condition.
- Install firmware updates for your optical drive.
- Handle discs by the edges and store them in cases.
With some troubleshooting and cleaning, you should be able to get your laptop optical drive working smoothly again. But if not, replacing the drive yourself is usually a simple and affordable fix.

