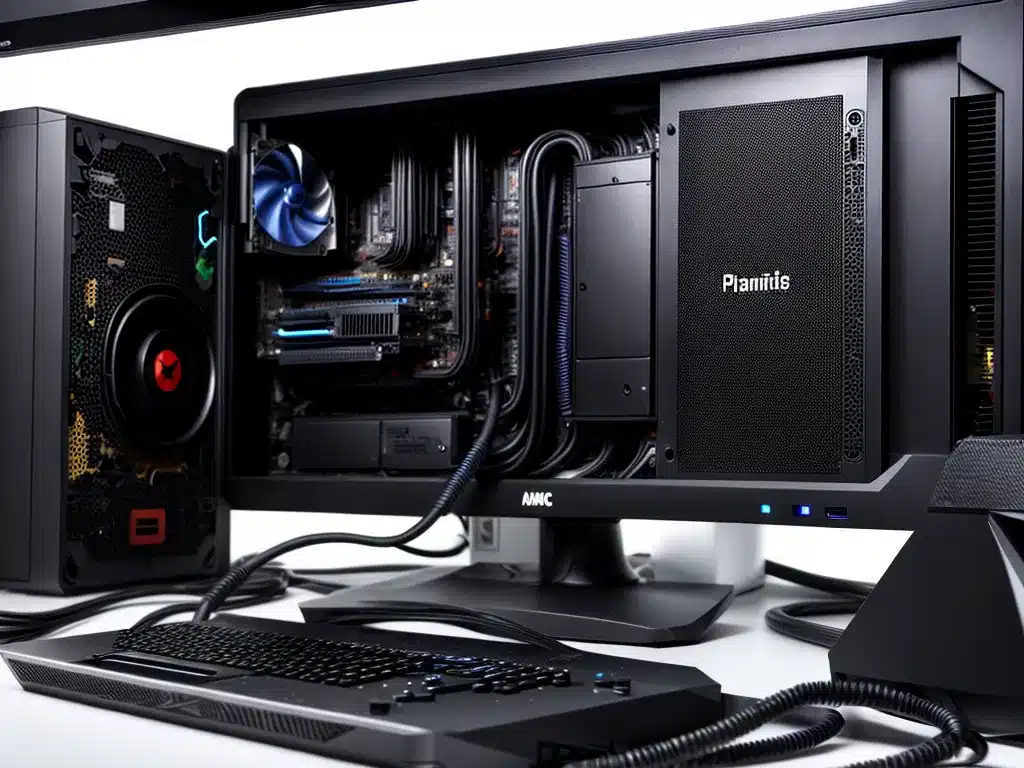
Why Cleaning PC Dust is Important
Keeping my PC clean and dust-free is critical for optimal performance and longevity. Accumulated dust in a PC can lead to overheating, hardware failure, and stability issues. As such, regular cleaning and dust removal is an important part of PC maintenance.
Some key reasons why I need to keep my PC dust-free:
- Dust buildup in fans and heat sinks leads to poor ventilation and overheating. This can cause PC crashes, component damage, and shortened hardware lifespan.
- Dust accumulation on components like the motherboard can lead to short circuits and electrical failures.
- Thick layers of dust act as insulation, trapping heat inside the case rather than allowing it to dissipate.
- Dust blocks airflow and causes the fans to work harder, leading to excess noise.
- Dust can damage sensitive components like CPUs and GPUs if it gets into sockets and ports.
So keeping my PC clean protects my investment in the hardware, ensures optimal performance, and improves reliability and longevity.
Safely Preparing for PC Cleaning
Before cleaning the dust out of my PC, I need to take some safety precautions:
- Unplug the power cable and turn off the PSU to avoid electric shocks.
- Remove any batteries from the motherboard to prevent short circuits.
- Discharge static electricity from my body by touching a grounded metal object.
- Have a magnetic screwdriver to safely handle components.
- Open the side panel to access the insides but avoid touching sensitive parts unnecessarily.
- Ensure proper ventilation while cleaning to prevent inhaling dust.
- Have cleaning supplies ready – compressed air can, microfiber cloth, isopropyl alcohol, etc.
I also make sure my hands are clean before opening up my PC. It’s important to be gentle while handling components and to never force anything.
Effective Methods to Remove Dust
Here are some effective methods I use to thoroughly clean dust out of my PC:
1. Use Compressed Air
- Hold cans upright and avoid tilting to prevent liquid discharge.
- Slowly blow out dust buildup from fans, vents, nooks and crevices.
- Use narrow nozzles to reach tight spaces.
- Hold fans in place when blowing air on them to avoid damage.
2. Use a Microfiber Cloth
- Lightly wipe down components like the motherboard, GPU, RAM sticks to lift off dust.
- For stubborn dirt, use isopropyl alcohol on the cloth.
- Avoid excessive rubbing or pressure on fragile parts.
- Do not use paper towels – they can scratch surfaces.
3. Use a Small Brush
- Use a soft-bristle brush to gently dislodge caked-on dust.
- Carefully brush between crevices and fins of coolers and vents.
- Avoid spinning fans with the brush.
4. Check Air Filters
- Remove, clean, and replace mesh dust filters in the case.
- Use water or mild detergent for excessive grime buildup.
- Let filters completely dry before reinstalling them.
Post Cleaning Care and Maintenance
Once the dust removal process is complete, I take a few additional steps:
- Use a flashlight to check for any remaining dust spots.
- Reinstall any components that were removed.
- Secure all connections and cables.
- Boot up the PC and check for normal functioning.
- Update system software and run diagnostics checks.
- Consider adding positive pressure fans to minimize dust buildup.
- Set a reminder to clean again every 6-12 months.
With proper care, my PC can run smooth and dust-free for years to come! Let me know if you have any other tips for effectively cleaning computer dust.


