Introduction
When building or upgrading a gaming PC, one of the most important components to consider is the graphics card (GPU). The GPU is responsible for rendering graphics and visual effects, so choosing the right cooling solution for your GPU is critical to achieve optimal performance. The two main options for GPU cooling are air cooling and water cooling.
In this article, I will compare air cooling versus water cooling for GPUs in depth. I will examine the differences between these two methods in terms of performance, noise levels, cost, maintenance, and more. My goal is to provide PC builders and gamers with the information needed to decide which GPU cooling solution is best for their needs.
How Air Cooling Works for GPUs
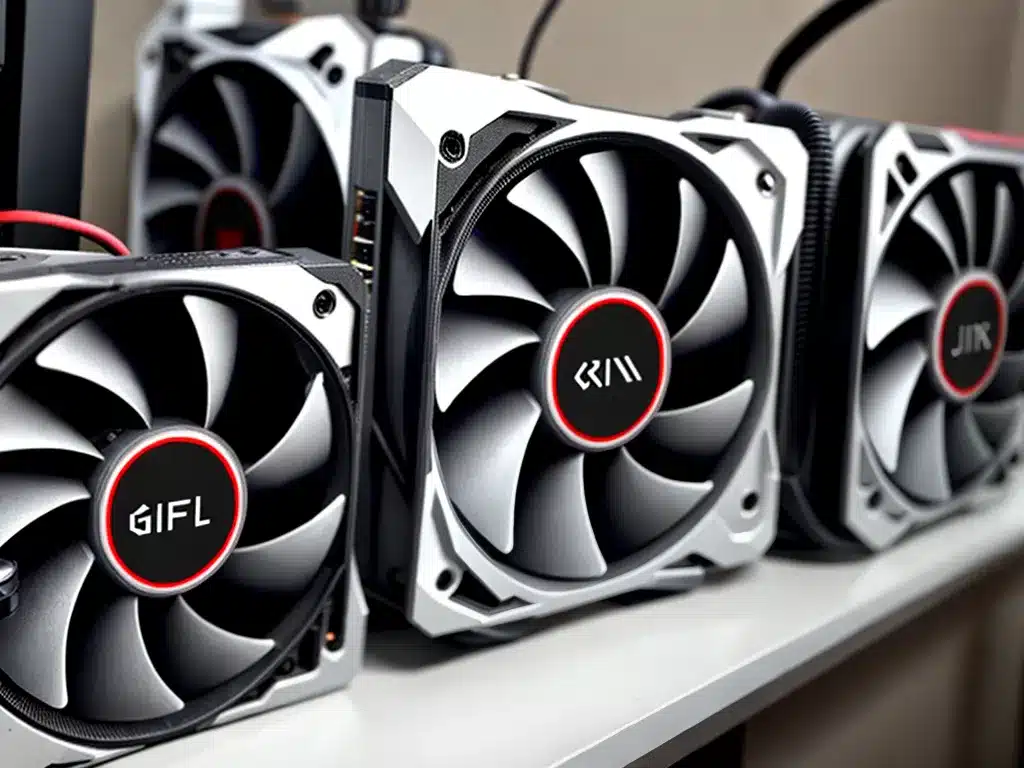
Air cooling is the default cooling method used for most consumer GPUs. Here’s an overview of how air cooling works:
- GPU manufacturers include a heatsink and fan (also called a blower-style fan) on the GPU card.
- The heatsink draws heat away from the GPU chip.
- The fan blows cool air across the heatsink, dissipating the heat.
- Hot air is exhausted out of the back of the GPU card and case.
Air cooled GPUs rely on case airflow and chassis fans to maintain cool ambient temperatures around the graphics card. Case ventilation is crucial for optimal GPU temperatures with air cooling.
Some benefits of air cooling include:
- Cost effective – no additional cooling equipment needed.
- Simple installation – air cooled GPUs can be installed with ease.
- Reliability – fewer points of failure compared to liquid cooling.
However, air cooling is limited in its heat dissipation capabilities and can be noisy under load. Next, let’s look at how water cooling overcomes some of these limitations.
How Water Cooling Works for GPUs
Water cooling uses liquid coolant circulated across a water block mounted to the GPU to absorb and dissipate heat. Here are the key components of a custom water cooling loop:
- Water block – mounts directly onto the GPU with thermal paste/pads. Transfers heat to the coolant.
- Radiator – dissipates heat from the coolant using fan airflow. Typically mounted to case.
- Pump – circulates the coolant through the loop.
- Reservoir – stores and releases coolant for the pump. Also allows for filling.
- Tubing – connects components carrying coolant flow.
- Coolant – specialized liquid that transports heat.
Compared to air, water cooling has superior heat transfer properties. The liquid coolant can absorb and dissipate more heat energy.
Benefits of water cooling include:
- Lower temperatures – increased cooling capacity keeps GPUs very cool.
- Quieter operation – radiator fans spin slower than GPU fans.
- Overclocking headroom – cooler temperatures allow higher GPU overclocks.
However, custom water cooling has downsides like complex installation, maintenance, and higher costs.
Performance Impact and Temperatures
For GPUs, switching from air to water cooling can result in dramatically lower temperatures, sometimes by 30°C or more. This is because water has a higher specific heat capacity than air, allowing better heat absorption and dissipation.
The reduced GPU temperatures lead to better real-world gaming performance. Here are some of the performance benefits:
-
Higher sustained clocks – With water cooling, GPUs can maintain higher boost clocks for longer without throttling.
-
Reduced throttling – Lower temperatures prevent GPUs from throttling performance due to heat.
-
Higher overclocks – The increased thermal headroom allows for pushing the GPU farther via overclocking.
-
More consistent frame rates – Cooler operation leads to fewer frame rate fluctuations and stuttering.
So in summary, water cooling not only lowers temperatures but allows the GPU to perform at its peak consistently. This translates into noticeable FPS gains in games, especially at higher resolutions and quality settings.
For actual temperature differences, an example is the RTX 3080 GPU seeing typical load temperatures around 72°C on air versus 50°C with water cooling – a 22°C difference!
Noise Level Comparison
One big advantage of water cooling is the significantly reduced noise output under load.
The small fans on GPU coolers have to spin at very high RPMs to effectively cool the GPU chip. This results in objectionable fan noise or a “jet engine” effect.
In contrast, water cooling shifts the cooling workload to lower speed fans on the radiator. With radiator fans running 500-1000 RPM slower, noise output is much lower.
Subjectively, most users report water cooled systems being practically silent under gaming workloads. Air cooled systems can have obvious fan noise during gaming.
For context, a water cooled system may run at 30 dBA while gaming, versus 50 dBA with air cooling. That’s a huge difference in perceived loudness!
So if your priority is a quiet gaming PC, water cooling is preferred over air cooling.
Cost Comparison
One downside of water cooling is the increased cost required. A full custom loop has many parts that quickly add up:
- Water block – $80 to $150+ depending on model
- Radiator – $60 to $100+ per radiator
- Pump & reservoir – $90+ for pump/res combo units
- Fittings & tubing – $60+ for fittings and tubes
- Coolant – $15 per liter
- Fans – $60+ for radiator fans
All together, expect to spend $300 to $800 for a complete loop. It’s a significant investment over air cooling.
However, consider that water cooling components can be reused across multiple builds. So the higher upfront cost is justified for enthusiasts doing frequent upgrades.
A custom loop is certainly not cost effective just for cooling a GPU alone. The radiator, pump, tubing etc could be used to cool the CPU as well.
Installation and Maintenance
Installing a water cooled GPU is more complex than air cooling, but it’s very manageable for first-timers. The process includes:
- Installing the water block, backplate, and thermal pads onto the GPU.
- Mounting radiators and fans in the case.
- Installing the pump and reservoir.
- Cutting and routing tubing between components.
- Filling the loop and bleeding out air.
With good planning and learning, expect 1-3 hours for first time installation. I recommend watching build guides beforehand.
Maintenance is also required for water cooling:
- Check hoses and fittings for leaks periodically.
- Top up coolant due to evaporation over time.
- Flush and replace coolant yearly.
- Dust radiators every few months.
Overall, a custom loop does require learning and commitment. But the result is a super high performance cooling system.
Conclusion
To summarize the key points:
-
Water cooling provides much lower GPU temperatures compared to air, sometimes by 30°C or more. This enables better real-world gaming performance.
-
With a radiator instead of GPU fans, water cooling operates much quieter during gaming. It’s virtually silent.
-
The upfront cost for a custom loop is high, around $300 to $800. Reusing parts helps justify costs.
-
Installation is more involved but manageable. Maintenance like topping off coolant is required every 6-12 months.
For most users, air cooling is perfectly sufficient. But for those seeking ultra cool and quiet operation, custom water cooling is the ultimate solution for GPUs. The performance gains and noise reduction can make it worthwhile for enthusiasts.

