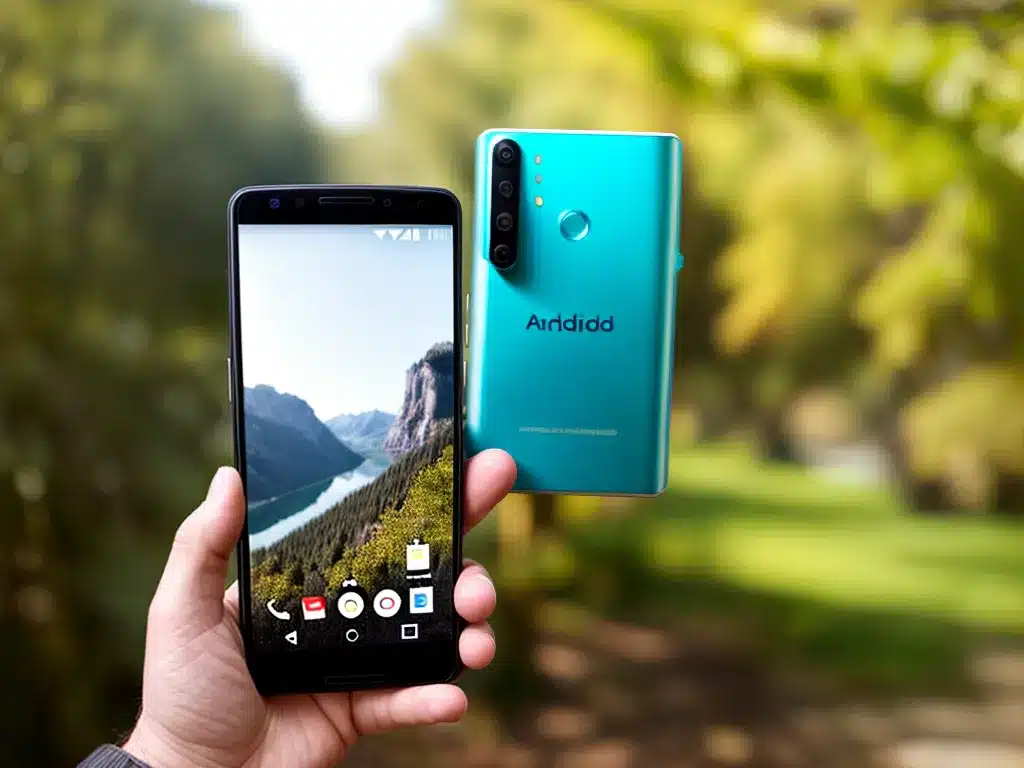

Many of us carry powerful cameras in our pockets each day – our Android phones! With some simple tips and tricks, you can take your Android photography to the next level and capture stunning images. In this in-depth guide, I will share my best advice for taking better photos with an Android camera.
Use HDR Mode for Challenging Lighting
High Dynamic Range (HDR) mode is designed to handle challenging lighting situations like photographing a dark room with bright windows. HDR combines multiple photos taken at different exposures into one optimized image.
To enable HDR on your Android:
- Open the Camera app
- Tap the settings icon (shaped like a gear)
- Select HDR and choose “On”
HDR is ideal for:
- Low light scenes – It reduces image noise by combining multiple exposures
- High contrast scenes – HDR balances shadows and highlights in one image
When shooting HDR, hold your camera very still or mount it on a tripod. This prevents blur from combining photos.
Adjust Exposure Compensation
The camera’s automatic exposure isn’t always perfect. Use Exposure Compensation to manually brighten or darken your photos.
On most Android cameras:
- Open the Camera app
- Tap the Exposure button (EV or +/- icon)
- Drag the slider left to darken or right to brighten
I recommend brightening backlit portraits or sunsets. For snow scenes or bright beaches, slightly darken the exposure. Dial in +/- 1 EV as needed for the lighting.
Pro Tip: Bracket multiple shots at different exposures, then select the best one later.
Shoot RAW for Maximum Flexibility
Android cameras capture JPG images by default. RAW photos retain more image data for better editing flexibility.
To shoot RAW on your Android:
- Open the Camera app
- Locate the Settings icon
- Enable the “Save RAW copies” option
With RAW, you can freely adjust exposure, white balance, and more in post-processing. The downside – RAW files are up to 10x larger than JPGs.
Use Manual Focus for Sharper Shots
Autofocus doesn’t always lock onto the correct part of a photo. For tack sharp focus, switch to Manual Focus mode.
On most Android cameras:
- Open the Camera app
- Tap the Focus mode icon (shaped like two overlapped rectangles)
- Select Manual focus
- Use the slider to dial in focus
Manual focus is great for:
- Close-up macro shots – Autofocus can struggle with very close subjects
- Creative blur effects – Defocus the background by focusing on your main subject
Shoot Full Resolution for Big Prints
Many Android cameras default to 12MP resolution. Switch to the full resolution your camera is capable of for higher quality images with more detail for enlarging.
On most Android cameras:
- Open the Camera app
- Tap the Settings icon
- Select Resolution
- Choose the maximum MP size
Higher resolution settings allow bigger print sizes without losing image quality. But the files take up more storage space on your phone.
Use the Rule of Thirds
The Rule of Thirds is a technique to improve composition. Mentally divide your camera’s frame into thirds vertically and horizontally. Align important elements on the gridlines or at intersections.
- Horizons – Place along top/bottom lines
- Subject’s eyes – Align with top intersections
- Leave negative space in the direction they look
This creates an off-center, balanced composition. Avoid putting the subject dead center which can seem boring.
Clean Your Lens for Sharper Images
A fingerprint or dust on your camera lens can create soft, unfocused images. For tack sharp photos, keep your lens clean.
Use a microfiber cloth designed for lenses to gently wipe away smudges. Breathe on the lens first to provide some moisture. Avoid using harsh cleaners which can damage lens coatings.
Inspect your lens and clean it regularly. Always re-cap your Android when not shooting to prevent dust buildup inside.
Use Lightroom to Process RAW Files
To unlock the full potential of RAW images, specialized software like Adobe Lightroom is essential. With Lightroom on your desktop, you can import RAW photos and perfect them with powerful editing tools.
Try these tips in Lightroom for better Android photos:
- Brighten shadows – Reduce blacks to reveal detail
- Increase vibrance – Make colors pop
- Reduce highlights – Recover overexposed areas
- Add contrast – Make photos crisp and dramatic
Invest time in learning Lightroom image editing. It will level up the quality of your mobile photography.
Master Composition Basics
A photograph’s composition is key to an engaging, appealing image. Apply these basic composition techniques when shooting:
- Lead the eye – Use diagonal lines, curves, or the subject’s gaze to move the viewer through the image
- Frame subjects – Use foreground elements like branches to frame key subjects
- Layer depth – Overlap subjects at different distances for a 3D look
- Include background – Choose interesting or relevant backgrounds to complement the main subject
Play around with different compositions. Move yourself, your subject, or the camera to find the best angle for every scene.
Conclusion
You likely have a versatile, high-quality camera in your pocket every day with your Android phone. By mastering the camera app settings, shooting techniques, and post-processing, you can drastically elevate the visual quality of your mobile photography. Give these tips a try the next time you capture photos with your Android. With practice, you’ll be shooting and editing pro-level images in no time!


