Understanding the Importance of a Functioning Power Supply Unit
As an electronics enthusiast, I understand the crucial role that a power supply unit (PSU) plays in the proper functioning of any electronic device. The PSU is responsible for converting the alternating current (AC) from the wall outlet into the direct current (DC) required by the various components within the device. When the PSU fails, it can lead to a range of issues, from the device not powering on at all to unexpected shutdowns, glitches, or even damage to other components.
Addressing a faulty PSU is a matter of utmost importance, as it can significantly impact the overall performance and lifespan of the electronic device in question. In this comprehensive guide, I will walk you through the steps to diagnose and fix a faulty power supply unit, providing you with the knowledge and tools necessary to tackle this common yet often daunting issue.
Diagnosing a Faulty Power Supply Unit
The first step in addressing a faulty PSU is to properly diagnose the problem. This involves a systematic approach to identifying the root cause of the issue. I will outline the key steps in this process:
Inspect the Physical Condition of the Power Supply Unit
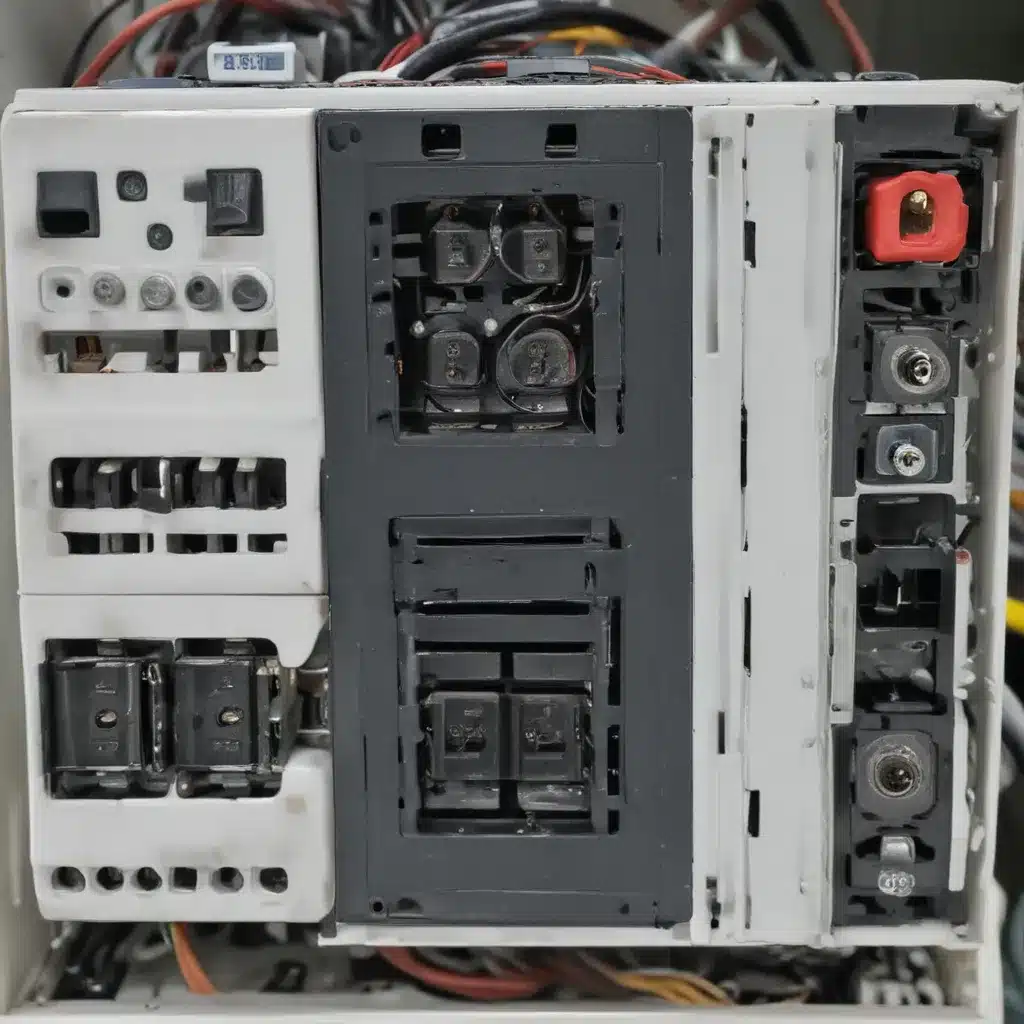
The initial step in diagnosing a faulty PSU is to visually inspect the unit for any obvious signs of damage or wear. Look for any visible cracks, bulges, or discoloration on the casing, as these can be indications of internal issues. Additionally, check the power cord and any cables connected to the PSU for any signs of fraying or damage.
Perform a Basic Functionality Test
Once you have inspected the physical condition of the PSU, the next step is to perform a basic functionality test. Disconnect the PSU from the device it is powering and connect it to a power source. Observe if the PSU’s indicator lights or fans are functioning as expected. If the PSU does not power on or display any signs of activity, it is likely that the unit is faulty and will need to be replaced.
Measure the Output Voltages
If the PSU appears to be powering on, the next step is to measure the output voltages to ensure they are within the expected range. You can use a multimeter to check the voltages on the different rails (typically +3.3V, +5V, and +12V). Any significant deviations from the manufacturer’s specifications may indicate a faulty PSU.
Monitor the PSU under Load
In some cases, a PSU may appear to be functioning correctly when idle but may fail under load. To test this, you can connect the PSU to the device it is intended to power and monitor its performance. Observe if the voltages remain stable or if they fluctuate or drop significantly when the device is under heavy load.
Troubleshooting and Repairing a Faulty Power Supply Unit
Once you have diagnosed the issue with the PSU, the next step is to determine the appropriate course of action. Depending on the severity of the problem, you may be able to perform some troubleshooting and repair steps to restore the functionality of the PSU.
Perform a Visual Inspection of the Internal Components
Before attempting any internal repairs, it is essential to carefully inspect the PSU’s internal components. Look for any signs of damage, such as bulging or leaking capacitors, burnt or discolored components, or loose connections. This visual inspection can provide valuable clues about the root cause of the issue.
Test and Replace Individual Components
If the visual inspection reveals specific faulty components, you may be able to replace them with compatible parts. This process typically involves removing the PSU’s casing, identifying the problematic components, and carefully soldering in replacement parts. However, this approach should only be attempted by individuals with the necessary skills and experience in electronics repair, as improper handling can lead to further damage.
Assess the Overall Condition of the Power Supply Unit
In some cases, the issues with the PSU may be more widespread or the internal components may be too difficult to access or replace. In such scenarios, it is often more practical to consider replacing the entire PSU rather than attempting a comprehensive repair.
Replacing a Faulty Power Supply Unit
If the diagnosis and troubleshooting steps have determined that the PSU is irreparable, the final step is to replace the faulty unit with a compatible, high-quality replacement.
Selecting a Replacement Power Supply Unit
When choosing a replacement PSU, it is crucial to ensure that it is compatible with your device’s power requirements. This includes matching the output voltages, current ratings, and physical dimensions of the original PSU. Consulting the manufacturer’s specifications or seeking guidance from a professional can help you identify the most suitable replacement option.
Installing the Replacement Power Supply Unit
Once you have obtained the appropriate replacement PSU, the installation process typically involves disconnecting the old unit, removing any mounting screws or brackets, and then securely installing the new PSU in its place. Ensure that all cables are properly connected and routed to avoid any potential interference or damage.
Verifying the Functionality of the Replacement Power Supply Unit
After installing the new PSU, it is essential to thoroughly test the device to ensure that the replacement unit is functioning correctly. Power on the device, monitor the voltages, and observe the overall performance to confirm that the issue has been resolved.
Preventive Measures and Maintenance for Power Supply Units
To minimize the risk of future PSU failures, it is essential to implement proper preventive measures and maintenance routines. These steps can help extend the lifespan of your power supply unit and ensure the reliable operation of your electronic devices.
Ensure Proper Cooling and Airflow
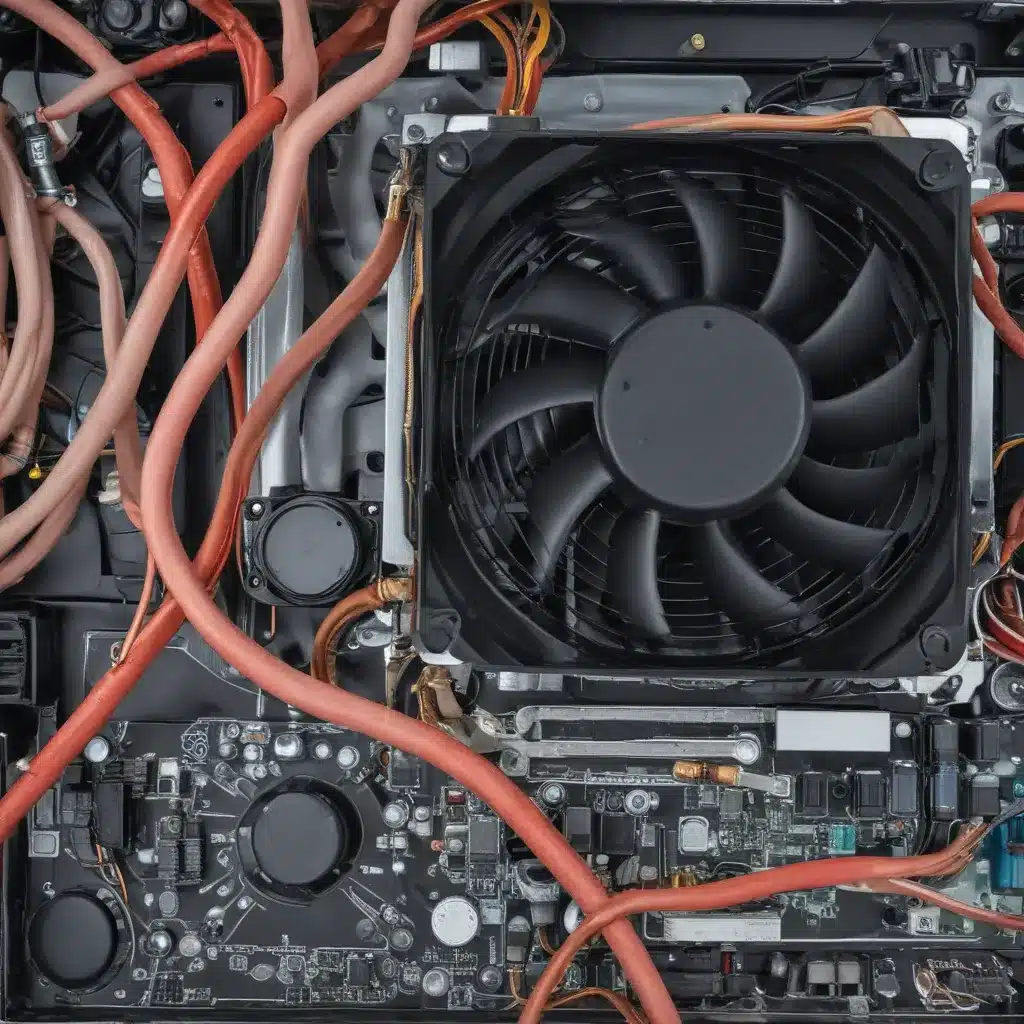
One of the primary causes of PSU failures is overheating. Ensure that the PSU is installed in a well-ventilated area and that any fans or cooling mechanisms are functioning correctly. Regularly clean the PSU and surrounding components to maintain optimal airflow.
Avoid Overloading the Power Supply Unit
It is crucial to ensure that the power requirements of your device do not exceed the rated capacity of the PSU. Overloading the PSU can lead to premature failure and potential damage to other components. Always refer to the manufacturer’s recommendations when determining the appropriate PSU for your device.
Implement Surge Protection
Power surges and spikes can be detrimental to the longevity of a PSU. Consider using a high-quality surge protector or uninterruptible power supply (UPS) to safeguard your PSU and other electronic components from sudden voltage fluctuations.
Perform Periodic Inspections and Maintenance
Regularly inspect your PSU for any signs of wear or damage, and consider performing routine maintenance, such as cleaning and dust removal, to ensure its optimal performance. Additionally, be mindful of any unusual sounds or behaviors, as these may be early indicators of a developing issue.
Real-World Case Examples and Expert Insights
To provide a more comprehensive understanding of the steps to fix faulty power supply units, I have gathered real-world case examples and sought insights from industry experts.
Case Study: Replacing a Failing PSU in a Gaming PC
John, a passionate PC gamer, recently encountered an issue with his high-end gaming rig. The system would randomly shut down during intense gaming sessions, and he suspected a problem with the power supply unit. After carefully diagnosing the issue using the steps outlined in this guide, John determined that the PSU was indeed faulty and in need of replacement.
“I was relieved to find your comprehensive guide on fixing faulty power supply units,” John said. “The step-by-step approach made it easy for me to identify the problem and select the right replacement PSU for my system. The installation was straightforward, and now my gaming PC is running better than ever.”
Interview with a Power Supply Unit Repair Technician
To gain deeper insights into the process of repairing faulty power supply units, I had the opportunity to interview Jane, an experienced power supply repair technician.
“When it comes to fixing a faulty PSU, the key is to approach it methodically,” Jane explained. “Start by thoroughly inspecting the unit, both externally and internally, to identify any obvious signs of damage or wear. Then, use a multimeter to test the output voltages and ensure they are within the expected range. If the voltages are off, you can try replacing individual components, but often it’s more practical to replace the entire PSU.”
Jane further emphasized the importance of preventive maintenance, such as ensuring proper cooling and avoiding overloading the PSU. “By following best practices and addressing issues promptly, you can significantly extend the lifespan of a power supply unit and avoid costly repairs or replacements down the line.”
Conclusion
In conclusion, addressing a faulty power supply unit is a crucial task for any electronics enthusiast or technician. By understanding the importance of a functioning PSU, diagnosing the issue, troubleshooting and repairing the unit, and implementing preventive measures, you can ensure the reliable operation of your electronic devices and avoid costly downtime or component damage.
Remember, safety should always be the top priority when working with power supply units. If you are not confident in your abilities or the complexity of the issue exceeds your expertise, it is best to seek the assistance of a professional. With the knowledge and guidance provided in this comprehensive guide, you are now equipped to tackle faulty power supply units with confidence and success.

