Having a broken power button on your laptop can be incredibly frustrating. Without a functioning power button, you can’t turn on your laptop normally or wake it from sleep. Thankfully, replacing a damaged laptop power button is usually a straightforward process that most people can do themselves with a few tools and a replacement part.
Symptoms of a Damaged Power Button
The most obvious symptom is that pressing the power button does nothing. The laptop won’t turn on when you press the button. Other symptoms can include:
- The power button feels loose or mushy when pressed.
- The button seems stuck in the pressed position.
- You hear a clicking noise when pressing the button.
- The laptop powers on intermittently or randomly on its own.
If you’re experiencing any of these issues with your laptop’s power button, it likely needs to be replaced.
Gather Tools and Replacement Part
Replacing the power button requires a few basic tools and a new power button board. Here’s what you’ll need:
- Small Phillips screwdriver – To remove screws from the laptop case and detach the old button board.
- Plastic prying tools – Useful for gently prying apart the laptop case. Avoid using metal tools to prevent damage.
- Replacement power button board – Available online for most laptop models. Ensure it’s an exact match for your laptop.
- Thermal paste (optional) – In some laptops, you may need to reapply thermal paste after removing the board.
Before disassembling the laptop, ensure your work area is clear and you have all necessary tools on hand. Review repair guides for your specific laptop model if available.
Disassemble the Laptop
With your tools gathered, you’re ready to take the laptop apart:
- Remove any removable batteries, drives, or accessories from the laptop.
- Use the Phillips screwdriver to remove all screws from the bottom case cover. Keep them organized.
- Carefully pry up the case cover starting from a seam or opening using your plastic tools. Take your time and don’t force anything.
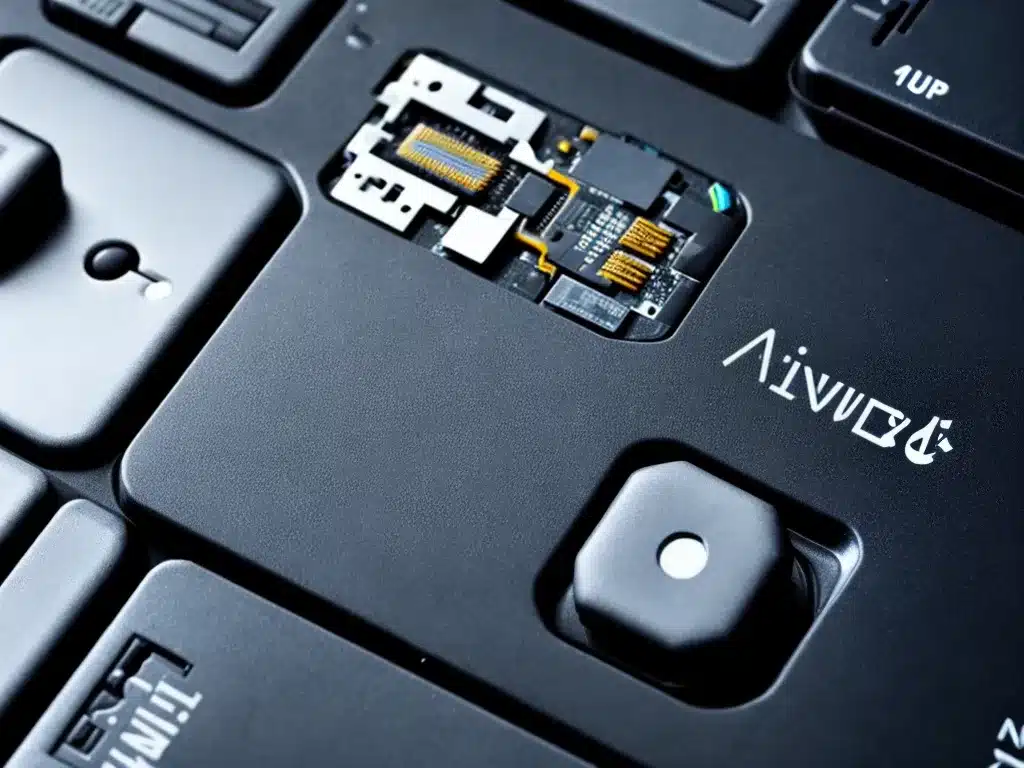
- Locate the power button board, typically near the front edge of the motherboard. It will have a cable connecting it.
- Gently remove any tape or screws securing the board and detach the cable. Be extremely careful not to damage any small components.
With the old power button board removed, it’s time to install the new one.
Install the Replacement Button Board
Follow these steps to safely install the new power button board:
- Carefully remove the new board from its packaging and visually inspect it for any damage.
- If any thermal paste was removed from the motherboard, reapply fresh paste before attaching the new board.
- Connect the board cable and gently press the board into place. Secure with any necessary tape or screws.
- Double check all connections are secure before reassembling. A loose board can cause issues.
- Replace the bottom case cover and all screws. Tighten screws gradually to avoid cracking plastic.
With everything reassembled, the moment of truth arrives. It’s time to test the repaired power button.
Test and Use Your Repaired Laptop
After replacing the button board, test it thoroughly:
- Press the power button and verify the laptop turns on. Shut down and restart a few times to ensure proper function.
- Check that pressing the button also properly wakes the laptop from sleep.
- Use the laptop normally for a while to ensure no new issues have arisen from the repair.
If the new power button functions consistently and reliably, congratulations! With some basic tools, patience, and a new button board, you successfully repaired your laptop on your own. Your laptop should now provide reliable service once again.

