Introduction
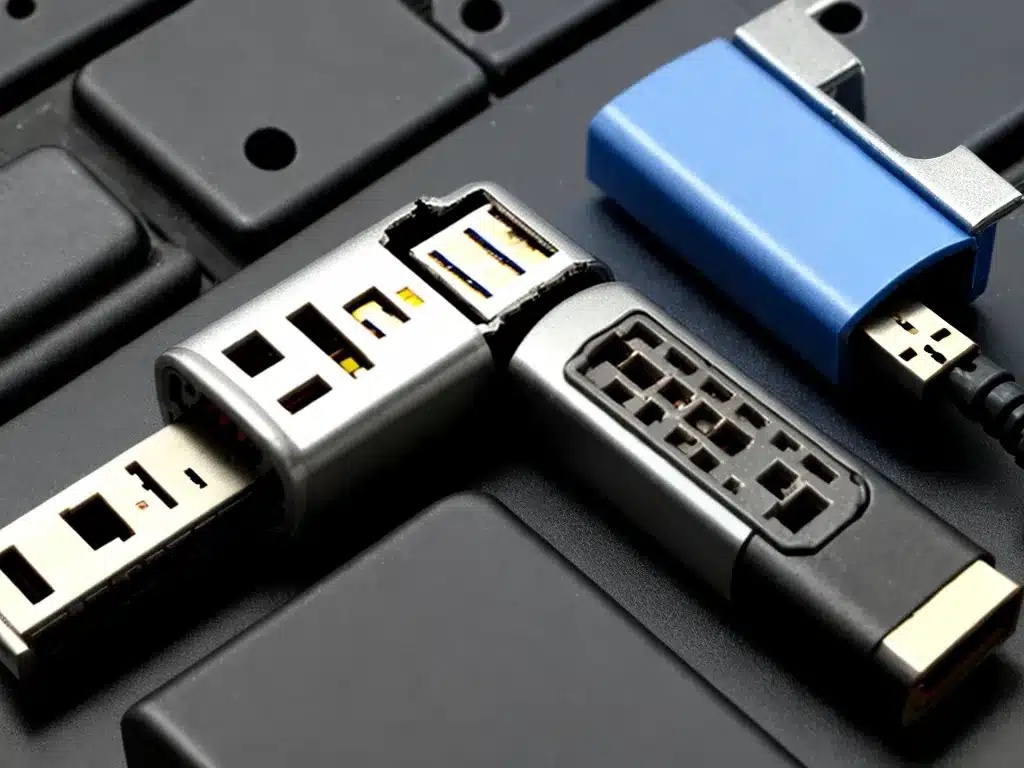
USB and other ports like HDMI, DisplayPort, ethernet, etc. are very convenient for connecting peripherals and devices. However, ports can become damaged due to wear and tear, physical impact, or other issues. A damaged port may not properly connect a cable or device, resulting in connectivity problems. Fortunately, there are steps you can take to try and repair a damaged USB or other port.
Causes of Port Damage
There are several common causes of port damage:
-
Repeated plugging and unplugging of cables can loosen the port over time. The friction can wear down the contacts.
-
Bent pins are a common issue, especially with USB ports. Inserting a cable at an angle can bend the delicate pins inside the port. Even a slightly bent pin can prevent proper contact.
-
Physical impacts, like dropping a device, can shift or crack the port housing and damage the pins and connections inside.
-
Liquid damage from spills can short circuit and corrode the contacts in a port. Liquid can get into tiny crevices and cause oxidation.
-
Inserting the wrong cable or device can damage the port if the sizing and pin layout don’t match. Forcing a mismatched connection can break the port.
Inspecting and Diagnosing Port Damage
If a cable or device isn’t connecting properly or at all, start by inspecting the port for any visible damage:
-
Examine the port for signs of bent or misaligned pins. Look closely from different angles. Even subtle bending can interfere with connections.
-
Check for any gaps or cracks in the plastic port housing. This may indicate the port is shifted or loose.
-
Look for corrosion, discoloration or residue that may be caused by liquid damage.
-
Try connecting multiple cables and devices. If only one doesn’t connect properly, the issue is likely with that cable or device. But if multiple connections don’t work, the port itself is likely damaged.
-
For USB ports, try plugging the cable in upside down. If it fits, the port alignment may be damaged. Upside down should not connect.
Cleaning Dirty or Corroded Ports
If a port only has minor residue or corrosion, start by cleaning it prior to any repairs:
-
Use compressed air to blow out any loose debris from the port. Don’t blow too hard on sensitive pins.
-
Use a cotton swab dipped in isopropyl alcohol to gently clean the port housing and pins. Allow to fully dry before reconnecting anything.
-
For stubborn corrosion, apply a small amount of electrical contact cleaner to the port. Allow time to dry completely.
Straightening Bent Pins
Bent pins are very common with USB ports. Inspect closely for even slight bends. Carefully straighten pins using:
-
Small tweezers – Grip the pin close to the base and gently straighten or re-align it. Be cautious working around delicate pins.
-
Needle or pin – Use the tip to gently lift and center any flattened or tilted pins. Don’t scrape or damage the soft metal.
-
Credit card – Slide the edge of a card across a row of pins to align them evenly against the edge.
Work slowly and gently. Repeated small adjustments are safer than trying to force bent pins all at once. Apply even pressure and avoid scraping the pins.
Reattaching Loose Ports
If a port housing is cracked or loose, it may just need gluing back into place. Use strong quick-set adhesives like:
-
Super glue (cyanoacrylate) – Apply a small amount around the edges of the port and firmly press it into place. Allow time to fully cure before use.
-
Epoxy resins – Mix and apply epoxy around the perimeter of the port. Support the port until the epoxy hardens to keep it aligned.
-
Plastic welding compound – Melt plastic filler into cracks or gaps around the port to bond it back solidly in position.
When to Seek Repair Services
With care and patience, many damaged ports can be repaired at home. But for some issues, it’s safer to seek professional repair services:
-
If pins are bent badly or entirely flattened, the port likely needs professional soldering work to replace. Home repairs risk further damage.
-
Severely dislodged or cracked port housings require proper alignment and bonding best handled by tech services.
-
Any sparks, burning smells, or electronic short circuiting indicates extensive internal damage. The port at minimum will need soldering work.
-
For liquid damaged ports with heavy corrosion or residue, a deep cleaning and potential part replacement is best performed by skilled technicians to avoid further damage.
While frustrating, a damaged port can often be repaired with some basic cleaning, pin adjustments, and gluing. But at the first sign of extensive damage seek professional assistance. Paying for proper service can avoid the risk of turning a damaged port into a dead one.
Summary
-
USB and other ports can become damaged through repeated use, physical impacts, liquid damage and other causes.
-
Inspect ports closely for bent pins, gaps in housing, corrosion or other visible damage before attempting repairs.
-
Try gently straightening bent pins and use alcohol or contact cleaner to clear out light residue or corrosion.
-
Glue loose port housings back into position using super glue, epoxy resins or plastic welding compounds.
-
Severe damage like flattened pins or electrical shorts require professional soldering repairs to avoid making things worse.
With some care and patience, many damaged ports can be restored at home. But know when to seek assistance to avoid potential safety issues or permanent damage. Properly repairing ports restores connectivity and extends the usable life of devices.


