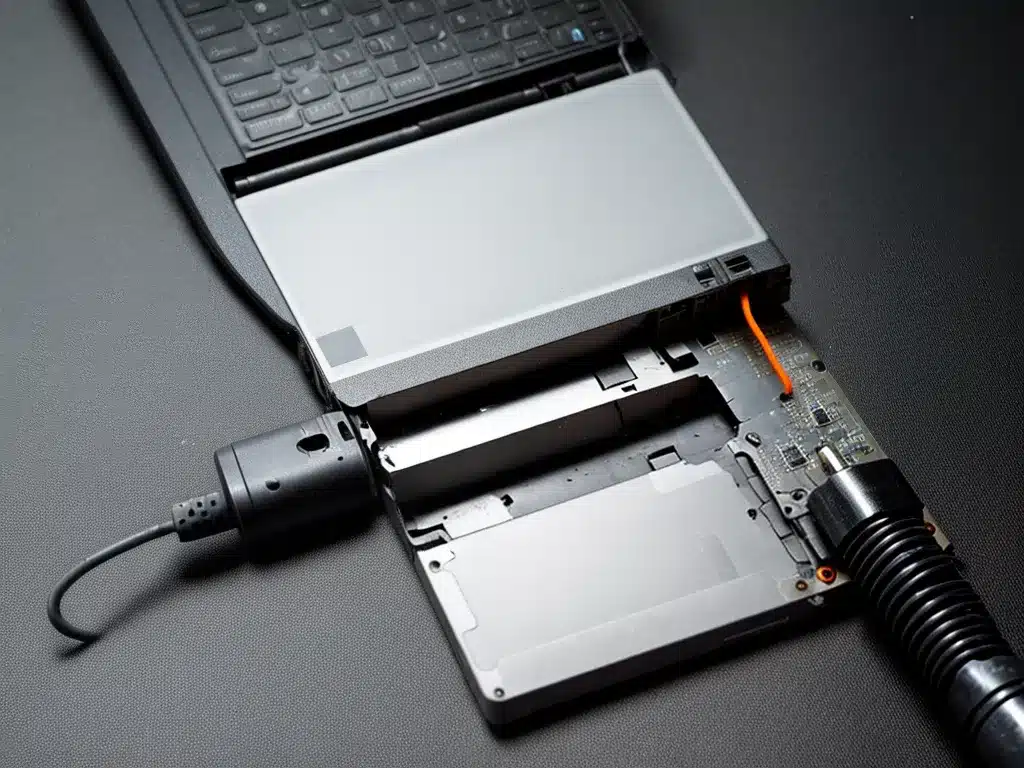
Repairing a damaged laptop charge port may seem daunting, but it’s actually quite straightforward with the right tools and know-how. In this guide, I’ll walk you through the steps to diagnose issues with your laptop’s charging port and make the necessary repairs.
Diagnosing the Issue
Before attempting any repairs, it’s important to properly diagnose the issue to determine if it’s definitely a problem with the charge port. Here are some tips for troubleshooting:
-
Wiggle the charger cable while plugged in – If this allows the laptop to charge, then the issue is likely a loose port or damaged pins.
-
Inspect the port for damage – Use a flashlight to look for broken/bent pins, cracked plastic housing, etc.
-
Try another charger – Use a compatible charger to see if the issue is with the original charger.
-
Check the battery levels – If the battery isn’t charging at all, the port is likely damaged.
-
Plug into different outlet – Try using different power outlets to rule out an issue with a faulty outlet.
If you’ve determined the charging port itself is damaged, then you can move on to repairing it.
Gathering Tools and Supplies
Repairing a charge port will require some specific tools and supplies:
-
Soldering iron and solder – For re-attaching any loose connections.
-
Multimeter – To check for continuity of connections.
-
Precision screwdrivers – To disassemble the laptop and access the charge port.
-
Replacement charge port – If the original is too damaged to salvage.
-
Isopropyl alcohol and cotton swabs – For cleaning out the old port if replacing.
-
Thermal paste – Fresh paste may be needed when re-installing the motherboard.
-
Anti-static mat – Important for protecting sensitive components from static discharge.
Disassembling the Laptop
The steps for taking apart the laptop vary by make and model. Refer to a repair/service manual for your specific brand and model. Some general tips:
-
Remove all screws from the bottom plate and lift it off carefully.
-
Disconnect the battery cable first before anything else.
-
Follow cable routes to locate the charge port on the motherboard.
-
Carefully disconnect any cables or adhesive holding the mobo in place.
-
The charge port is often soldered onto the motherboard. You may need to desolder it to fully remove.
Fixing the Charge Port
Once you have access to the charge port, it’s time to fix it:
-
If any port pins are bent, carefully straighten using tweezers.
-
Use isopropyl alcohol and cotton swabs to clean out the port.
-
Re-solder any loose connections on the port.
-
If replacing the port, desolder the old one and solder in the new one.
-
Verify the new port is properly connected by checking for continuity.
-
Remove any old thermal paste from CPU and heatsink if removed. Apply fresh paste before re-assembly.
Re-Assembling the Laptop
To complete the repair:
-
Replace all screws and case parts in reverse order of disassembly.
-
Reconnect the battery cable last.
-
Power on and verify the laptop can now charge properly.
-
Check for full functionality – WiFi, Bluetooth, speakers etc.
-
If issues persist, re-check the port solder connections.
And that covers the full process for diagnosing and repairing a damaged laptop charge port! Let me know if you have any other questions.


