Introduction
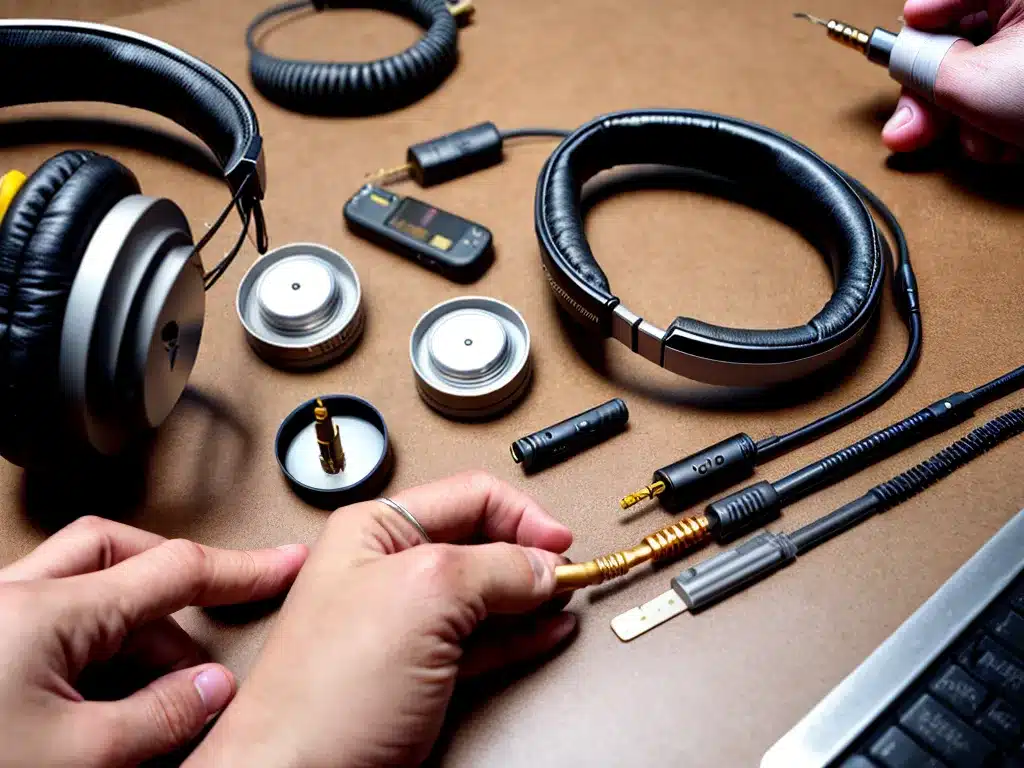
Having a broken headphone jack can be extremely frustrating. As someone who relies on headphones for listening to music and taking calls, I know the feeling of plugging in your headphones only to hear crackling sounds or have only one side work. The good news is that headphone jacks can often be repaired at home without too much difficulty. In this guide, I will walk through the step-by-step process I use to repair broken headphone jacks.
Assessing the Damage
The first step is to figure out exactly what is wrong with your headphone jack. There are a few common issues that can occur:
-
Loose connection – This is when the headphone plug does not make a solid connection with the jack. It may crackle, cut in and out, or only work if held at certain angles.
-
Bent pin – Inside the headphone jack are small metal pins that the plug makes contact with. If one of these gets bent, it can disrupt the connection.
-
Broken solder – The pins in the jack are soldered to the circuit board. If this solder joint cracks, it can stop the electrical signal.
-
Dirt/debris buildup – Pocket lint and other debris that gets lodged in the headphone jack can interfere with the connection.
To figure out the exact problem, I carefully examine the jack with a flashlight. I also try plugging in different headphones to see if the issue is with the jack itself or just one pair of headphones.
Gathering Tools and Supplies
Repairing headphone jacks requires some simple tools and supplies:
-
Soldering iron – This is for re-soldering any broken connections. I use a 15W iron which works well.
-
Solder – Get lead-free solder to avoid any toxins. 0.8mm diameter is a good size.
-
Tweezers – Helpful for manipulating small parts and removing debris. I use both pointed and flat tip tweezers.
-
Isopropyl alcohol – This helps clean out any dirt or residue in the headphone jack. Q-tips are useful for applying the alcohol.
-
Flashlight – Essential for seeing inside the small headphone jack. I use one with a bendable neck.
-
Wire cutters – In case I need to clip any wires or pins.
-
Magnifying glass – Makes it easier to inspect the jack and do precision work. Get at least 10x magnification.
Step-by-Step Repair Process
With my tools gathered, I can now walk through how I repair broken headphone jacks:
1. Disassemble and Inspect
First, I take apart the device to access the headphone jack and circuit board. I use a magnifying glass to closely inspect the jack and determine what is wrong.
2. Clean Contacts
If there is any lint or debris buildup, I use compressed air and/or isopropyl alcohol on a Q-tip to thoroughly clean the jack.
3. Straighten Pins
If a pin is bent, I use the tweezers to gently straighten it back into position. I take care not to apply too much force and risk breaking it.
4. Re-solder Connections
For cracked solder joints, I apply flux paste, heat up the old solder until melted, and then apply fresh solder. This mends the broken connection.
5. Test Repair
I reassemble the device and plug in headphones to test out the jack. I ensure both channels work properly without any crackling or cutting out.
6. Additional Troubleshooting
If the issue persists, I double check the solder connections, try cleaning again, and inspect for any other issues like wires that need reconnecting.
Conclusion
Fixing a broken headphone jack is very doable at home with some basic tools and patience. The key things I focus on are thoroughly cleaning out any debris, re-soldering cracked joints, straightening bent pins, and testing multiple times. With a methodical approach, I can often get headphone jacks working again without needing to replace the entire port. It’s a useful skill that saves money and reduces electronic waste.


