Introduction
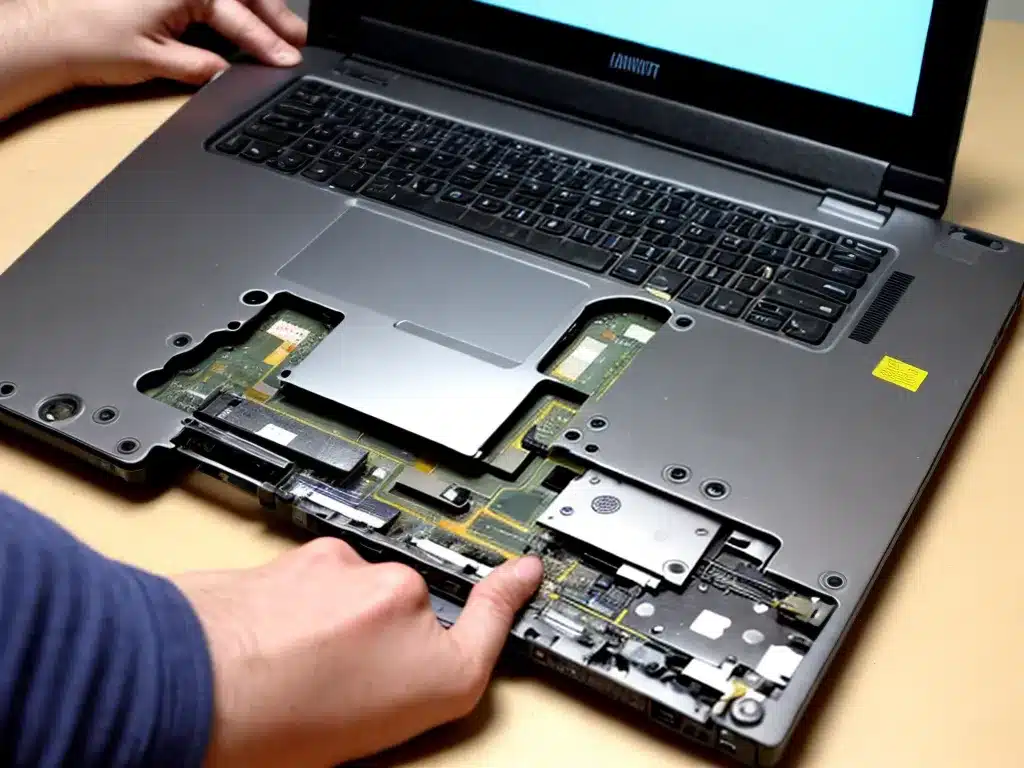
Disassembling a laptop can be intimidating, but it is often necessary for repairs and upgrades. With some basic tools and proper precautions, you can safely take a laptop apart and access its internal components. In this guide, I will walk through the step-by-step process of disassembling a laptop down to its main parts.
Reasons to Disassemble a Laptop
Here are some common reasons you may need to disassemble a laptop:
-
Upgrading components – Increase RAM, replace the hard drive, or install a faster SSD. Accessing the internal components is necessary for these upgrades.
-
Cleaning the fans/heatsink – Dust buildup on fans and heatsinks can cause overheating. Disassembling the laptop lets you clean these parts.
-
Replacing failed parts – If a component like the keyboard, trackpad, or motherboard fails, you’ll need to disassemble the laptop to replace it.
-
Fixing physical damage – Issues like a cracked screen or damaged ports require taking the laptop apart to make repairs.
-
Thermal paste replacement – Over time, the thermal paste between the CPU and heatsink dries out. Disassembling lets you reapply fresh paste.
Precautions
Take the following precautions before disassembling your laptop to avoid damage:
-
Use an anti-static wrist strap – Attach the strap to prevent electrostatic discharge from damaging components.
-
Work on a soft, clean surface – Choose a large, flat workspace with a soft surface that won’t scratch the laptop.
-
Organize and label screws/parts – Carefully organize and label the screws and components as you remove them to aid reassembly.
-
Refer to disassembly guides – Find a disassembly guide for your specific laptop model for helpful visual references.
-
Go slowly and carefully – Rushing can lead to damaging ribbon cables and connectors.
-
Avoid excessive force – Gently pry apart plastic clips and latches rather than forcing them.
What You’ll Need
Gather these recommended tools before starting:
- Anti-static wrist strap
- Small Phillips head screwdriver
- Plastic spudger or guitar pick
- Tweezers
- Isopropyl alcohol and microfiber cloth
- Magnetic parts tray
Optional but helpful tools include a precision screwdriver set, hemostat, and headlamp.
Step-by-Step Disassembly Process
Follow these key steps to systematically disassemble a laptop down to its main components:
1. Remove the battery
For safer disassembly, always remove the battery first. Locate the battery release latch, slide it to unlock, and lift the battery out.
2. Remove bottom case screws
Flip the laptop over and remove all screws from the bottom cover. Keep them organized for reassembly.
3. Pry off bottom cover
Use a plastic spudger to gently pry up the edges of the bottom case to detach the plastic clips securing it. Lift off the bottom cover.
4. Disconnect internal cables
Pay attention to any cables still connected to the bottom cover as you remove it. Gently disconnect them.
5. Remove HDD/SSD and RAM
Locate the hard drive/SSD and RAM modules and remove them. Note their original placement for reassembly.
6. Disconnect and remove wireless card
Locate the wireless card, disconnect its antennas, and remove the retaining screws to take it out.
7. Remove cooling assembly
Detach any cables, screws, and brackets securing the fan and heatsink assembly and lift it out.
8. Remove motherboard
Remove any screws still holding the motherboard in place. Carefully lift it out paying attention to any still-connected cables.
9. Remove LCD display
Remove plastic bezel pieces covering the edges of the display. Detach any cables connecting the LCD to the motherboard and lift out the display.
10. Remove keyboard
Pry up or unscrew the keyboard retaining brackets to detach the keyboard and remove it.
After separating out the main components, you can access anything still attached like the trackpad and CMOS battery for removal.
Reassembling the Laptop
Reassembly is the reverse of disassembly. Be sure to apply new thermal paste before reattaching the heatsink. Follow your labeling system to get all screws and connectors to their original places.
Conclusion
Disassembling a laptop lets you carry out crucial repairs and upgrades. Carefully following precautions and a systematic disassembly process allows you to safely access internal components. Just be sure to reassemble methodically by reversing steps and referring to disassembly notes.


