How to Build Your Own Gaming PC
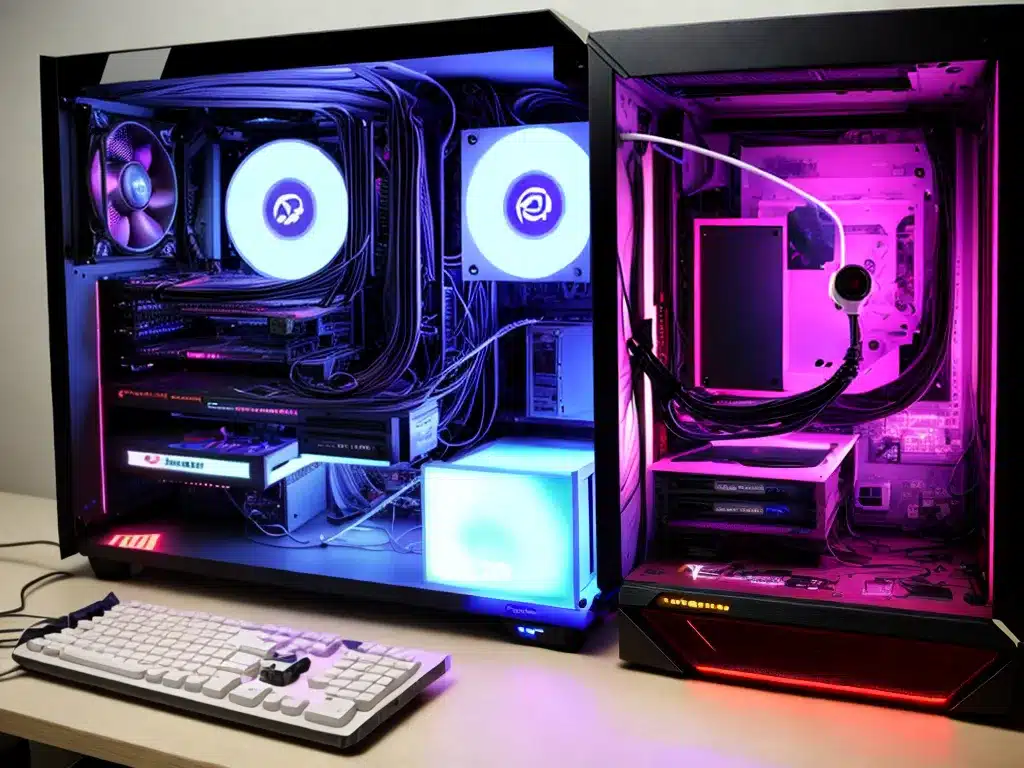
Building your own gaming PC can be an extremely rewarding experience. With the right parts and some patience, you can put together a custom PC that provides incredible performance for gaming and beyond. Here’s a step-by-step guide on how to build your own gaming PC from scratch.
Choosing Components
The first step is selecting the right components for your needs and budget. The main components you’ll need include:
CPU (Processor)
This is the brain of your PC. For gaming, you’ll want a relatively recent quad or six-core processor from Intel or AMD. Some good options are the Intel Core i5-12600K or AMD Ryzen 5 5600X.
GPU (Graphics Card)
This handles rendering graphics and is vital for gaming performance. Good models for 1080p or 1440p gaming include the NVIDIA RTX 3060 Ti and AMD Radeon RX 6700 XT. For 4K, consider the RTX 3080 or Radeon RX 6800 XT.
Motherboard
This connects all the components together. Make sure to get one compatible with your chosen CPU. Consider B550 or X570 chipset AMD boards. For Intel, look at Z690 or B660 models.
RAM
16GB of DDR4 3200MHz or higher RAM is recommended for optimal performance. 8GB may also work for budget builds.
Storage
Get a 500GB or 1TB NVMe M.2 SSD as a boot drive, along with a 1 or 2TB traditional HDD for extra storage.
Power Supply
A 650W 80+ Gold certified PSU from reputable brands like Corsair or EVGA should handle most single GPU systems. Go higher for multi-GPU setups.
Case
Pick one that fits your motherboard form factor, has good airflow, and fits within your budget. Popular models include the Phanteks P360A and Corsair 4000D Airflow.
Assembling the Parts
Once you have all the components, it’s time to put them together. Here are the steps:
1. Install the CPU
- Open the CPU socket lever and align the CPU with the socket. Note the triangle markings that ensure proper orientation.
- With zero force, lower the CPU into the socket. Close the lever to secure it in place.
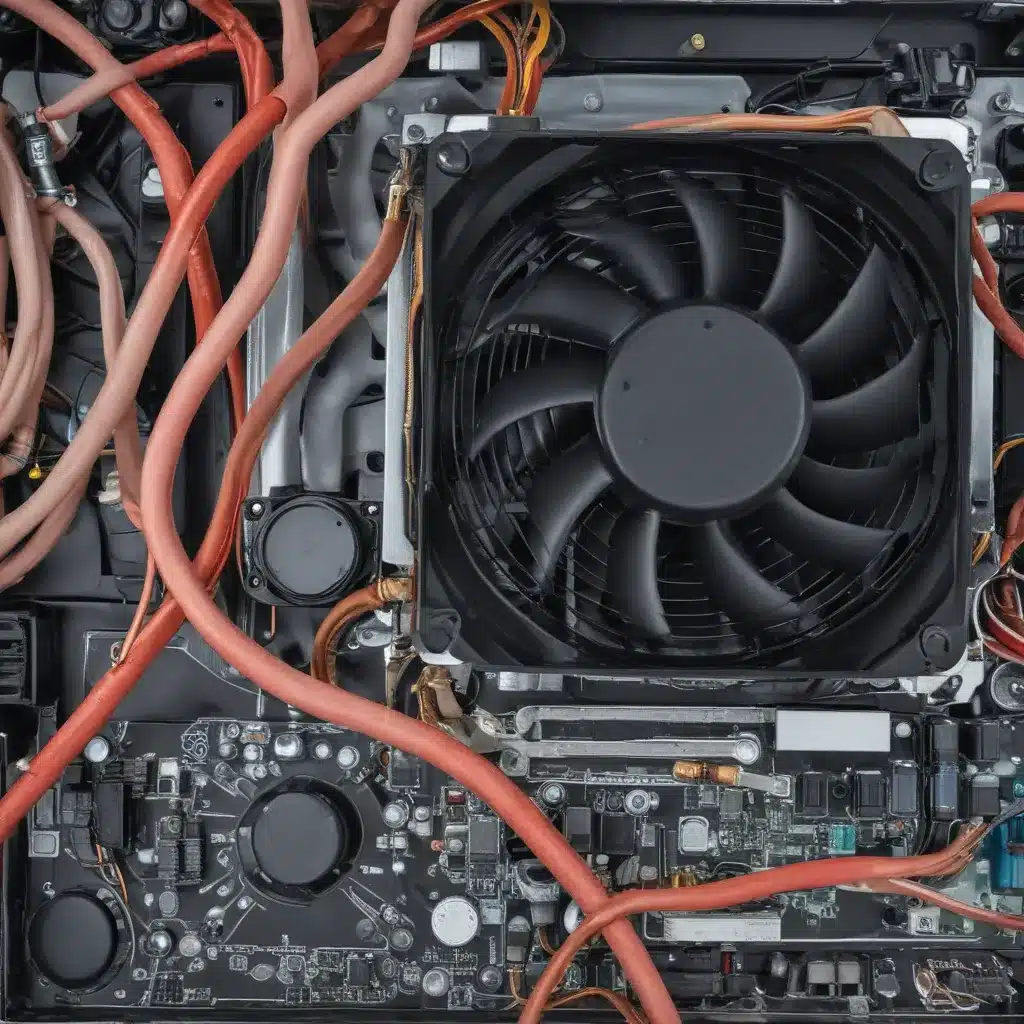
2. Install the CPU Cooler
- Apply thermal paste to the CPU for efficient heat transfer. Use the cooler’s mounting bracket to attach it securely.
- Connect the cooler’s power cables to the appropriate motherboard headers. Many modern coolers will plug into an AIO_PUMP header.
3. Install the RAM
- Locate the RAM slots on the motherboard. Align the notch in the RAM stick with the slot and insert fully until the retaining clips click into place.
4. Install the M.2 SSD
- Locate the M.2 slot on the motherboard. It’s a thin rectangular socket.
- Insert the SSD into the slot at a 30 degree angle. Secure with the small screw on the slot.
5. Install the motherboard
- Place the motherboard into the case standoffs and align it with the rear I/O panel.
- Use the screws that came with the case to secure the motherboard in place. Don’t overtighten.
6. Install the PSU and connect cables
- Insert the PSU into the case mount and use screws to secure it.
- Connect the 24-pin ATX and 8-pin EPS power cables to the motherboard.
- Connect SATA data and power cables between any storage drives and the PSU/motherboard.
- Connect the GPU power cables. The required pins and cables depend on your specific graphics card.
7. Install the GPU
- Unlatch and remove any PCI slot covers on the case for the GPU.
- Align the GPU with the PCI-E slot and press gently until fully seated. Use the case screw or GPU bracket to secure it.
8. Install extra components
- Install any additional components like dedicated sound cards, wireless cards, or RGB lighting controllers.
- Attach case fans, front panel connectors, and internal headers like the power switch, USB ports, audio, and buttons. Consult the motherboard manual.
9. Manage cables
- Neatly route and tie down cables out of the way using cable ties and Velcro straps. This improves airflow.
Installing Software
With the physical build complete, it’s time to install and configure the software:
1. Install Windows
- Insert a USB drive with Windows installation media. Boot into it.
- Follow the on-screen prompts to install Windows 10 or 11 fresh on your new PC.
2. Install Drivers
- Install the latest GPU, motherboard, and other drivers from the manufacturers’ website. Keeping drivers updated is vital.
3. Install Applications
- Open Windows Update and install all the latest updates.
- Install anti-virus, web browser, gaming clients like Steam, and any other desired software.
4. Configure BIOS
- Enter the system BIOS and enable XMP to get your RAM running at the rated speed.
- Tweak settings like fan curves and power profiles or overclock components.
And that’s it! After double checking all connections, power it on and start gaming on your brand new custom-built gaming PC! Let me know if you have any other questions.

