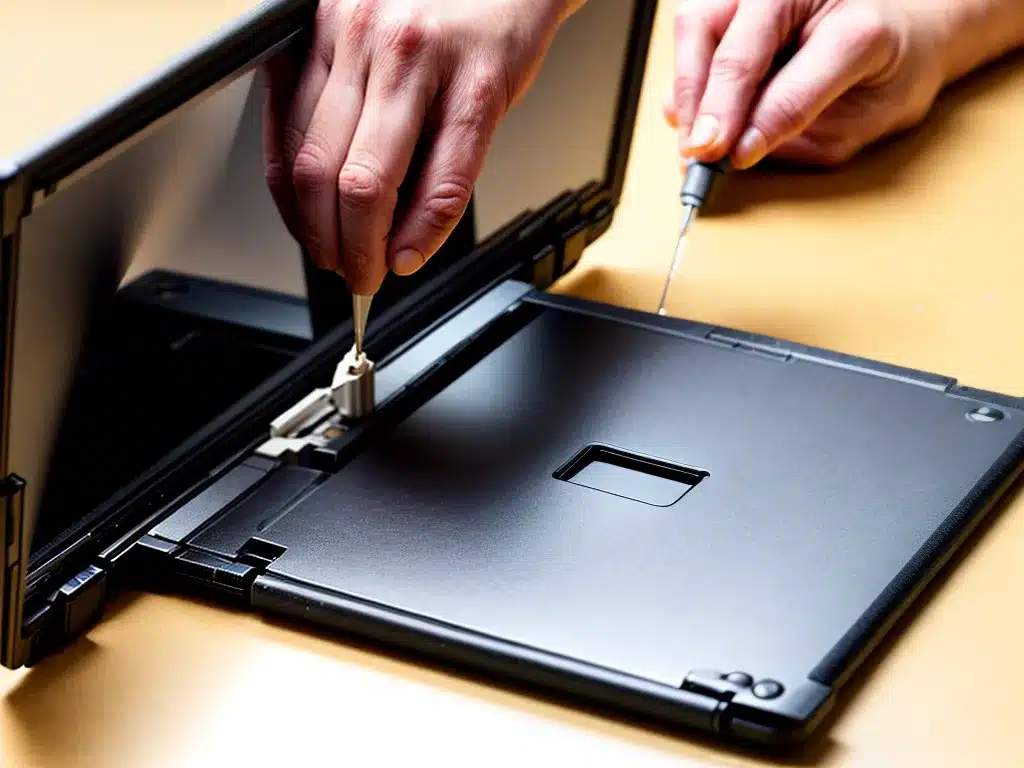
A broken laptop hinge or cracked plastic casing can be annoying and make your laptop less stable or usable. Thankfully, there are some DIY solutions you can try before taking it to a professional repair shop. With a little time and effort, I may be able to fix these common laptop issues on my own.
Assessing The Damage
The first step is to thoroughly inspect the damage.
- Where exactly is the plastic cracked or hinge broken?
- How severe is the damage?
- Are any components exposed or loose?
Taking photos from multiple angles can help me get a better idea of what needs to be repaired. I’ll want to handle the laptop gently to avoid causing any additional damage.
If the damage is minimal, like a small crack or a slightly loose hinge, a DIY fix may be possible. But if large pieces are broken off or components have come loose, I may need to take it to a professional to avoid damaging it further.
Cleaning The Area
Before attempting to fix the hinge or plastic, I’ll want to clean the area to remove any dirt or debris.
- I can use a can of compressed air to blow away dust and lint.
- For more thorough cleaning, I can use isopropyl alcohol and a soft cloth.
Proper cleaning allows the adhesive or epoxy to adhere better during the repair.
Fixing A Loose Or Broken Laptop Hinge
If the laptop hinge is loose or broken, it likely needs to be reattached or replaced. Here are some methods I can try:
- Epoxy resin: Mix a small amount of epoxy, apply it to the loose hinge piece, align it correctly, and clamp it tightly until the epoxy cures. This creates a strong, durable bond.
- Super glue: For quick repairs, I can use just a small drop of super glue on detached plastic pieces and clamp them into the correct position as the glue sets.
- Replace hinge: If the hinge is broken beyond repair, I may need to order a replacement hinge and carefully install it. Manufacturers often sell replacement hinge kits.
I’ll want to be careful not to get any liquid adhesives into the laptop internals while doing these repairs. Patience and applying gentle, even pressure allows the adhesive to set properly.
Fixing Cracked Laptop Casing
For cracks and splits in the plastic laptop casing, here are some DIY repair techniques:
- Plastic welding: Using a soldering iron on low heat, I can melt the edges of the cracked plastic and press them back together. I’ll need to smooth the melted area afterward.
- Sugru moldable glue: This air-dry rubber material can be molded to fill cracks and holes. It bonds strongly once dry.
- Epoxy resin: The two-part epoxy can be mixed and applied over cracks for structural repairs. It will need to be sanded smooth.
- Plastic epoxy putty: This putty-like adhesive is easy to apply over damaged plastics to rebuild the missing pieces.
I’ll want to clean and sand the areas first to help the repair adhere properly. Applying adhesive slowly and evenly is key for an invisible fix.
When To Seek Professional Help
If I don’t feel comfortable performing these repairs on my own, it’s best to seek professional help rather than risk damaging the laptop further. A competent repair tech has the skills and tools to properly assess and fix the issue. They have access to manufacturer parts and techniques if replacements or full disassembly are required.
For expensive laptops or severe damage, professional repair is usually worth the cost to ensure it gets fixed properly. I can ask repair shops for a quote upfront to decide if the cost is reasonable.
With some patience and the right adhesive products, I can likely repair minor laptop hinge and plastic damage myself. But for major component or structural issues, it’s safest to turn to a repair professional rather than risk making it worse.


