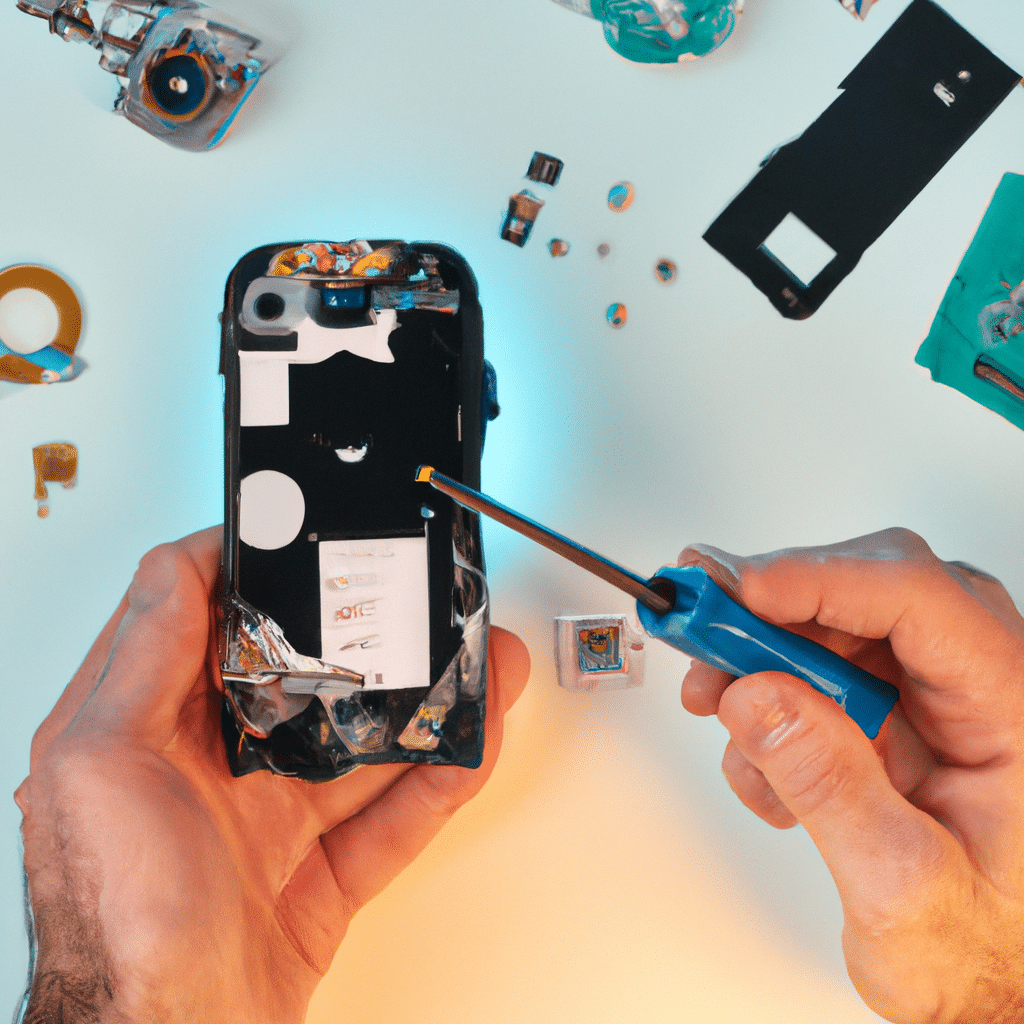
DIY Guide to Replacing a Smartphone Rear Camera
If you have a smartphone with a damaged rear camera, you may be wondering how to fix it without having to spend a lot of money at a repair shop. Fortunately, replacing a smartphone’s rear camera is a task that you can do yourself with the right tools and a little bit of guidance. In this article, we will provide you with a step-by-step guide on how to replace a smartphone rear camera and get your device back to working condition.

Materials Needed
Before beginning the repair process, you will need to ensure that you have all the necessary tools at hand. Here is a list of the materials you will need:
- A replacement rear camera module
- A screwdriver set (including a small Philips and flathead screwdriver)
- A pair of tweezers
- A plastic opening tool
- A heat gun or hairdryer
- A clean workspace
- A magnetic mat (optional but recommended)
Step-by-Step Guide
Step 1: Power Off and Remove the Back Cover
Before attempting to remove the rear camera, turn off your smartphone to prevent any damage to the internal components. Use a screwdriver to remove the screws on the back cover of your device. You can then remove the back cover by using a plastic opening tool to gently pry it off.
Step 2: Locate the Rear Camera
Once you have removed the back cover of your smartphone, you should be able to locate the rear camera module easily. It is typically located near the top of the device and is connected to the motherboard by a small ribbon cable.
Step 3: Disconnect the Ribbon Cable
Using a pair of tweezers, gently disconnect the ribbon cable that connects the rear camera module to the motherboard. Be careful not to damage the cable or the connector.
Step 4: Remove the Rear Camera Module
Use a small Philips screwdriver to remove the screws that hold the rear camera module in place. Once you have removed the screws, use a plastic opening tool to gently pry the camera module out of its housing. Be careful not to damage any of the surrounding components.
Step 5: Replace the Rear Camera Module
Take your replacement rear camera module and insert it into the housing where the old camera module was located. Ensure that it is positioned correctly and that the screw holes line up.
Step 6: Reconnect the Ribbon Cable
Using your tweezers, gently connect the ribbon cable to the new camera module. Ensure that it is securely fastened and that there is no damage to the cable or connector.
Step 7: Reattach the Back Cover
Once you have replaced the rear camera module and reconnected the ribbon cable, you can reattach the back cover of your smartphone. Use a screwdriver to replace the screws that you removed in Step 1.
Step 8: Test the Rear Camera
After completing the repair process, it is essential to test your smartphone’s rear camera to ensure that it is working correctly. Turn on your device and open the camera app to check if the rear camera is functioning correctly. Take a few test shots to ensure that the camera is focused and that the image quality is good.
Conclusion
Replacing a smartphone rear camera is a task that can be done by anyone with the right tools and a little bit of guidance. By following the steps outlined in this article, you can save yourself the cost of a repair shop and get your device back to working condition in no time. Remember to take your time and be careful when handling the internal components of your smartphone to avoid any accidental damage. With a little bit of patience and effort, you can successfully replace your smartphone’s rear camera module and enjoy your device’s features once again.


