Introduction
Building your own PC can be an extremely rewarding experience. As someone who just built my first PC in 2024, I learned a tremendous amount about computer components and got a powerful custom machine perfectly suited to my needs. With some research, patience, and the right parts, you too can have a DIY computer that outperforms pre-built options. In this beginner’s guide, I’ll walk you through the entire process start to finish.
Choosing Parts
Choosing the right components is the most important part of a successful build. High quality parts will lead to a reliable, fast PC that will last you years. Here are the main components you’ll need to select:
CPU (Processor)
The CPU or processor is essentially the brain of your computer. For most gaming and general use builds, a current generation Intel Core i5 or i7 CPU is a great option. AMD also makes very competitive chips like the Ryzen 5 and 7 series. The higher the model number, the faster the CPU.
GPU (Graphics Card)
The graphics card renders all video and graphics on your PC. For serious gaming or video editing, I recommend at least an NVIDIA RTX 3060 or AMD Radeon RX 6600 XT. Higher end cards like the RTX 3080 or RX 6800 XT will enable maxed out gaming settings.
RAM
RAM stores short-term data and helps run multiple programs smoothly. 16GB is the sweet spot for most builds. Faster RAM with higher MHz speeds (3600MHz or above) offers better gaming performance.
Storage
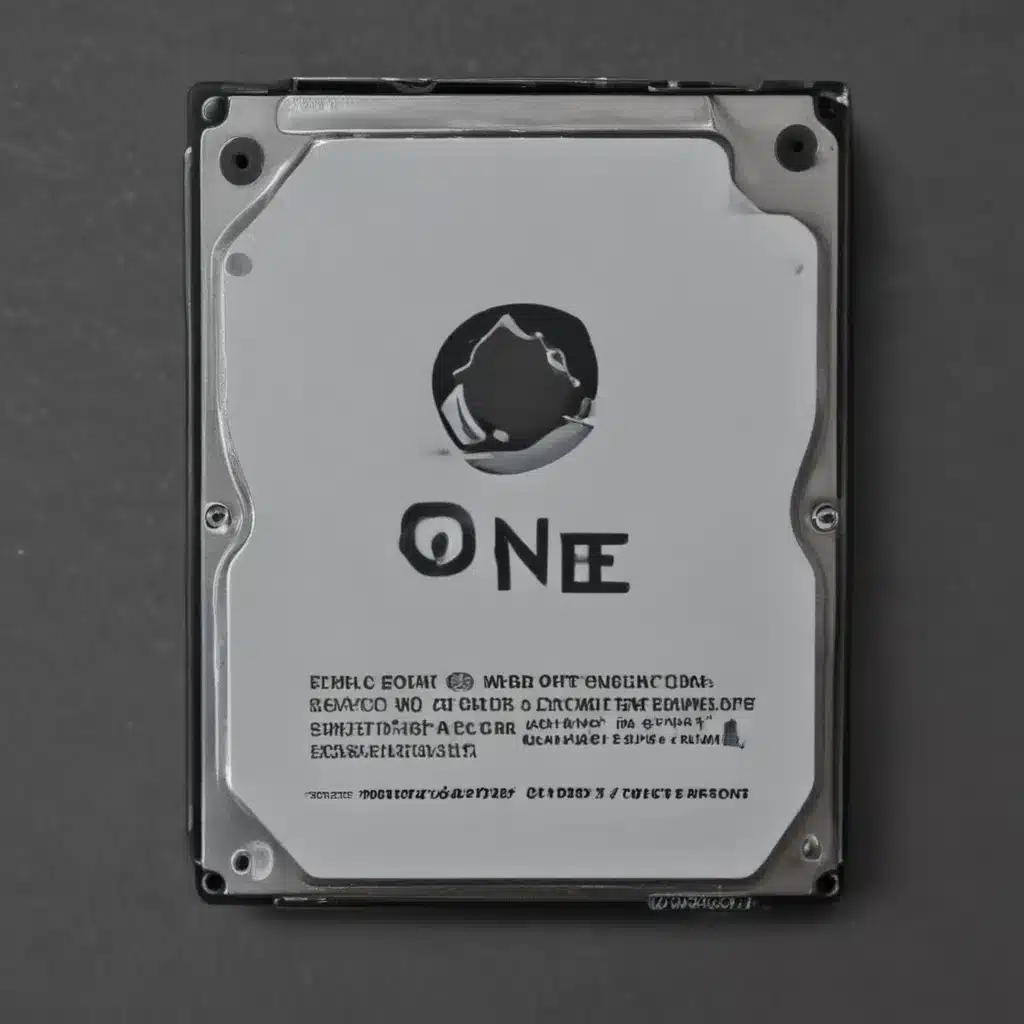
For your operating system and core programs, a 500GB SSD provides fast boot times and app launching. Then add a 1 or 2TB traditional hard drive for bulk storage of other files.
Motherboard
The motherboard connects all your components together. Get one compatible with your CPU socket and features like overclocking. ATX sized boards work for most builds.
Power Supply
Don’t skimp on the PSU. Aim for an 80+ Gold certified unit with at least 650W for high end builds. Efficiency and quality matters more than raw wattage.
Case
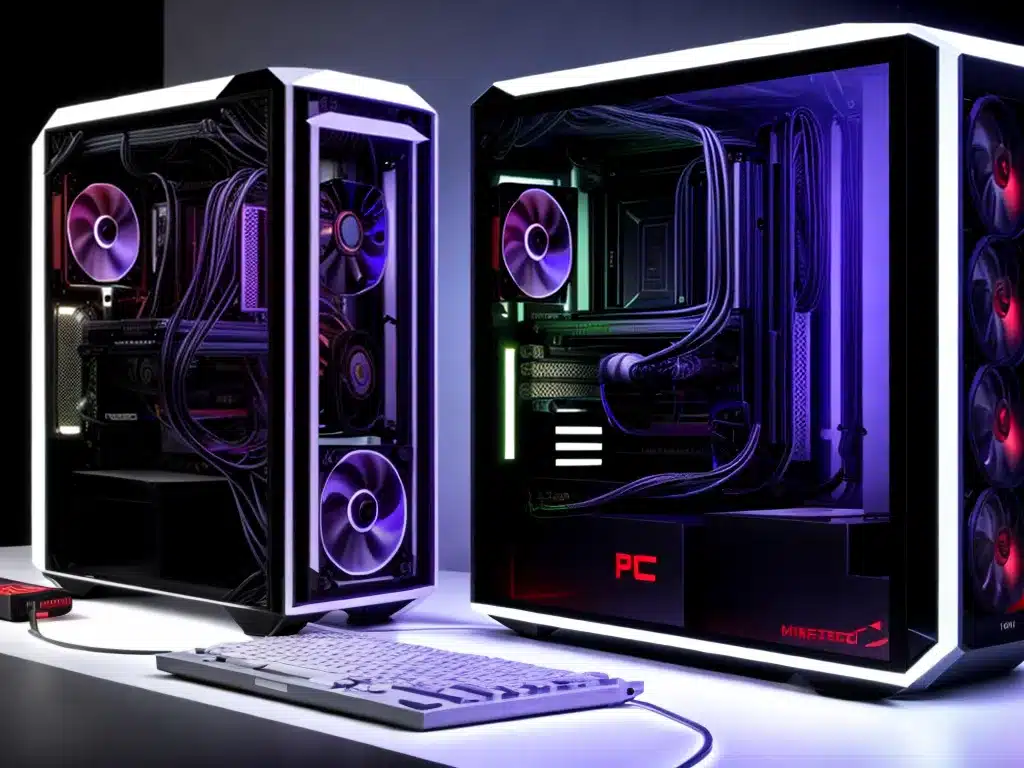
Pick a case with good airflow and build quality. Make sure it’s big enough to fit all your components. Popular brands include Corsair, NZXT, CoolerMaster, and Fractal Design.
Assembling the Parts
Once you’ve carefully chosen compatible parts for your budget and needs, it’s time to put it all together. Here are some step-by-step tips for smoothly assembling your first build:
-
Use a static free workspace to avoid damaging parts with ESD. An anti-static mat is inexpensive and helps a lot.
-
Install the CPU, RAM, M.2 SSD, and any other parts that need seating into the motherboard first. Read manuals to avoid any incorrect installation.
-
Then screw the motherboard into the case along with the power supply and any case fans or liquid cooling radiators. Route and connect case cables.
-
When connecting power supply cables to components, double check you are using the proper cables. Mixing them up can seriously damage parts.
-
For front panel connectors like power and reset buttons, refer to the motherboard manual for wiring diagrams. They can be tricky.
-
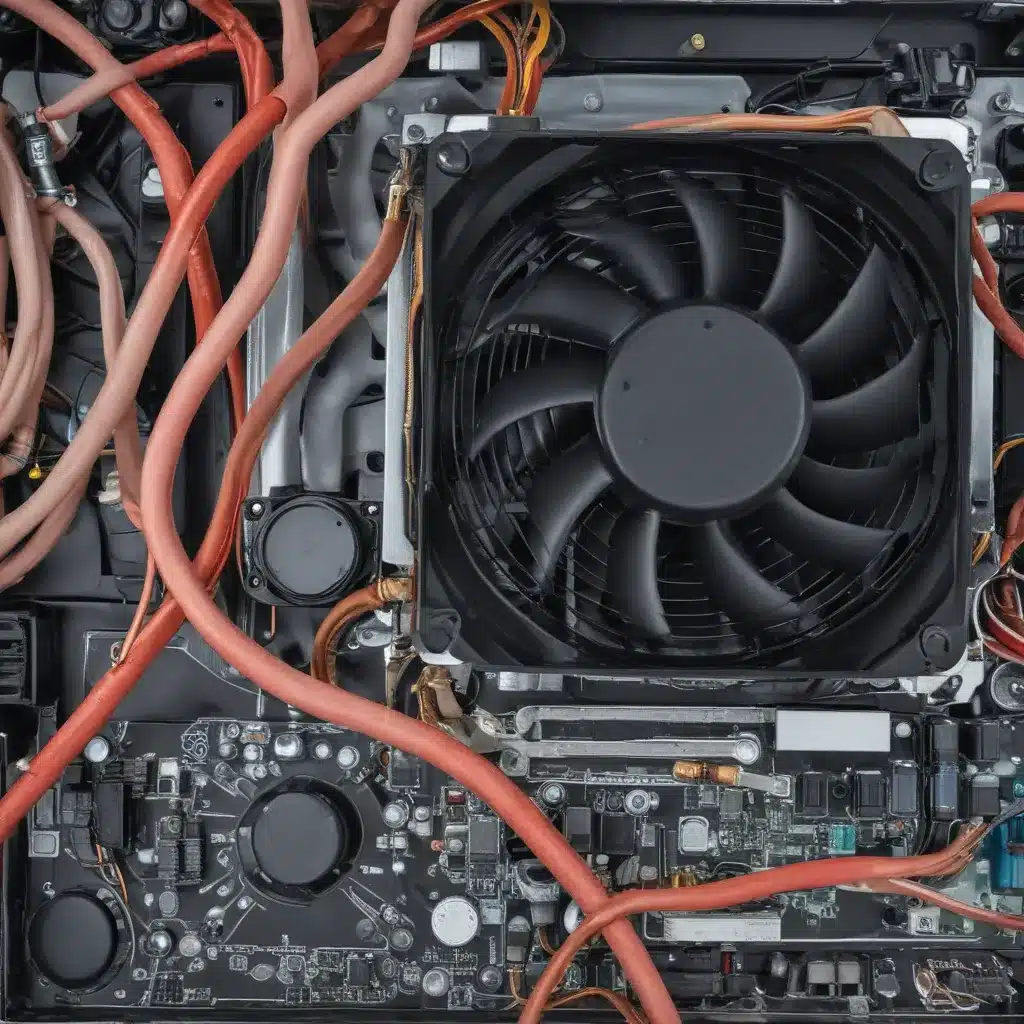
Neatly route and tie down all internal cables with zip ties or velcro strips before closing up the case. This improves airflow.
-
Don’t force anything too hard when installing components and attaching connectors. If something seems stuck, recheck for any obstructions.
-
Save installing the graphics card for last. Use the PCIe x16 slot nearest the CPU for full bandwidth.
Installing Software
After the physical build is complete, you’ll need to install an operating system and software.
-
For gaming rigs, Windows 10 or 11 are the best options. Use a bootable USB drive to install Windows cleanly.
-
Install device drivers from the motherboard and GPU manufacturer websites. Keep them updated.
-
Use a web browser like Chrome or Firefox to download any other essential software and games.
-
An anti-virus program, media player, office suite, game launcher, and monitoring tools are nice additions.
-
Run benchmark tests to check performance and temperatures when under load. Stress test stability.
-
Enable XMP in the BIOS to run RAM at advertised speeds. Fine tune settings like fan curves.
-
Cable manage the exterior and showcase your build! Enjoy your powerful new custom PC.
Troubleshooting Issues
Despite the best preparations, issues can still pop up during the build process. Here are some common problems and solutions:
-
No display on boot – Try reseating the GPU and power cables. Make sure the monitor is plugged into the GPU, not motherboard.
-
Computer boots but crashes – Faulty RAM is likely. Test each stick one at a time in different slots. Also check CPU or GPU temperatures.
-
Peripheral not detected – Try a different SATA port, USB port, or PCIe slot as needed. Reinstall drivers too.
-
Odd noises or vibrations – A fan catching on a cable can make noises. Check fan and pump alignments and cable routing.
-
Overheating components – Improve case airflow and check CPU cooler mounting. Replace thermal paste if temps are still too high.
Don’t hesitate to take your time, methodically retry steps, check connections, and research the specific issue online if any problems do appear.
Conclusion
While building a PC can seem daunting for first-timers, carefully choosing compatible components and following build steps will lead you to a successful boot up. Setting up a well-planned custom rig is a rewarding learning experience and results in a powerful computer made for your exact needs. I hope this beginner’s guide gives you the confidence to begin your own enjoyable PC building journey. Feel free to reach out if you have any other questions along the way!

