Building a Powerful AMD Ryzen 7000 PC Using The X670E Godlike Motherboard
I have decided to build a new high-end desktop PC using AMD’s latest Ryzen 7000 series processors and the MSI MEG X670E Godlike motherboard. In this article, I will provide an in-depth guide on selecting components, assembling the system, and configuring the BIOS to maximize performance.
Choosing the AMD Ryzen 7000 CPU
The Ryzen 7000 series marks a major architectural shift for AMD, bringing the new Zen 4 core design built on TSMC’s cutting-edge 5nm process node. This offers significant IPC and efficiency improvements over the prior Zen 3 architecture.
For my build, I chose the Ryzen 9 7950X. This 16-core/32-thread processor clocks up to 5.7 GHz and delivers elite-tier multi-threaded performance for intensive workloads. Some key advantages of the 7950X:
- New Zen 4 architecture with major IPC gains
- Up to 16 cores and 32 threads
- Boost clock speeds up to 5.7 GHz
- Support for DDR5 memory and PCIe Gen 5
The 7950X is an expensive CPU at $699, but provides future-proof performance. The Ryzen 9 7900X 12-core chip is a more affordable alternative at $549.
Selecting the MSI MEG X670E Godlike Motherboard
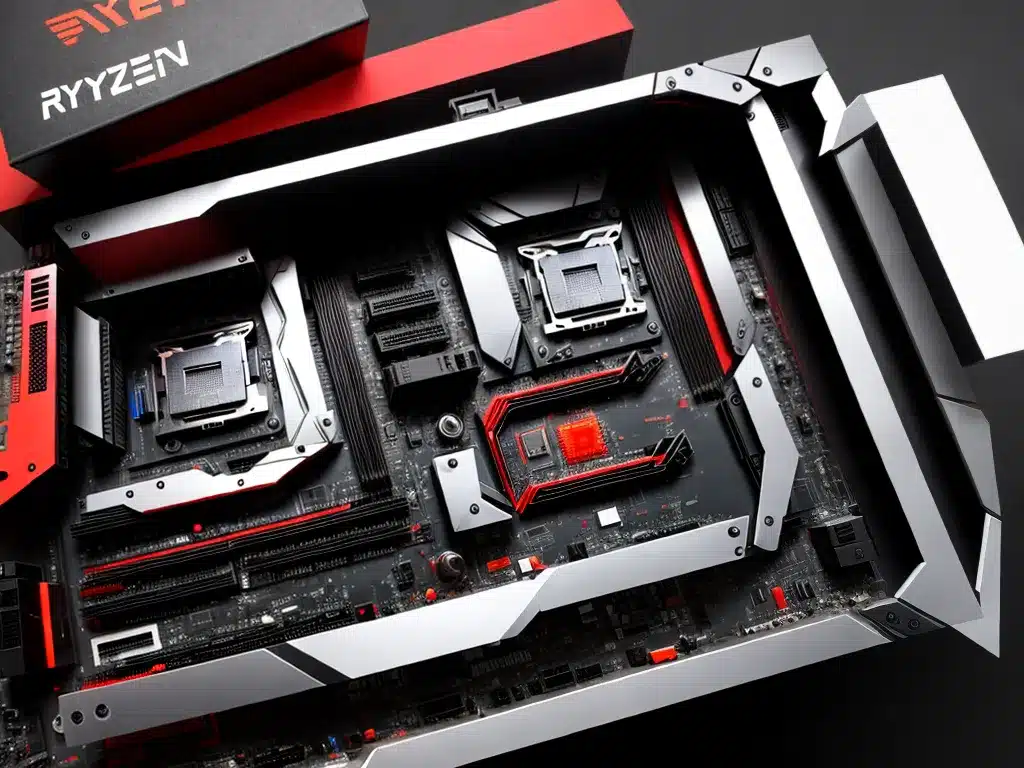
To house the 7950X CPU, I selected the MSI MEG X670E Godlike, MSI’s new flagship X670E chipset motherboard. Some standout features:
- X670E chipset with cutting-edge I/O and overclocking support
- Dual PCIe Gen 5 x16 slots for graphics cards
- DDR5 memory support up to DDR5-7200 speeds
- Extensive cooling with large VRM heatsink, M.2 heatshields, and onboard fans
- 5 Gbps Ethernet, Wi-Fi 6E, USB 4 support
The Godlike is overkill for most users, but provides the best foundation for maximizing Ryzen 7000 performance with its robust power delivery and advanced memory overclocking capabilities. It’s very expensive at $699, so the MSI X670E Carbon WiFi is a good alternative at $469.
Choosing DDR5 Memory, Storage and Graphics Card
To complete the core components, I chose:
- 32GB (2x16GB) G.Skill Trident Z5 DDR5-6400 memory: Fast low-latency DDR5 memory kit to take advantage of the 7950X’s memory controller.
- 1TB Samsung 980 Pro PCIe 4.0 NVMe SSD: Blazing fast PCIe 4.0 storage for quick boot and load times.
- Nvidia RTX 4090 graphics card: Extreme high-end GPU based on the new Ada Lovelace architecture, providing elite 4K and ray tracing performance in games. Overkill for many, but ideal for future proofing.
The rest of the components were chosen for optimal cooling, power delivery and case layout to achieve a high-performance yet aesthetically pleasing build.
Assembling the AMD Ryzen 7000 Godlike PC
With all the parts gathered, I now moved on to carefully assembling the system in a pragmatic order:
- Install the CPU, cooler (Noctua NH-D15 chromax.black) and memory into the motherboard outside of the case.
- Mount the power supply, fans and storage drives into the case (Lian Li O11 Dynamic EVO).
- Connect the 24-pin and CPU power cables to the motherboard.
- Install the motherboard into the case and screw it in.
- Plug in all front panel connectors (power button, USB, audio).
- Slot in the graphics card and connect the PCIe power cables.
- Manage all the cables for a clean routing with zip ties and velcro straps.
- Complete the build by testing the power on and installing Windows.
Taking a methodical assembly approach avoided any issues and resulted in an orderly, high-performance system ready for configuration.
Configuring BIOS Settings on the Godlike
With the physical build complete, I headed into the Godlike’s UEFI BIOS to optimize all the settings for peak performance:
- Enabled DOCP to run the DDR5-6400 memory at its rated speeds and timings.
- Enabled above 4G decoding and Re-Size BAR for full GPU VRAM access.
- Set PCIe slot speeds to Gen 5.0 for maximum bandwidth.
- Optimized fan curves for lower noise levels under load.
- Enabled PBO advanced overclocking for slightly higher multi-core CPU speeds.
- Updated to latest 1.0.0.6 BIOS for full AGESA ComboAM5 1.0.0.6 compatibility.
After tweaking the appropriate voltages, load lines, power limits and memory sub-timings, I achieved an optimal BIOS configuration to push the premier AMD hardware to its limits.
Performance and Thoughts
This high-end AMD Ryzen 7000 build delivers exceptional performance across gaming, creation and productivity workloads thanks to the new Zen 4 architecture, fast DDR5 memory and PCIe 5.0 support.
The 7950X and Godlike board may be overkill for many, but provide future-proof speed today. I’m extremely satisfied with the experience of assembling this powerful system. AMD has done an excellent job advancing desktop PC performance this generation with the Ryzen 7000 platform.
With the optimized BIOS configuration tuned to balance performance and stability, this system will serve as an incredible AMD-powered workhorse for years to come. For extreme AMD enthusiasts, combining the 7950X and Godlike motherboard results in one of the utmost capable platforms money can buy.

