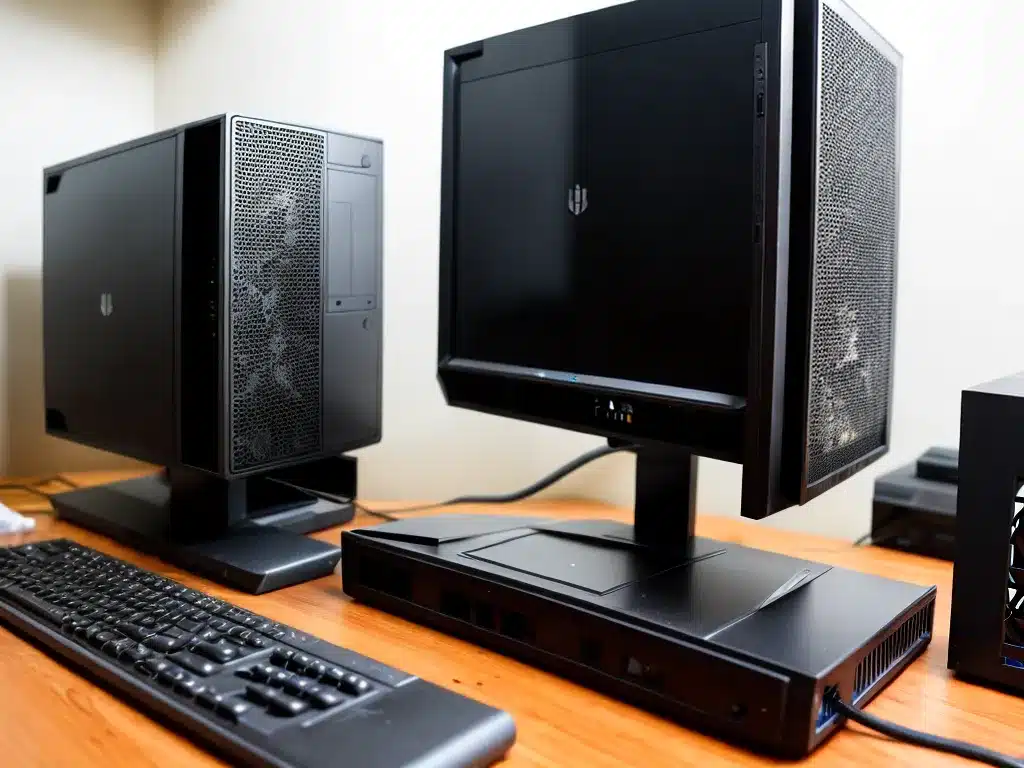
Introduction
Keeping my desktop PC clean and dust-free is important for performance and longevity. Excess dust in a computer can lead to overheating, hardware failure, and crashes. However, cleaning a very dusty desktop PC requires care to avoid damaging sensitive components. In this guide, I’ll share safe cleaning tips to effectively eliminate dust from my desktop computer.
Gather Supplies
Before cleaning, I make sure to have the proper tools and materials:
- Compressed air duster – A must for blowing away dust. Canned air is most convenient.
- Microfiber cloth – For wiping down components. A lint-free cloth avoids leaving fibers.
- Small paintbrush – For dislodging stuck-on dust in tight areas. Soft bristles prevent scratching.
- Isopropyl alcohol – For cleaning off thermal paste or dirt. 90%+ concentration evaporates quickly.
- Zip ties – To hold fans in place when blowing them out. Prevents damage from spinning.
Having the right supplies makes cleaning easier and prevents issues. I keep a dedicated computer cleaning kit ready to go.
Power Down and Unplug
With my materials gathered, I start by shutting down and unplugging the desktop PC. This prevents electric shocks or shorts while cleaning dust in tight spaces.
I also remove the side panel to access the internal components. With the PC unpowered and side panel off, I’m ready to thoroughly clean out dust.
Blow Out Fans and Vents
The first priority is using compressed air to blow out dust from fans and vents. These easily accumulate dust that can impede airflow.
I use zip ties to hold the CPU and case fans in place so they don’t spin from the compressed air. Short blasts of air easily eject dust.
For hard-to-reach fan blades, I use a paintbrush to dislodge stuck-on dust before blowing it out. Repeating this process ensures all fans are dust-free.
Wipe Down Components
Next, I use a microfiber cloth dampened with isopropyl alcohol to gently wipe down components. This lifts away remaining dust and cleans surfaces.
I’m careful not to let any liquid drip onto electronic parts. The cloth just needs to be slightly damp.
For stubborn dirt like old thermal paste, I may use a cotton swab dipped in alcohol to scrub the spot clean. Taking my time prevents spreading the mess around.
Check Inside the Case
With exterior fans and components cleaned, I check inside the case for dust buildup. Over time, dust accumulates on interior surfaces and parts.
Using my paintbrush, I lightly brush away dust from the motherboard, RAM slots, graphics card, and any other interior components. More blasts of compressed air whisk the dust away.
For hard drive bays, I use a microfiber cloth to wipe any dust accumulation off the drives and the bay housing. Keeping internals clean improves airflow.
Clean Air Vents and Filters
Lastly, I use my compressed air to thoroughly blow out all air vents on the case exterior. These easily fill with dust.
If my case has dust filters, I remove them and rinse under running water to clean out accumulated dust. I let them dry completely before replacing in the case.
Doing a final wipedown of the case exterior finishes the process, leaving me with a dust-free PC ready for optimal performance.
Conclusion
Regularly taking the time to clean dust from my desktop PC improves its performance, lifespan, and stability. Carefully using compressed air, microfiber cloths, brushes, and isopropyl alcohol allows me to safely eliminate built-up dust.
Following proper shut down procedures and using the right tools prevents issues like spreading dust or damaging components. With a routine cleaning approach, I can keep my desktop PC running like new.
The effort pays off with a dust-free machine that runs cooler and lasts longer. Keeping the dust away takes patience but is well worth it!


