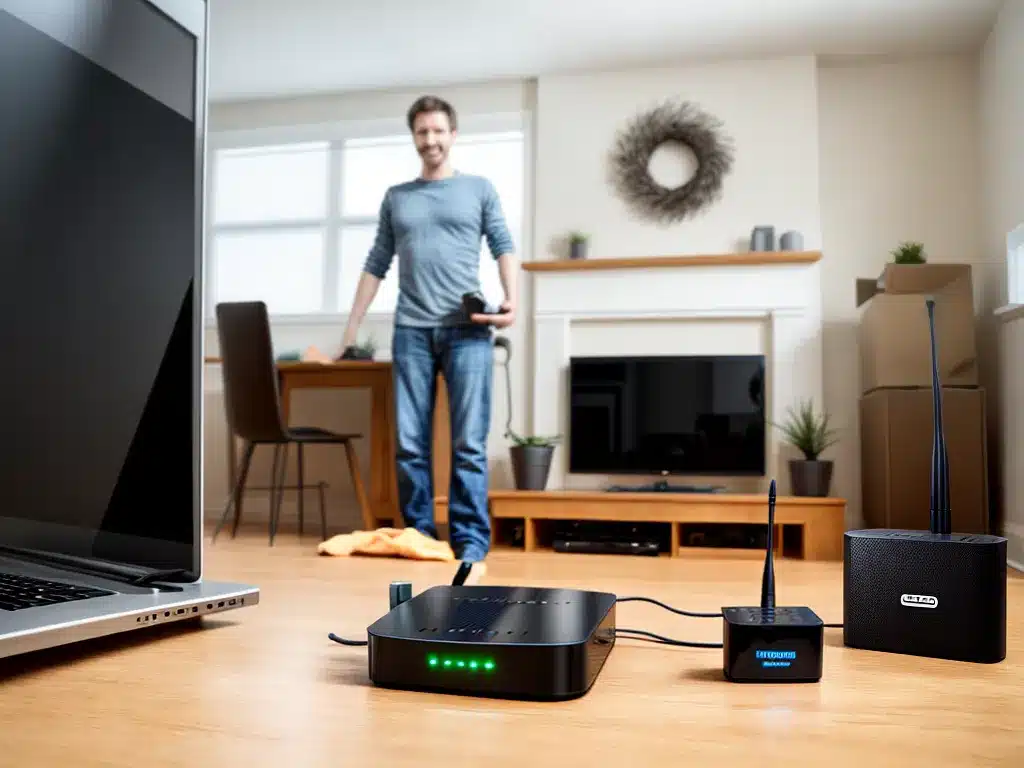
Introduction
Having a wireless network at home can be incredibly convenient. It allows you to access the internet from anywhere in your house without dealing with pesky ethernet cables. Setting up a wireless network may seem intimidating, but it’s actually quite straightforward if you follow these steps. In this guide, I will walk you through the process of setting up a home wireless network from start to finish.
Things You’ll Need
Before getting started, make sure you have the following:
-
Wireless router – This connects to your modem and broadcasts the wireless network. Popular models include those from Netgear, Linksys, TP-Link, and ASUS.
-
Modem – This device connects to your internet service provider. You’ll need to connect the wireless router to the modem.
-
Ethernet cables – Use these to connect the modem to the router if they are not close to each other. You’ll also need one ethernet cable per wired device.
-
Wireless devices – This includes any smartphone, tablet, laptop, or other device with wifi capability that you want to connect to the network.
-
Wireless password – Have a password in mind you’ll use for your wireless network. Make it strong but easy to remember.
Step 1: Position the Wireless Router
The first step is determining where to place your wireless router. It should be in a central area where the wifi signal can easily reach all parts of your home. Try to place it high up and out in the open rather than hidden in a closet or behind furniture.
Ideally, there should be minimal obstructions between the router and your devices to maintain a strong signal. Walls and floors will reduce signal strength so keep that in mind.
Step 2: Connect the Modem to the Router
Next, you need to connect your modem to your wireless router using an ethernet cable.
Locate the “Internet” or “WAN” port on the back of the router. This is where the incoming internet connection from the modem will go.
Run an ethernet cable from your modem’s ethernet/LAN port to the WAN port on the router. This will supply internet to the router so it can broadcast the wireless network.
Do not plug the router into power yet. We’ll do that once everything else is connected.
Step 3: Connect Wired Devices (Optional)
If you have any wired devices to connect, like a desktop PC or network storage, now is the time to hook them up.
The router should have multiple LAN ports on the back that you can plug devices into with ethernet cables. Just make sure to leave at least one LAN port open.
Step 4: Configure the Wireless Settings
With all wired connections in place, we can power on and configure the router itself. Plug the power adapter into the router and switch it on.
The next step is accessing the router admin page. This is where you can name your wireless network and set up security.
To find the router admin page:
-
On your computer, check the network connections and connect to the wireless network name that is printed on the router label.
-
Open a browser window and type in the router’s default gateway IP address printed on the label. This typically looks like “192.168.0.1” or “192.168.1.1”.
-
Enter the router admin username and password (also on the label).
Now you can change your network name or SSID, choose a security protocol like WPA2, and set your new wireless password.
Make sure to save your settings before logging out of the admin interface!
Step 5: Connect Wireless Devices
The moment we’ve been waiting for! It’s time to connect your smartphones, laptops, and other wifi devices.
On each device, pull up the wifi settings and select your newly created wireless network. Enter the password when prompted to join the network.
Confirm internet connectivity by opening a browser or app. You may need to disable cellular data on phones to force it to use the wifi connection.
Step 6: Place the Router in Its Permanent Location
If you temporarily set up the router in a suboptimal spot just to get things running, you can now move it to its ideal position. Get it centrally located and up high to maximize wireless range.
Test connectivity from various spots after moving the router. You may need to purchase a wireless range extender if the signal is weak on the edges of your home.
Troubleshooting Tips
Here are some troubleshooting tips in case you encounter issues:
-
Double check all connections and power.
-
Log into the router admin page and confirm settings were saved.
-
Reset the router to factory defaults if incorrectly configured.
-
Check if wireless is enabled on devices trying to connect.
-
Update wireless drivers and router firmware if connection is spotty.
-
Switch wireless channels on the router if experiencing interference from neighboring wifi networks.
Conclusion
With the steps above, your home wireless network should be up and running! The process seems complicated at first but becomes very simple once you understand how all the pieces work together.
Having a home wireless network frees you from the constraints of ethernet cables. It also allows many devices to share the same high-speed internet connection. Follow the guide carefully and let me know if you have any other questions! Enjoy your new wireless freedom.


