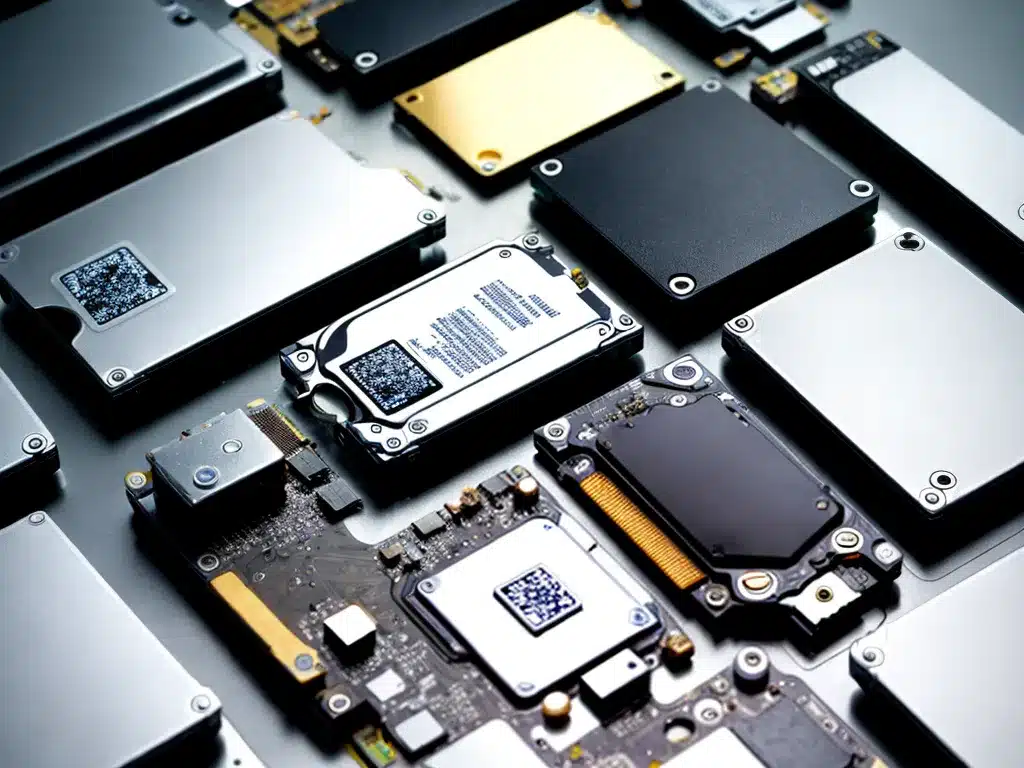
Upgrading from a traditional hard disk drive (HDD) to a solid state drive (SSD) can significantly improve your computer’s performance. Here’s a comprehensive guide on everything you need to know about switching to an SSD.
What is an SSD?
A solid state drive (SSD) is a type of computer storage device that uses flash memory to store data, instead of the spinning platters found in traditional HDDs.
Some key advantages of SSDs over HDDs:
- Much faster read/write speeds – SSDs can be up to 10x faster than HDDs due to not having moving parts. This makes booting up and launching programs near instant.
- Better reliability – No moving parts means SSDs are less prone to mechanical failure.
- Lower power consumption – SSDs consume much less power, resulting in longer battery life for laptops.
- Compact size – 2.5″ SSDs are much smaller than 3.5″ HDDs. Great for small form factor PCs.
The downsides are that SSDs are more expensive per gigabyte compared to HDDs, and have lower storage capacities. However, the speed advantages outweigh these cons for most users.
How to Upgrade to an SSD
Upgrading to an SSD is one of the best ways to significantly speed up an older computer. Here are the steps involved:
1. Choose an SSD
Consider the following when selecting an SSD:
- Form factor – Ensure it fits your computer (2.5″ for laptops, 2.5″/M.2 for desktops)
- Capacity – 250GB to 1TB is ideal for most. Only OS and apps need to be on the SSD.
- Interface – SATA III for 2.5″ SSDs, or PCIe/NVMe for M.2 SSDs. Ensure compatibility.
- Price – ~$100 for a 500GB SATA III 2.5″ SSD, ~$150 for a 1TB.
I recommend the Samsung 870 EVO or Crucial MX500 which provide excellent performance for the price.
2. Backup important data
Before beginning the upgrade, ensure you backup all important files just in case anything goes wrong. Copy them to an external HDD or cloud storage.
3. Clone the HDD to the SSD (optional)
For migrating your OS, apps, and files seamlessly to the new SSD, you can clone your HDD to the SSD using software like Macrium Reflect.
This will replicate the exact contents of your HDD onto the SSD, partitions and all. You can then replace the HDD with the SSD and boot up normally.
4. Physically install the SSD
- For desktops, install the 2.5″ SSD into a 3.5″ drive bay using a mounting bracket. Or slot an M.2 SSD directly into the motherboard.
- For laptops, replace the existing 2.5″ HDD with the new 2.5″ SSD.
Consult your computer or motherboard manual for exact installation instructions.
5. Do a clean OS install on the SSD (recommended)
For best performance, I recommend doing a clean install of your operating system (OS) onto the SSD instead of cloning.
Follow these steps:
- Back up important data as mentioned in Step 2.
- Boot from the Windows or Mac OS installation media.
- Delete all partitions on the SSD during the OS installation process.
- Install the OS directly onto the blank SSD.
- Install drivers, apps, and transfer data back.
This ensures your OS starts fresh and optimized for your SSD.
6. Reconnect old HDD for extra storage
Once the OS is installed on the new SSD, you can reconnect your old HDD to use as a secondary data drive.
This lets you take advantage of the SSD’s speed, while still having access to your full data collection on the HDD.
The Results
After upgrading to an SSD, you will notice:
- Faster boot times – Your computer will boot in seconds instead of minutes.
- Quick application launch times – Programs open instantly instead of having lag.
- Snappier overall feel – Everything from launching apps to file transfers feels much more responsive.
Upgrading to an SSD provides one of the biggest perceivable performance boosts you can make to a computer. While you can get by with a HDD, once you try an SSD you won’t want to go back!


