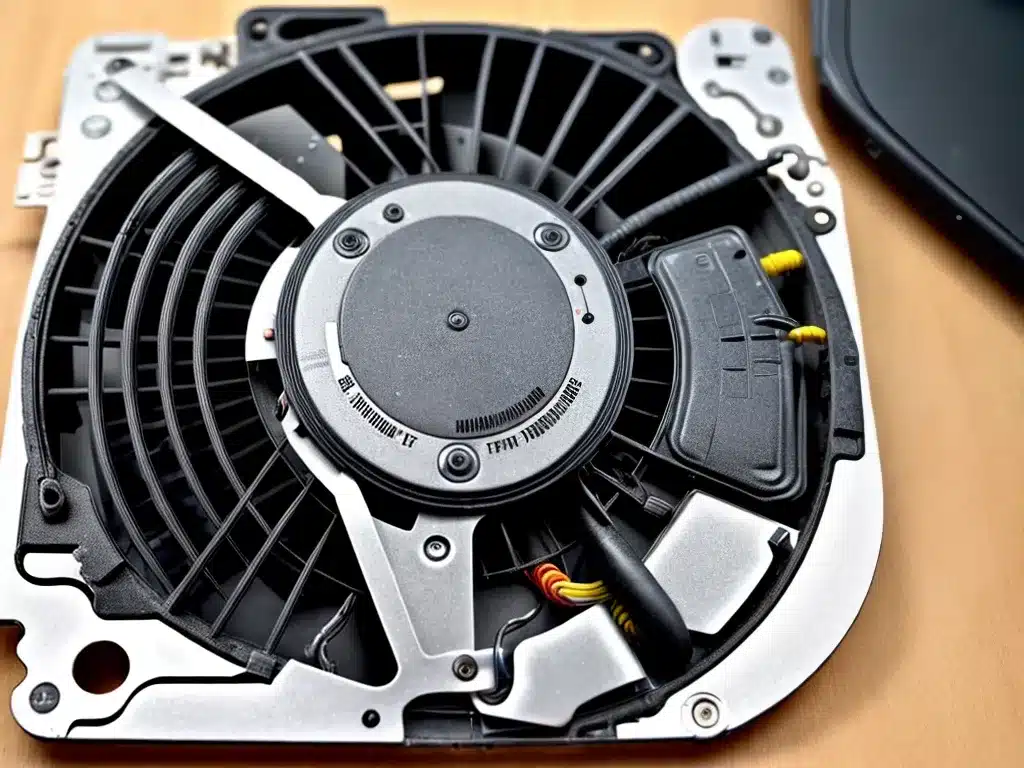
Replacing a faulty laptop fan yourself can seem daunting, but with the right tools and patience, it can be done! Here is a step-by-step guide on how to do it.
Determine if the Fan is Faulty
The first step is to determine if the fan is actually faulty. Here are some signs your laptop fan may need replacing:
- Loud whirring or grinding noises coming from the fan
- Fan constantly running at full speed even when laptop is idle
- Laptop overheating or shutting down from overheating
- Obvious rattling/shaking coming from inside the laptop
If you notice any of these issues, it’s likely the fan needs to be replaced.
Gather the Required Tools
Replacing a laptop fan requires some specific tools:
- Small Philips screwdriver
- Tweezers
- Small flathead screwdriver
- Thermal paste/pads
- Replacement fan (make sure it is compatible with your laptop model)
Having the right tools is crucial, as laptops require extremely small screws to be removed. Do not attempt this without the proper screwdrivers.
Disassemble the Laptop
With the tools gathered, it’s time to take the laptop apart:
- Unplug the laptop and remove the battery.
- Remove any screws from the bottom panel and carefully pry it off.
- Locate the fan housing and remove any screws securing it in place.
- Gently lift the fan housing out of the laptop. Be extremely careful not to damage any cables.
Remove the Faulty Fan
Now that the fan is exposed, it can be removed:
- Carefully unplug the fan cable from the motherboard.
- Remove any screws securing the fan to the housing.
- Lift the fan out of the housing. Be sure to make note of the fan’s orientation for reassembly.
Install the Replacement Fan
Installation of the new fan is the reverse of removal:
- Place the new fan into the housing in the same orientation as the old one.
- Secure it with the same screws.
- Reconnect the fan cable to the motherboard.
- Place the fan housing back into the laptop and replace the screws.
Be sure not to pinch any cables when placing the housing back.
Reassemble the Laptop
With the new fan installed, all that’s left is to reassemble the laptop:
- Replace the bottom panel and any screws.
- Reconnect the battery and any other components you removed.
- Power the laptop on and ensure the new fan is detected and functioning.
And that’s it! With some care and patience, you can successfully replace a faulty laptop fan yourself. Just be sure to use the proper tools and follow all steps closely.


