Unleash the Power of Solid-State Bliss
As a self-proclaimed tech enthusiast, I’ve been through my fair share of computer upgrades and repairs. But let me tell you, the day I decided to upgrade my trusty old hard drive to a shiny new SSD was truly a game-changer. It was like waking up from a tech-induced slumber and realizing the true potential of my machine.
Imagine this: you boot up your computer, and instead of the familiar, sluggish whirring of a traditional hard drive, your machine springs to life with lightning-fast responsiveness. No more waiting for what feels like an eternity for your programs to load or your files to open. It’s a transformation that can breathe new life into even the most outdated of systems.
Why SSD? The Benefits Unveiled
The reasons to upgrade to an SSD are numerous and compelling. [1] First and foremost, the speed and performance boost are simply unparalleled. SSDs use flash memory to store data, which means they have no moving parts and can access information much faster than their spinning-disk counterparts. This translates to lightning-fast boot times, near-instant program launches, and seamless multitasking.
But the benefits don’t stop there. SSDs also tend to be more durable and reliable, as they’re less susceptible to physical damage and mechanical failures. [2] Additionally, they generate less heat and operate more quietly, making for a more pleasant computing experience.
And let’s not forget the sheer convenience factor. With an SSD, you can say goodbye to the constant worry of running out of storage space. Their capacity may not be as vast as traditional hard drives, but the tradeoff in speed and reliability is more than worth it for most users.
Preparing for the Upgrade
Now, I know what you’re thinking: “Upgrading to an SSD sounds amazing, but where do I even begin?” Well, my friend, fear not, for I’m about to take you on a step-by-step journey towards SSD bliss.
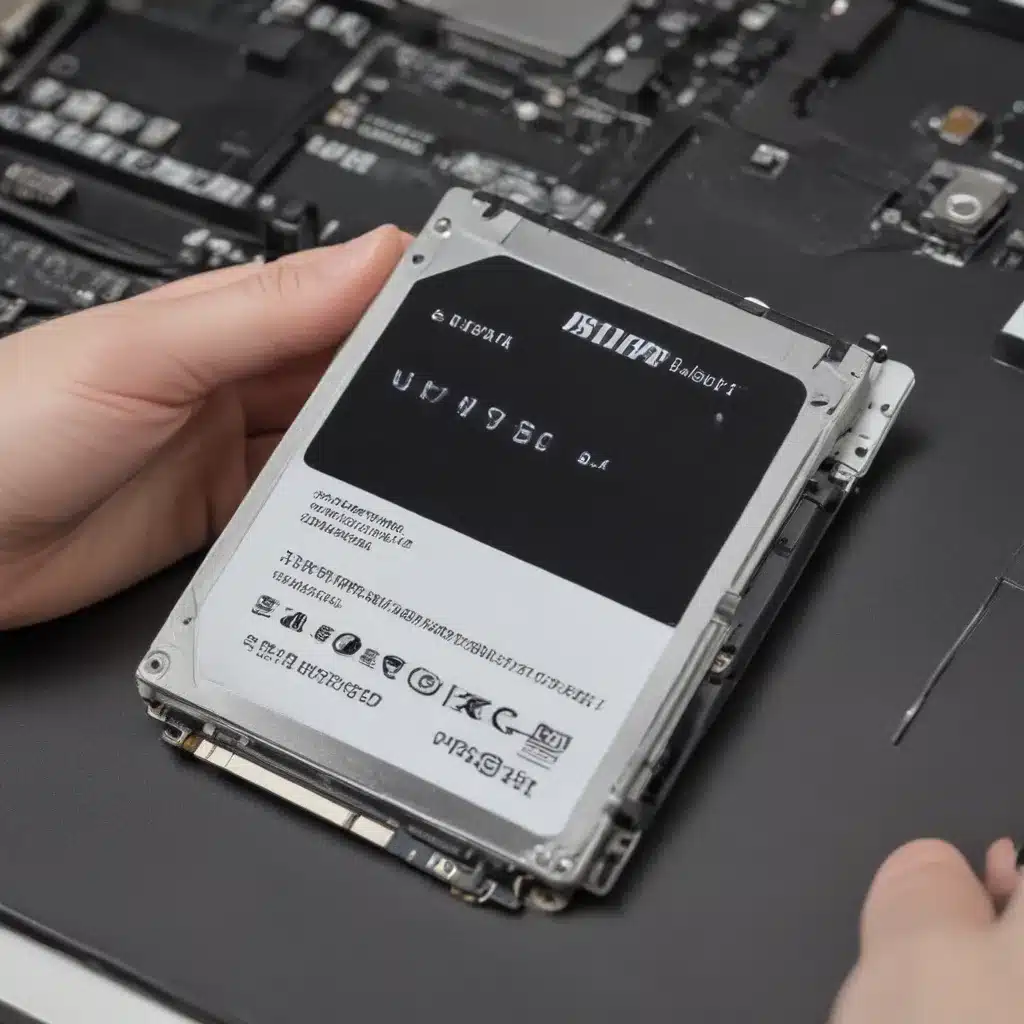
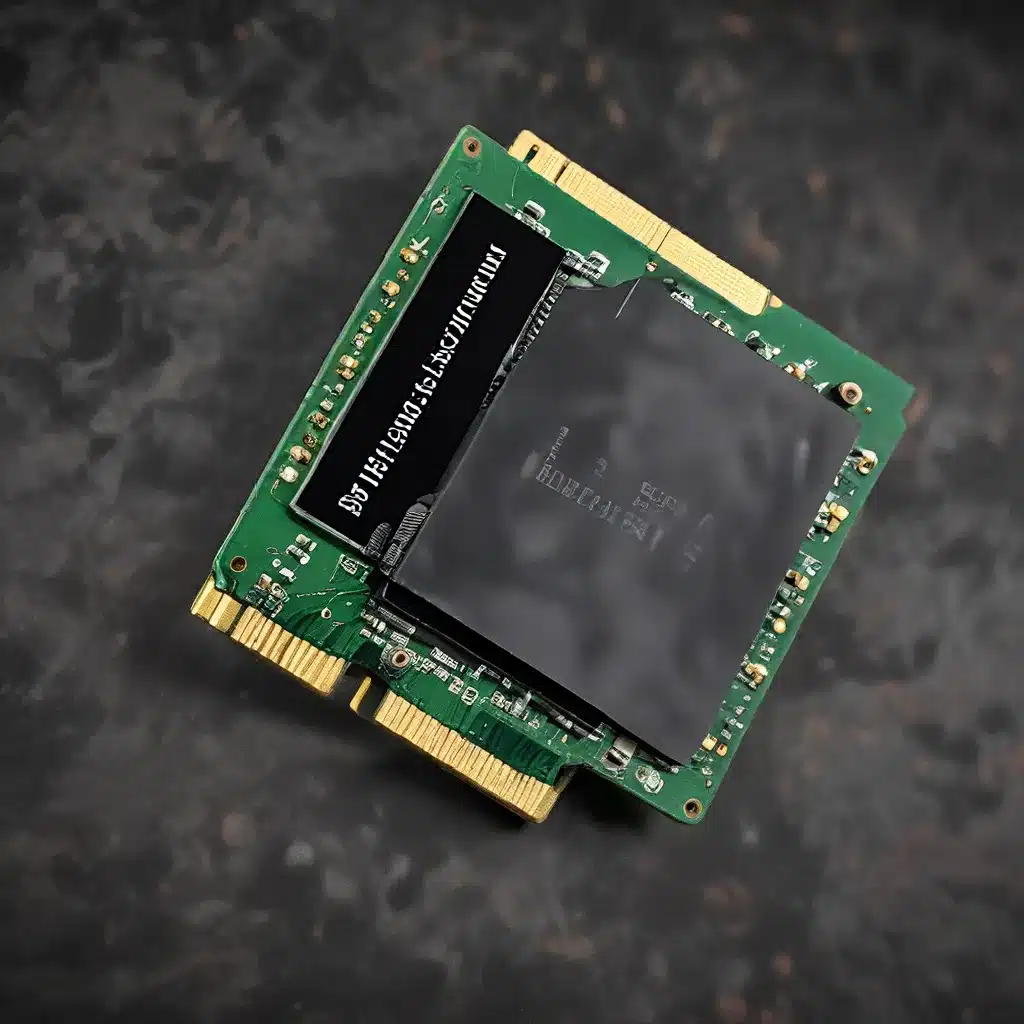
First and foremost, you’ll need to decide on the right SSD for your needs. [3] Consider factors like storage capacity, form factor (2.5-inch or M.2), and your budget. Once you’ve made your selection, it’s time to gather the necessary tools and materials.
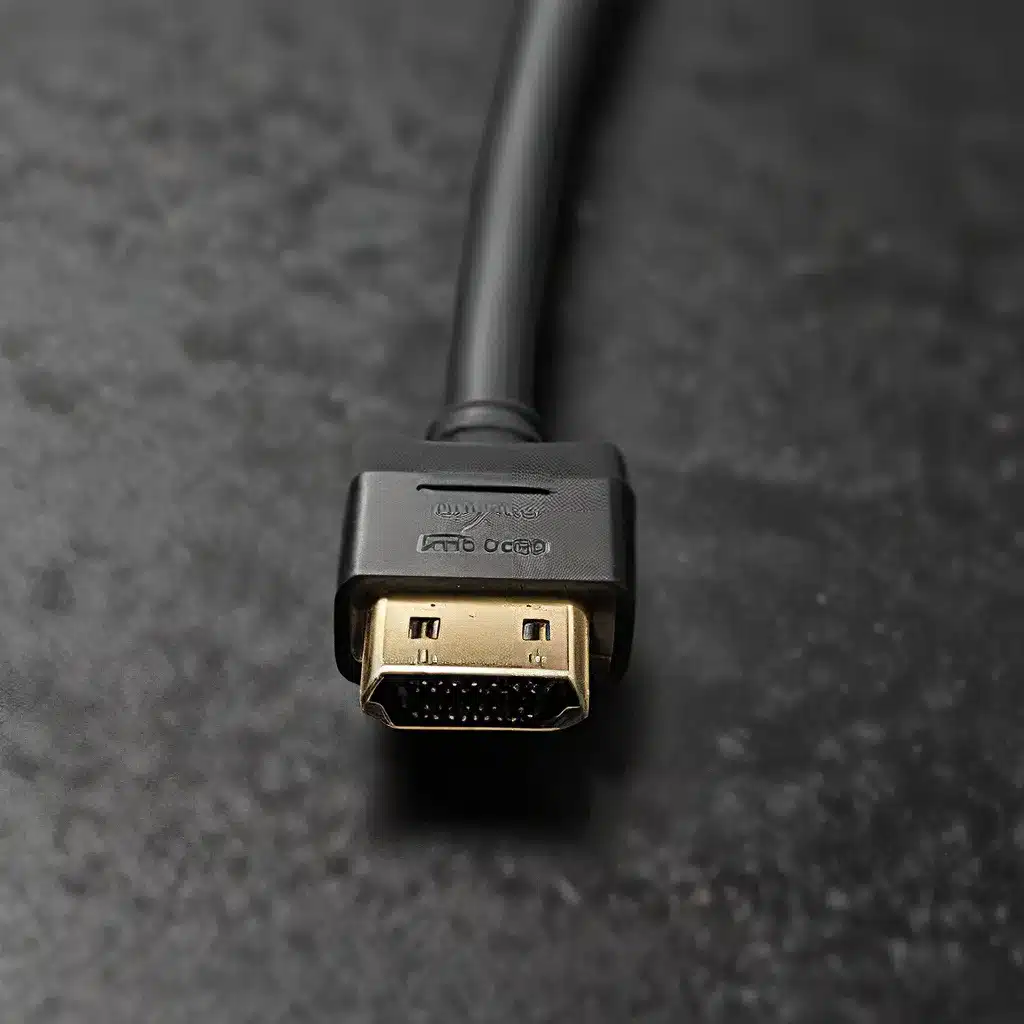
You’ll need a fresh Windows 11 installation media, either on a USB drive or a DVD. [4] If you’re using a USB drive, make sure it has at least 8GB of storage. You’ll also need a SATA cable to connect the new SSD to your computer, as well as a small Phillips screwdriver for the physical installation.
Step 1: Back Up Your Data
Before you even think about cracking open that case, it’s crucial to back up all of your important data. [5] This includes documents, photos, videos, and any other files you can’t bear to lose. There are plenty of cloud storage solutions and external hard drives out there to help you safeguard your digital treasures.
Once you’ve got your data securely backed up, it’s time to move on to the next step.
Step 2: Install the SSD
With your new SSD in hand and your backup safely stored away, it’s time to get your hands dirty. [6] Carefully power down your computer and disconnect the power cable. Then, locate the existing hard drive and remove it from the system.
Gently insert the new SSD into the available SATA port, making sure it’s firmly seated. [7] Secure the SSD with the appropriate screws, and then reconnect the SATA and power cables.
Step 3: Install Windows 11
Now, it’s time to breathe new life into your system. [8] Insert the Windows 11 installation media and boot up your computer. Follow the on-screen instructions to install the operating system on your shiny new SSD.
During the installation process, you’ll be prompted to select the drive where you want to install Windows. Make sure to choose the new SSD to ensure the full benefits of your upgrade.
Step 4: Restore Your Data
With Windows 11 now happily residing on your SSD, it’s time to restore your precious data. Simply copy over the files you backed up earlier, and you’ll be good to go.
Keep in mind that you may need to reinstall some of your programs, as the installation files were likely stored on the old hard drive. But don’t worry, this is a small price to pay for the lightning-fast performance you’re about to experience.
The Moment of Truth: Revel in the Difference
As you power on your computer and watch it spring to life, you’ll be greeted with a sight that will make your tech-loving heart skip a beat. The once-sluggish boot process will now be a thing of the past, replaced by a near-instantaneous startup that will have you wondering, “Did I just time travel to the future?”
And that’s just the beginning. Opening files, launching programs, and even just navigating your system will feel like a breeze, leaving you wondering how you ever lived with that old hard drive.
Conclusion: Embrace the SSD Revolution
Upgrading to an SSD is truly a transformative experience, one that can breathe new life into even the most outdated of computers. By following this step-by-step guide, you’ll be well on your way to unlocking the full potential of your machine and enjoying the blissful performance of solid-state storage.
So, what are you waiting for? Embrace the SSD revolution and let your computer take flight!
[1] https://www.youtube.com/watch?v=vXpAsf7SJ3M
[2] https://answers.microsoft.com/en-us/windows/forum/all/clean-install-of-windows-11-on-ssd-current-os-on/e3fc087c-f91a-4944-bc2b-473d231f3338
[3] https://www.youtube.com/watch?v=fq88-jsJhew
[4] https://rog.asus.com/articles/guides/how-to-upgrade-the-ssd-and-reinstall-windows-on-your-rog-ally/
[5] https://www.youtube.com/watch?v=BPTf0dFx7iY
[6] https://answers.microsoft.com/en-us/windows/forum/all/how-to-migrate-only-the-os-to-a-new-ssd/3e8dc852-0300-4406-a989-800951f5ea40
[7] https://www.youtube.com/watch?v=IR9JFlL0lNc
[8] https://www.reddit.com/r/SteamDeck/comments/185cor7/step_by_step_guides_for_changing_the_oleds_ssd/

