Navigating the Minefield of Windows 11 Upgrades
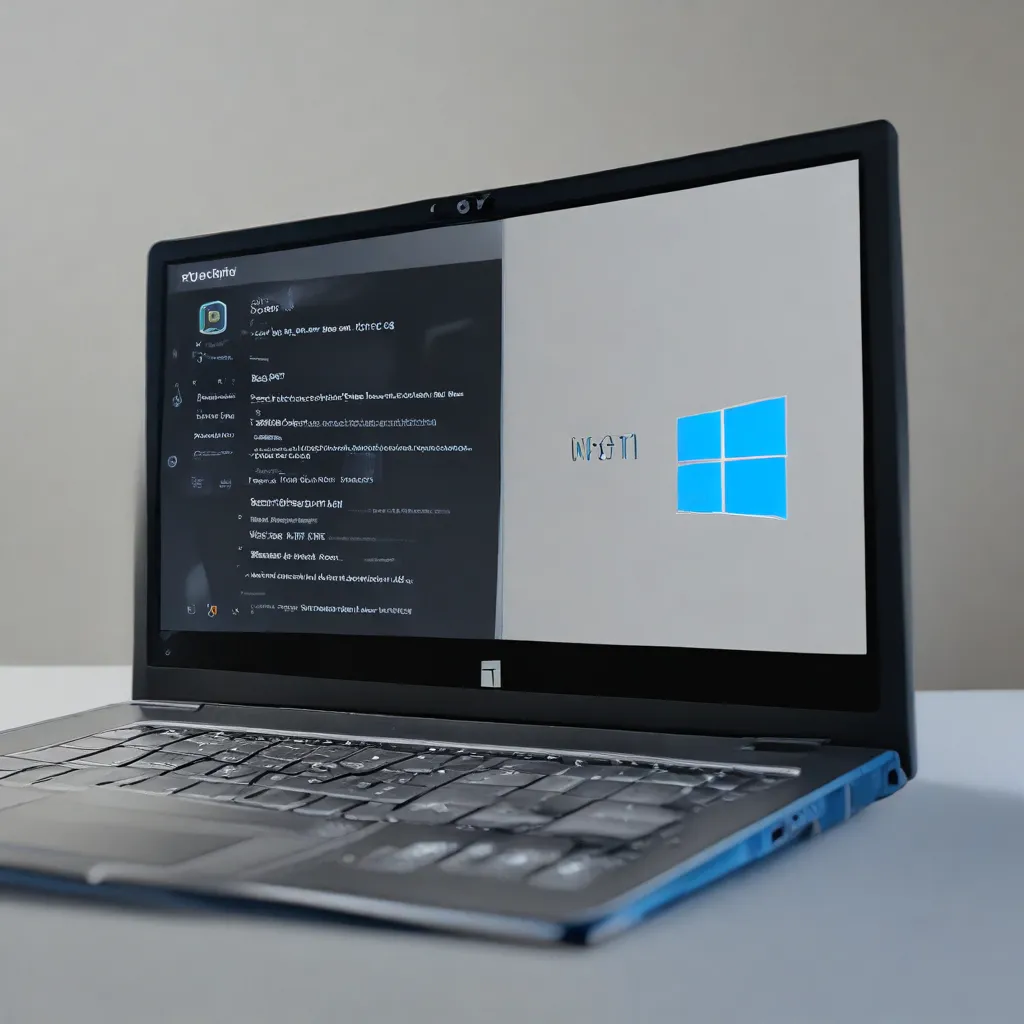
As an IT professional, I’ve seen my fair share of Windows upgrade woes. From blue screens of death to mysterious error codes, the journey to Windows 11 can feel like walking through a minefield – one wrong step, and your whole system comes crashing down. But fear not, my fellow tech enthusiasts! I’m here to guide you through the treacherous terrain of Windows 11 installation and upgrade errors, armed with the knowledge to get your system back on track.
Understanding the Upgrade Process
Installing or upgrading to Windows 11 is a complex dance, with a myriad of variables that can trip you up. From hardware compatibility to outdated drivers, the upgrade process is a delicate balancing act. But don’t worry, I’ve got your back. Let’s start by understanding the key steps involved in the upgrade process.
First, you’ll need to ensure your device meets the minimum hardware requirements for Windows 11. This includes a compatible processor, at least 4GB of RAM, and 64GB of storage. If your device falls short, you may encounter errors like 0xC1900202 – 0x20008, indicating that your machine just doesn’t have what it takes to make the leap.
Next, you’ll want to ensure that all your drivers and software are up to date. Outdated or incompatible drivers can wreak havoc on the upgrade process, leading to errors like 0xC1900101 – 0x20017 and 0xC1900101 – 0x30017. Trust me, you don’t want to be the one dealing with a malfunctioning printer or a glitchy sound card in the middle of an upgrade.
Troubleshooting Common Errors
Now, let’s dive into the nitty-gritty of troubleshooting those pesky Windows 11 upgrade errors. I’ve got a few tricks up my sleeve that might just save the day.
Insufficient Disk Space
One of the most common issues I see is a lack of available disk space. Windows 11 requires at least 16GB of free space for a 32-bit installation or 20GB for a 64-bit installation. If your drive is running low, you might encounter errors like 0x80070070 – 0x50011 or 0x80070070 – 0x60000. The solution? Clear out some space on your hard drive. Delete those old game files, uninstall unused programs, and give your system a good ol’ digital spring cleaning.
Compatibility Issues
Another common culprit is hardware or software incompatibility. If you’ve got a funky peripheral or that dodgy antivirus program, they might just tank your upgrade. Look out for errors like 0x800F0923 or 0x8007042B – 0x4000D. The fix? Unplug any unnecessary hardware, ditch the dodgy antivirus, and make sure your drivers are up to date. It’s like a digital spring cleaning for your system.
Conflicting Background Processes
Sometimes, the culprit is a sneaky background process that just doesn’t want to play nice with the upgrade. Errors like 0x8007042B – 0x4000D and 0x800700B7 – 0x2000a might indicate that a rogue program is sabotaging your upgrade. The solution? Perform a clean boot and flush out those pesky background processes. It’s like a digital exorcism for your system.
Staying Vigilant and Proactive
Now, I know what you’re thinking: “But what if I encounter an error I’ve never seen before?” Fear not, my tech-savvy friend. The key to weathering any Windows 11 upgrade storm is to stay vigilant and proactive.
First and foremost, always keep your system up to date. Regular Windows updates and driver updates can help you avoid a lot of compatibility issues down the line. And if you do run into a problem, don’t hesitate to reach out to the wonderful IT Fix team. They’re like digital first responders, ready to swoop in and save the day.
Remember, upgrading to Windows 11 is a journey, not a destination. With a bit of patience, a healthy dose of troubleshooting skills, and the right support, you can conquer even the most daunting of upgrade errors. So, grab your digital toolbox, take a deep breath, and let’s get to work – your Windows 11 upgrade awaits!

