Navigating the Dual Display Dilemma
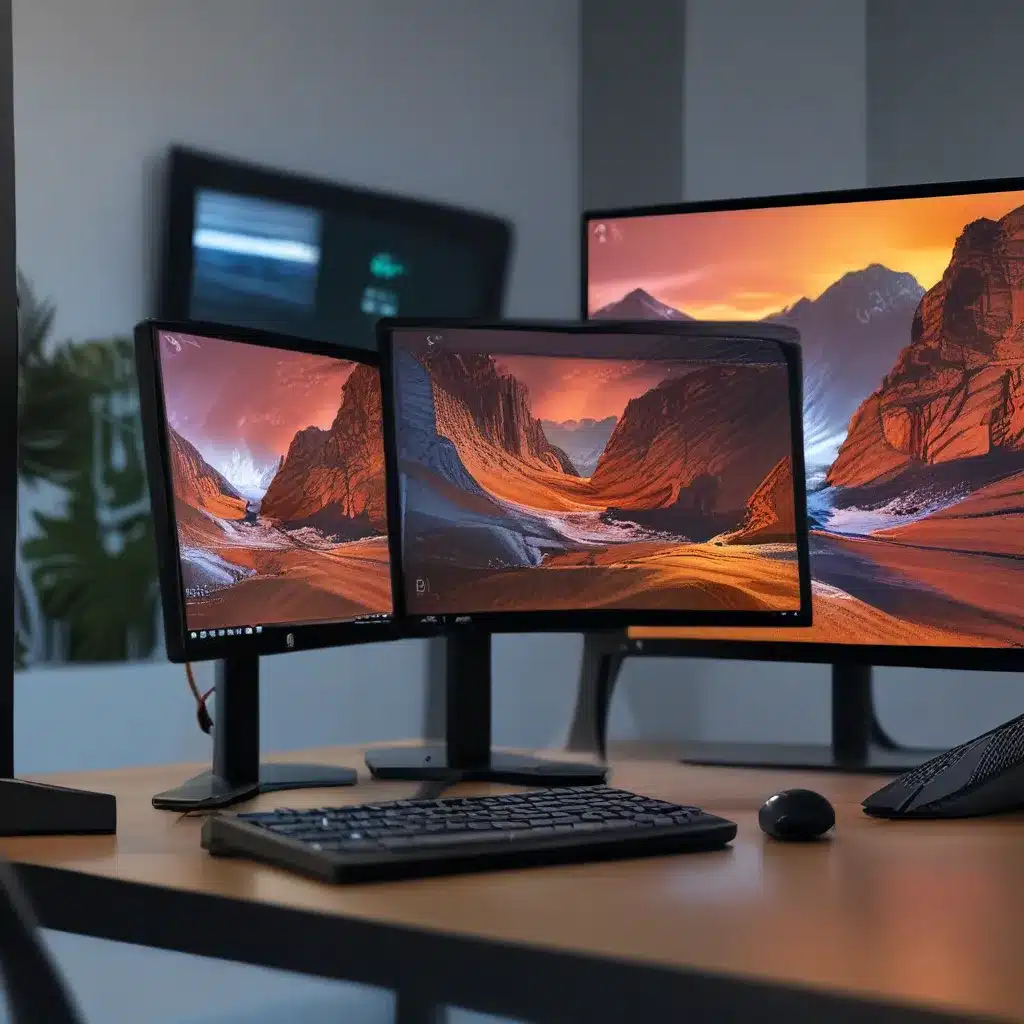
As an avid tech enthusiast, I’ve always been a big proponent of the multi-monitor setup. There’s just something incredibly satisfying about sprawling my workflow across multiple screens, with endless virtual real estate to organize my digital life. But, as with most things in the world of technology, it’s not always smooth sailing. In fact, I’ve had my fair share of run-ins with pesky monitor issues on my Windows 11 machine.
One day, I was blissfully working away, basking in the glory of my dual-display setup, when suddenly, disaster struck. My secondary monitor simply stopped displaying anything – just a cold, lifeless black screen. Now, I’ve been down this road before, and let me tell you, it’s never a fun experience. But fear not, my fellow Windows warriors, for I have weathered the storm and emerged victorious, armed with a wealth of knowledge to share.
Troubleshooting the “No Signal” Conundrum
The dreaded “no signal” error is one of the most common problems you might encounter when setting up multiple monitors in Windows 11. And let me tell you, it can be downright maddening. But don’t worry, there are a few troubleshooting steps you can try to get that stubborn display back online.
First and foremost, make sure your cables are securely connected. A loose HDMI or DisplayPort cable can be the culprit, so give them a gentle tug to ensure they’re properly seated. If that doesn’t do the trick, try unplugging and reconnecting them, just to be on the safe side.
If the cables check out, the next step is to force Windows to detect your monitor. Right-click on your desktop and select “Display Settings.” In the resulting window, look for the “Detect” button, and give it a good ol’ click. This should prompt Windows to scan for any connected displays and hopefully bring your second monitor back to life.
But what if that still doesn’t work? Well, you could try turning the display off and on again. Believe it or not, this simple trick can sometimes be the solution to your woes. Just flip the power switch on your monitor, wait a few seconds, and then turn it back on. It’s like a digital version of the classic “have you tried turning it off and on again?” tech support advice.
If you’re still struggling, it might be time to consider swapping out cables or even trying a different graphics port on your computer. It’s always a good idea to keep a few spare cables handy when you’re rocking a multi-monitor setup, as you never know when one might decide to call it quits.
Unraveling the Aspect Ratio Enigma
Another common issue you might encounter when using multiple monitors is a messed-up aspect ratio. Imagine one of your screens suddenly displaying a distorted, stretched-out image, as if your PC thinks your monitor is some sort of ultra-wide monstrosity. It’s enough to make even the most seasoned tech enthusiast pull their hair out in frustration.
Fortunately, there’s a relatively simple fix for this problem. Start by revisiting those trusty Display Settings in Windows 11. Locate the section for your troublesome secondary monitor and check the resolution and scaling options. Try selecting a resolution that’s appropriate for your display, and experiment with the scaling settings until you find a combination that restores the proper aspect ratio.
If you’re using a TV as your secondary monitor, the issue might be a bit more complex. In this case, you’ll want to dive into your TV’s settings and look for options to disable any “overscan” or “underscan” modes. These can sometimes cause the aspect ratio to go haywire, so a quick tweak in your TV’s menu might be all you need to set things right.
And speaking of aspect ratio, let’s not forget about those pesky games that insist on playing on the wrong screen. It’s always a bummer when your favorite title refuses to cooperate with your dual-monitor setup, choosing to display on the secondary display instead of your primary gaming rig. Thankfully, there’s a simple fix for this as well.
Just hit the Windows key + P to bring up the “Project” menu, then select the “Extend” option. This will ensure that your games open on the correct monitor, leaving your secondary display free for all your other, non-gaming tasks. Alternatively, you can navigate to the Display Settings and look for the “Multiple Displays” section, where you can manually choose to “Extend these displays” to achieve the same result.
Maintaining Color Accuracy Across Displays
As an artist and designer, I know firsthand how crucial color accuracy can be. That’s why it’s so frustrating when one of your monitors just can’t seem to keep up with the others, ruining the delicate balance of your carefully calibrated setup.
The sad truth is, not all monitors are created equal when it comes to color reproduction. If you’ve got one display that’s consistently underperforming, your best bet is to replace it with a model that matches your primary monitor. This way, you can ensure a seamless, color-accurate experience across your entire workspace.
But what if swapping out hardware isn’t an option? In that case, you’ll need to get your hands dirty with some manual calibration. Bring up the same image on both monitors and start adjusting the settings until they match as closely as possible. This might involve tinkering with the brightness, contrast, and color temperature controls on your displays.
If you really want to get serious about color accuracy, you might want to invest in a colorimeter – a nifty little device that can precisely measure and calibrate the color profiles of your monitors. Digital Trends has a great guide on using colorimeters to calibrate your display setup, so be sure to check that out for a deeper dive into the subject.
Conquering the Triple-Monitor Trifecta
As if dealing with two monitors wasn’t enough of a challenge, some of us die-hard tech enthusiasts have taken the plunge into the world of triple-monitor setups. And let me tell you, the issues that can arise in this realm are a whole new level of complex.
One of the most common problems I’ve encountered is getting that third monitor to play nice with the rest of the setup. Sometimes, it’s as simple as unplugging and reconnecting each display one by one, allowing Windows 11 to properly recognize and configure them. Other times, it might require a bit more elbow grease, like ensuring your display settings are properly configured to “Extend these displays.”
And let’s not forget about those pesky driver updates. I can’t tell you how many times a Windows or graphics driver update has thrown my carefully crafted triple-monitor setup into utter chaos. In these cases, the solution is often to roll back the offending driver to a previous version, which usually does the trick.
But even when you’ve got all three monitors running smoothly, there’s still the matter of managing your windows and applications across such a sprawling workspace. I’ve lost count of the number of times I’ve accidentally clicked on the wrong screen, only to have my game or work session come crashing down. Thankfully, there are handy tools like the Dual Monitor Tool that can help you lock your mouse pointer to a specific display, preventing those accidental clicks from ruining your productivity.
Dealing with Display Distortions and Artifacting
Sometimes, even when your secondary monitor is technically “working,” you might notice some unsightly distortions or visual artifacts that make it a pain to use. This can be especially problematic if you’re trying to game or work with graphics-intensive applications on your multi-monitor setup.
In these cases, the culprit is often hardware-related. The first thing to check is the condition of your monitor cables. If they’re old, frayed, or not properly shielded, they could be introducing interference that’s causing the distortions. Try swapping in a new, high-quality HDMI or DisplayPort cable and see if that clears things up.
If the cable isn’t the issue, the next step is to take a closer look at your display ports. Make sure they’re clean and free of any dust or debris that could be interfering with the signal. A quick burst of compressed air should do the trick.
And don’t forget to consider the length of your cables. The longer the distance the video signal has to travel, the more susceptible it is to interference and artifacts. If possible, try using a shorter cable to see if that improves the image quality on your secondary monitor.
As one user on the Microsoft forums pointed out, the use of display hubs or adapters can also introduce their own set of problems. These devices have their own limitations when it comes to resolution, refresh rate, and the number of supported displays. So, if you’re relying on one of these accessories, it might be worth exploring a more direct connection between your computer and monitors.
Overcoming the Dreaded “Disappearing Displays”
Just when you think you’ve got your dual-monitor setup all figured out, fate has a way of throwing a curveball your way. One day, everything is working perfectly, and the next, one of your displays has vanished into thin air, leaving you scratching your head in bewilderment.
This particular issue seems to be a peculiar quirk of Windows 11, where the operating system occasionally forgets about your secondary monitor. Fortunately, there are a few tricks you can try to coax that elusive display back into existence.
First, try giving Windows a gentle nudge by pressing the Windows key + Ctrl + Shift + B. This keyboard shortcut will trigger a quick “refresh” of the display drivers, which might be enough to resurrect your missing monitor.
If that doesn’t work, it’s time to take a more comprehensive approach. Power down your computer and all connected displays, wait a few moments, and then turn everything back on. Sometimes, a good old-fashioned reboot is all it takes to get Windows 11 to recognize your full multi-monitor setup.
And let’s not forget about those pesky driver updates. As I mentioned earlier, a recent graphics or display driver update could be the culprit behind your disappearing display. Try rolling back to a previous version of the driver to see if that solves the problem.
Ultimately, the world of multi-monitor setups in Windows 11 can be a bit of a minefield, fraught with all sorts of unexpected challenges. But with a little patience, persistence, and a healthy dose of troubleshooting know-how, you can navigate these waters and keep your dual- or triple-screen dreams alive.
Embracing the Wonders of Multi-Monitor Setups
Despite the occasional frustrations, I firmly believe that the benefits of a well-executed multi-monitor setup far outweigh the drawbacks. The increased productivity, improved workflow, and immersive gaming experiences are simply unparalleled. And with the tips and tricks I’ve shared today, I’m confident that even the most tech-averse among us can overcome the hurdles and bask in the glory of a seamless, distraction-free dual- or triple-monitor setup.
So, the next time you find yourself staring at a blank screen or battling with color accuracy issues, remember: you’re not alone. We’ve all been there, and with a little elbow grease and a willingness to tinker, you can conquer even the most stubborn monitor problems. After all, the team at ITFix is always here to lend a helping hand if you need it.
Happy multi-tasking, my fellow Windows warriors. May your displays always be crisp, your colors true, and your productivity soar to new heights.

