Introduction
Having issues with your printer can be incredibly frustrating. As a beginner, you may not know where to start when it comes to diagnosing and fixing printer problems. This guide will walk you step-by-step through some of the most common printer problems and how to troubleshoot them. Whether your printer isn’t printing at all or is printing strangely, this guide will help you get to the bottom of the issue so you can get your printer up and running again.
Step 1: Check the Power and Connections
The first thing to check whenever you’re having printer issues is the power and connections. Here’s what you need to do:
- Make sure the printer is turned on and plugged in. This may seem obvious, but it’s easy to overlook that the printer may not be getting power.
- Check that the power cable is plugged in securely. Try unplugging it and plugging it back in to ensure a snug fit.
- Inspect the electrical outlet. Make sure the outlet is working by plugging in another device. Try a different outlet if needed.
- Check the USB or Ethernet cable connections. Disconnect and reconnect the cables on both ends to verify they’re plugged in properly.
- See if the printer is connected to your computer. Open printers and devices to confirm your operating system detects the printer.
Checking these basic power and connection issues will help rule out simple problems preventing your printer from turning on or connecting to print.
Step 2: Restart the Printer and Computer
If the printer has power but still isn’t functioning correctly, the next steps are to restart the printer and computer:
- Turn the printer off and back on. This resets the printer components and memory and often fixes glitchy behavior.
- Restart your computer. This clears any stuck print jobs and resets the connection.
- Try a test print. Attempt to print a simple document after restarting both devices to see if connectivity was the issue.
Restarting forces your devices to reconnect which may resolve any software conflicts preventing printing. Make sure to try a test print to confirm the issue is resolved before restarting the next step.
Step 3: Check for Paper Jams
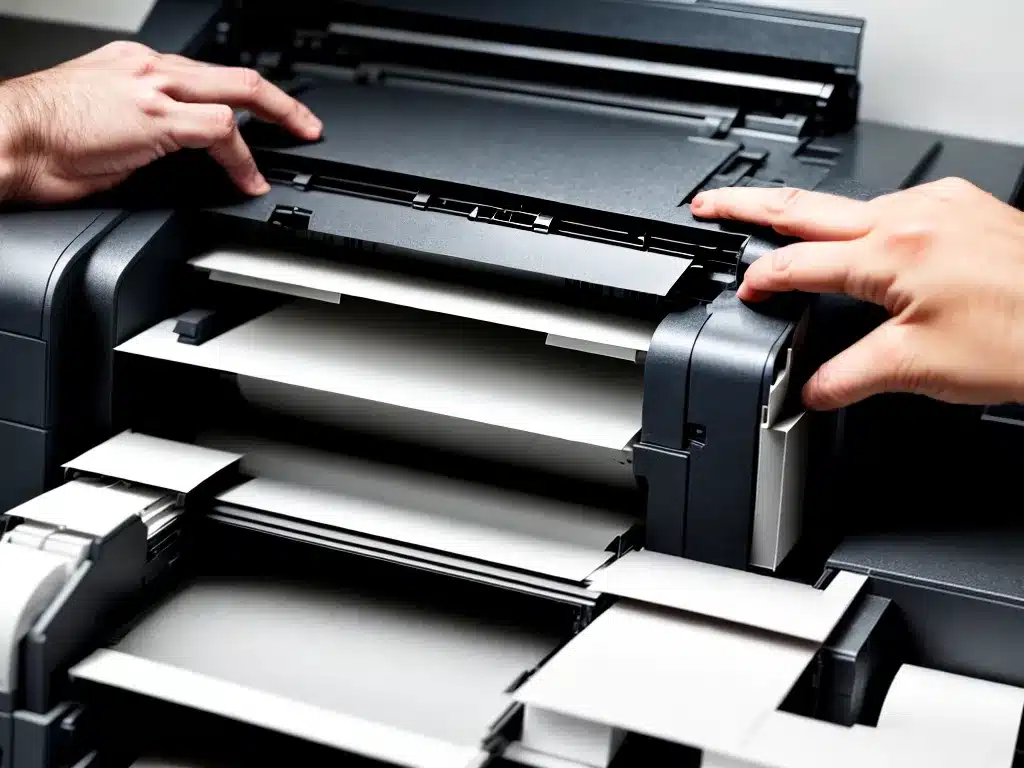
One of the most common printing problems is paper jams. Check inside the printer for any stuck paper:
- Open the printer and remove any jammed paper. Check the feeder, printer trays, and transport rollers.
- Inspect for torn pieces of paper. Fragmented paper can get stuck and block movement. Remove any scraps.
- Ensure paper guides are aligned properly. Guides that are too tight or too loose against paper can cause jams.
- Confirm you are using supported paper types and sizes. Unapproved paper frequently causes jams in printers.
Clearing jams and debris while realigning the paper guides and trays often resolves feeding and printing issues with paper.
Step 4: Check Printer Error Codes
Many printers have indicator lights or error messages that point to specific problems:
- Check indicator lights on the printer. Solid or flashing lights signify low ink/toner, paper jams, or other errors.
- Reference printer manuals for error code details. Manuals often include troubleshooting charts for cryptic printer error codes.
- Try printer self-diagnostics tests. Many printers have built-in tests to provide status reports.
- Do printhead cleaning on inkjet printers. Low ink or residue on printheads creates printing defects.
Diagnosing coded alerts from your printer will reveal exactly what component or process is malfunctioning. Use this to pinpoint solutions.
Step 5: Update Printer Software and Drivers
Outdated drivers and firmware are some of the most common causes of printer problems:
- Check driver compatibility with your OS and programs. Unsupported OS upgrades can create driver conflicts and connection issues.
- Download latest printer software and drivers. Manufacturer websites provide updated drivers for models to fix bugs.
- Install driver updates and printer firmware. New drivers often resolve glitches from outdated, corrupt installs.
- Reset printer to default settings. Factory resets wipe settings that may be causing problems.
Updating the printer software and drivers is an easy fix for any incompatibility issues causing the problems. Always keep drivers current.
Step 6: Clean the Printer
Dirt, dust, and ink/toner buildup can accumulate in printers over time leading to degraded print quality:
- Clean printheads in inkjet printers. Use wet wipes or cotton swabs to gently wipe printheads and remove dried ink.
- Clean toner cartridges in laser printers. Use a dry lint-free cloth to wipe toner cartridges and imaging drums.
- Clean feed rollers and trays. Use compressed air or a vacuum with brush to remove paper particles in trays and rollers.
- Clean scanner glass. Wipe down flatbed scanner glass inside printers to allow proper document scanning.
Regular cleaning removes accumulated debris that can block ink or create print defects. Your printer maintenance manual will provide cleaning procedures.
Step 7: Call Printer Support
If you’ve tried all other troubleshooting steps and your printer still isn’t working, it’s time to contact technical support:
- Check your printer warranty. Most new printers include a 1-year manufacturer warranty covering repairs.
- Contact the printer company support line. Trained technicians can assist over the phone or diagnose remotely.
- Schedule service from printer company. Support may send a technician for repairs if needed.
- Use reputable third-party repair shops. Local specialists can service printers out of warranty. Get estimates first.
The printer specialists can provide hands-on solutions for any complex mechanical or electrical issues with your printer. Try all DIY troubleshooting first before paying for printer service.
Summary
Troubleshooting and fixing your own printer issues is very achievable by following some systematic steps. Start with the basics like power and connectivity. Move on to clearing jams, updating software, and cleaning components. Look into your warranty options if problems persist. With some diligence, patience, and testing, you can get your printer operational again and avoid costly printer repair fees.


