The MacBook Motherboard Reflow Saga
Picture this: You’re a dedicated MacBook owner, eagerly anticipating the latest software updates and dreaming of all the productive hours you’ll log on your trusty device. But one day, disaster strikes – your beloved MacBook suddenly refuses to power on. You’re left staring at a lifeless screen, your heart sinking as you contemplate the potential repair costs.
As a seasoned tech enthusiast, I’ve been through this scenario more times than I’d like to admit. But over the years, I’ve learned a few tricks that have saved me from the dreaded Apple repair shop. One of the most effective solutions? Reflowing the MacBook motherboard.
What is Motherboard Reflowing?
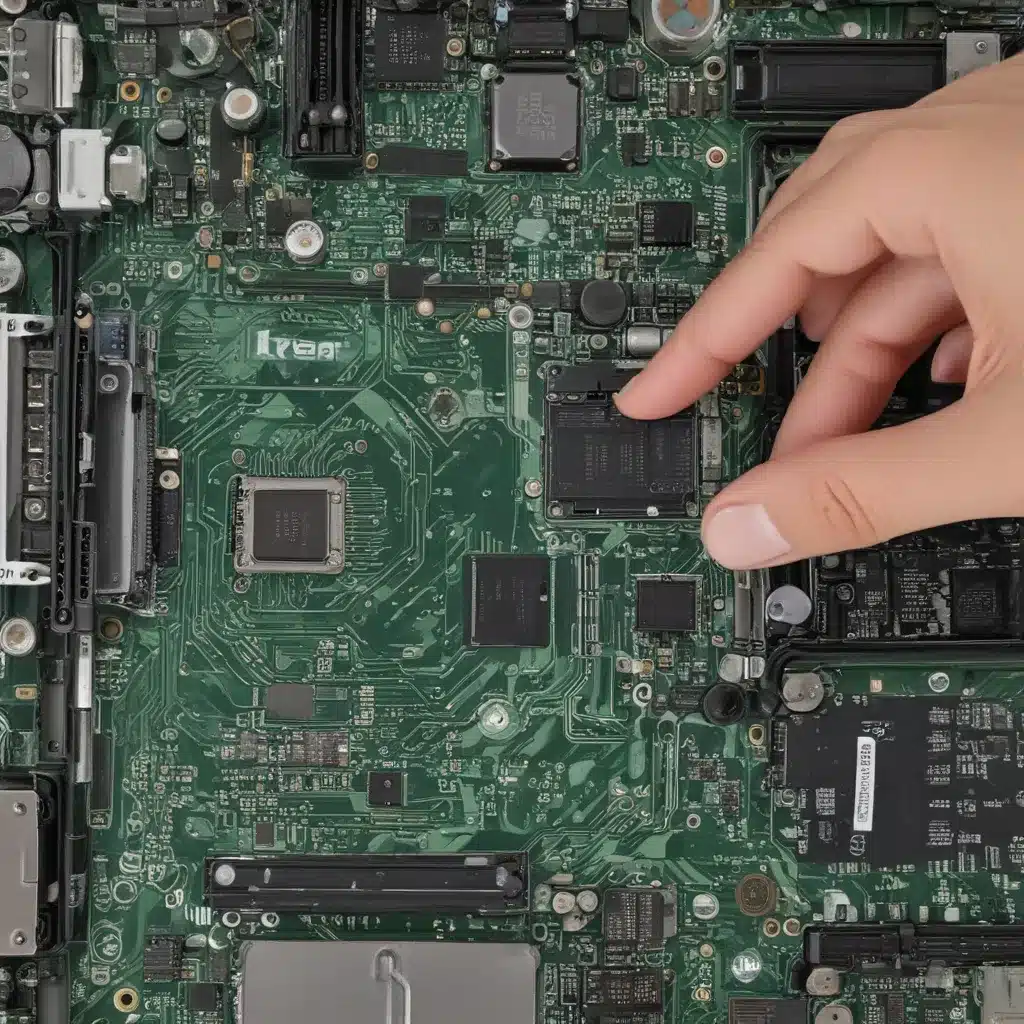
Motherboard reflowing is a tried-and-true technique used to revive ailing MacBook logic boards. It involves carefully heating the board to a specific temperature, which can help resolder loose connections and get your device back up and running. Think of it as a miniature reboot for your MacBook’s heart and soul.
Now, I know what you’re thinking: “Reflow my motherboard? Isn’t that going to fry my device?” Fair concern, my friend. But with the right approach, you can breathe new life into your MacBook without turning it into a smoldering pile of silicon and solder.
The Reflowing Process: A Step-by-Step Guide
Ready to give reflowing a shot? Here’s a step-by-step guide to walk you through the process:
1. Gather Your Supplies
You’ll need a few key items to get started:
– A high-quality oven capable of precise temperature control (we’re talking +/- 5°C accuracy)
– A digital thermometer to monitor the oven temperature
– A clean, well-ventilated work area
– Sturdy gloves and safety goggles (because hot MacBook parts + bare hands = ouch)
2. Disassemble Your MacBook
Carefully remove the bottom case of your MacBook, exposing the logic board. [1] Be gentle and take your time – you don’t want to damage any delicate components.
3. Prepare the Oven
Preheat your oven to a toasty 215°C (419°F). [2] This is the sweet spot for reflowing MacBook motherboards without risking permanent damage. Once the oven hits the target temperature, let it stabilize for a few minutes.
4. Bake Your Motherboard
Gently place the exposed logic board on a clean, oven-safe surface inside the preheated oven. Set a timer for 5-7 minutes, keeping a close eye on the temperature as it climbs. [3] You’re aiming for a consistent, even heat distribution across the board.
5. Cool and Reassemble
Once the timer goes off, quickly remove the logic board from the oven and let it cool completely – about 15-20 minutes. [4] Reassemble your MacBook, taking care to reconnect all the cables and components properly.
6. Test and Repeat (if Necessary)
Power on your MacBook and cross your fingers. If it springs to life, congratulations! You’ve just resurrected your device from the brink of oblivion. If not, don’t despair – you may need to repeat the reflow process a few times to get the perfect result. [5]
Reflowing: The Pros, the Cons, and the Caveats
Reflowing your MacBook motherboard can be a game-changer, but it’s not without its risks. Let’s weigh the pros and cons:
Pros:
– Cost-effective solution compared to costly Apple repairs
– Can revive MacBooks with faulty logic boards or GPU issues
– Relatively simple process for the technically inclined
Cons:
– Potentially dangerous if not done properly (high temperatures can damage components)
– Success rate is not guaranteed (some issues may require more extensive repairs)
– Voiding your warranty if you tinker with the internal components
Caveats:
– Ensure your oven is capable of precise temperature control to avoid overshooting or underheating the motherboard
– Take extreme caution when handling hot components to prevent burns or further damage
– Consider seeking professional help if you’re not comfortable with the DIY approach [6]
Troubleshooting and Alternative Solutions
If reflowing doesn’t do the trick, or you’re simply not up for the challenge, there are a few other options to consider:
GPU Reflow Alternatives
If your MacBook is suffering from a faulty GPU, reflowing may not be the best solution. Instead, you could try a GPU replacement or even a GPU heatsink mod. [7] These approaches can be more effective and less risky than motherboard reflowing.
SMC and PRAM Resets
Sometimes, a simple reset of your MacBook’s System Management Controller (SMC) or Parameter RAM (PRAM) can work wonders. [8] This can help resolve a wide range of hardware-related issues without the need for invasive repairs.
Professional Repair Services
If you’re not comfortable with the DIY approach or the reflow doesn’t work, it may be best to seek the help of a professional Apple-certified repair service. They’ll have the expertise and tools to diagnose and fix your MacBook properly.
Conclusion: Embrace the Reflow (with Caution)
Reflowing your MacBook motherboard can be a game-changer, but it’s not a task to be taken lightly. With the right tools, a steady hand, and a bit of patience, you can breathe new life into your beloved device. Just remember to approach the process with caution, and don’t be afraid to seek professional help if you’re not confident in your ability to pull it off.
Good luck, and may your MacBook’s motherboard reflow be a resounding success!
References
[1] Reddit discussion on MacBook motherboard reflowing
[2] Apple Discussions forum on MacBook Pro motherboard issues
[3] Reddit post on reflowing a motherboard in the oven
[4] Apple Discussions forum on MacBook Pro SMC and PRAM issues
[5] Guide on iBook G4 voltage regulator repair
[6] MacRumors forum on SMC troubleshooting for MacBook Pro
[7] iFixit Answers on alternative solutions to GPU reflowing
[8] Guide on MacBook Pro GPU reflow


