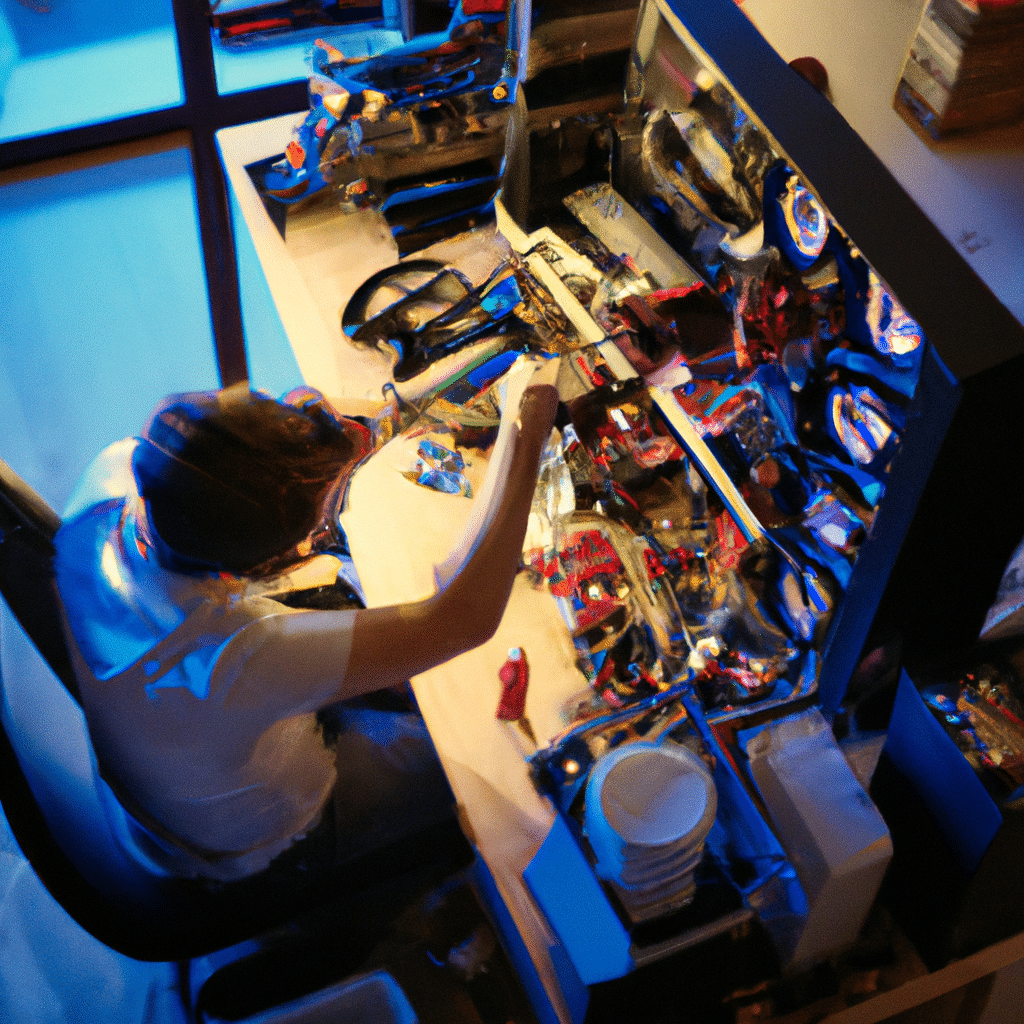
The Ultimate Guide to Building a Custom Gaming PC
Are you tired of playing games on your old, outdated computer? Do you want to experience your favorite games in all their glory with top-notch graphics and fast performance? Building a custom gaming PC may be the perfect solution for you. In this ultimate guide, we’ll walk you through every step of the process, from choosing your components to assembling your machine and optimizing it for the best gaming experience possible.

Choosing Your Components
Before you start building your custom gaming PC, you’ll need to choose the components that will make up your machine. Here are some of the key components you’ll need to consider:
Processor (CPU)
The processor, or CPU, is the brain of your computer. It determines how fast your computer can process data and how many tasks it can handle at once. For gaming, you’ll want a processor with high clock speeds and multiple cores. Some popular options include the Intel Core i5 and i7, and the AMD Ryzen 5 and 7.
Graphics Card (GPU)
The graphics card, or GPU, is responsible for rendering the graphics in your games. For a smooth gaming experience, you’ll want a graphics card with high performance and plenty of VRAM. Some popular options include the Nvidia GeForce GTX and RTX series, and the AMD Radeon RX series.
Motherboard
The motherboard is the main circuit board that connects all of your components together. When choosing a motherboard, you’ll want to make sure it’s compatible with your chosen CPU and supports the features you need, such as overclocking or multiple graphics cards.
Memory (RAM)
Memory, or RAM, is what your computer uses to temporarily store data while it’s in use. For gaming, you’ll want at least 8GB of RAM, but 16GB or more is recommended for higher-end games and multitasking.
Storage
You’ll need both an SSD and an HDD for your custom gaming PC. An SSD is faster and more expensive than an HDD, but it’s worth the investment for faster boot times and game load times. An HDD is cheaper and has more storage space, making it a good choice for storing large files like videos and music.
Power Supply (PSU)
The power supply, or PSU, is what provides power to all of your components. When choosing a PSU, you’ll want to make sure it has enough wattage to support your components and has a high efficiency rating to save on energy costs.
Case
Finally, you’ll need a case to house all of your components. When choosing a case, consider factors like size, cooling options, and aesthetics.
Assembling Your PC
Once you’ve chosen your components, it’s time to assemble your custom gaming PC. Here’s a step-by-step guide:
- Prepare your workspace by laying out all of your components and tools.
- Install the CPU onto the motherboard, making sure to align it correctly and apply thermal paste.
- Install the RAM onto the motherboard, making sure to push it firmly into place.
- Install the graphics card into the PCIe slot on the motherboard, making sure to secure it with screws.
- Install the SSD and HDD into their respective drive bays in the case.
- Connect all of the cables from the PSU to the motherboard, graphics card, and drives.
- Install any additional components, such as a sound card or Wi-Fi card.
- Close up the case and connect all of your peripherals, such as your monitor, keyboard, and mouse.
Optimizing Your PC for Gaming
Now that your custom gaming PC is assembled, it’s time to optimize it for the best gaming experience possible. Here are some tips:
Update Your Drivers
Make sure to update your graphics card drivers to the latest version for the best performance and compatibility with your games.
Overclock Your CPU and GPU
If you’re comfortable with it, overclocking your CPU and GPU can provide a significant boost in performance. Just make sure to do so safely and within the recommended limits.
Adjust Your Graphics Settings
Tweak your graphics settings in your games to find the perfect balance between performance and visuals. You may need to experiment with different settings to find what works best for your system.
Monitor Your System
Use software like MSI Afterburner or HWMonitor to monitor your system’s temperatures and performance while gaming. This can help you identify any issues and optimize your settings accordingly.
Conclusion
Building a custom gaming PC may seem intimidating, but with our ultimate guide, you’ll have all the information you need to get started. By choosing the right components, assembling your machine, and optimizing it for gaming, you can experience your favorite games like never before. So what are you waiting for? Start building your custom gaming PC today!


