Testing Motherboard Capacitors: An Electrifying Adventure
Uncovering the Secrets of Shorted Capacitors
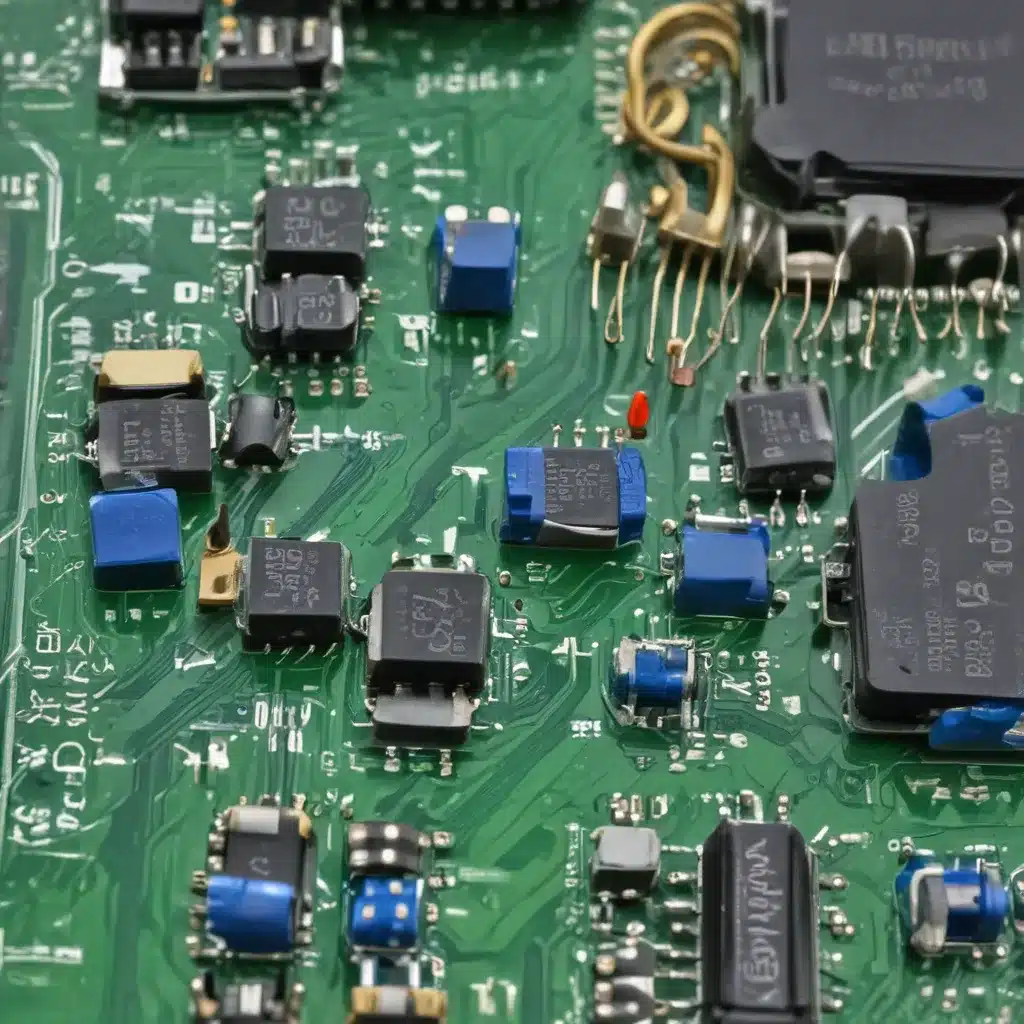
Have you ever suspected your motherboard has some bad caps? I sure have – it seems like every time I dig into an old computer, I find a handful of capacitors that have seen better days. Whether they’re bulging, leaking, or just plain shorted out, those faulty little buggers can really wreak havoc on a system.
Now, I’ll admit, when I first started troubleshooting motherboards, the whole capacitor testing thing seemed a bit intimidating. I mean, how the heck do you check these things anyway? Do you just poke around with a multimeter and hope for the best? [1] It turns out, there’s a bit more to it than that.
Multimeter vs. ESR Meter: The Capacitor Conundrum
One of the first things I learned is that a regular old multimeter isn’t always the best tool for the job. Sure, you can use it to check for continuity and whatnot, but when it comes to actually measuring capacitance, those cheap digital meters often fall short. [2] Apparently, what you really want is something called an ESR (Equivalent Series Resistance) meter. [3]
Now, I’ll be honest, when I first heard about ESR meters, I was a bit skeptical. “Another specialized tool? Really?” I thought. But then I started reading up on it, and it all started to make sense. See, these ESR meters can give you a much more accurate reading on the health of those little capacitors, especially when they’re still soldered onto the board. [4] It’s kind of like having a stethoscope for your motherboard – you can really get in there and listen for any underlying issues.
Tracking Down the Culprit
Of course, even with the right tools, finding the source of a short can be a real pain in the you-know-what. [5] I remember one time I had a 386 motherboard that was just toast – the 5V rail was completely shorted out. And you know what? Every single one of those tantalum caps on the board was reading as shorted on my multimeter. It was like a capacitor apocalypse!
Now, I could have just started desoldering them all and testing them individually, but that seemed like way too much work. [6] So instead, I decided to try a little trick I’d read about – using a bench power supply and a thermal camera to pinpoint the problem. Basically, I hooked up the shorted rail to my power supply, cranked up the current slowly, and waited for something to start getting hot. [7]
Sure enough, one of those tantalum caps started glowing like the sun, and that’s where I found my culprit. Turned out it was just that one little guy causing all the trouble. After I swapped him out, the rest of the board was good to go.
Tantalum Troubles and Trusty Replacements
Speaking of those tantalum caps, I’ve got to say, I’ve had a bit of a love-hate relationship with them over the years. On one hand, they’re super compact and can last forever if they’re not abused. But on the other hand, when they do go bad, it’s usually with a bang. [8]
I’ve lost count of how many vintage boards I’ve worked on that had a tantalum cap just straight-up explode. It’s like a tiny little capacitor bomb, and it can take out everything around it. So, needless to say, I’m always a bit wary when I see those things on an old motherboard.
That said, I’ve also had great luck just replacing the bad ones with good ol’ aluminum electrolytics. Sure, they might not have the same vintage vibe, but they get the job done without the risk of a fiery demise. And let’s be real, when you’re trying to resurrect a piece of ancient hardware, function is way more important than form.
Perseverance, Patience, and a Pinch of Luck
At the end of the day, troubleshooting motherboard capacitors is kind of like detective work. You’ve got to be willing to put on your sleuthing hat, break out the specialized tools, and dig deep to find the root of the problem. And even then, sometimes it’s just pure dumb luck that leads you to the culprit.
But you know what? I kind of love the challenge of it all. There’s something immensely satisfying about taking an old, ailing motherboard, methodically testing each and every component, and bringing it back to life. It’s like a little victory dance every time I power on a freshly recapped system and see it boot up without a hitch.
So if you’re ever faced with a case of the dreaded shorted capacitors, don’t be discouraged. Grab your toolkit, channel your inner Sherlock Holmes, and get ready for an electrifying adventure. Who knows, you might just uncover the secrets of your motherboard and earn yourself a new computer in the process.
[1] https://www.badcaps.net/forum/general-topics/general-capacitor-questions-issues/14896-how-to-test-capacitors-on-motherboard-with-a-multimeter
[2] https://www.reddit.com/r/pcmasterrace/comments/7kklef/checking_motherboard_capacitors_multimeter_vs_esr/
[3] https://superuser.com/questions/141195/proper-multimeter-specs-for-fixing-capacitors-on-your-motherboard
[4] https://www.vogons.org/viewtopic.php?t=92268
[5] https://www.ifixit.com/Wiki/Troubleshhoting_logic_board_components
[6] https://electronics.stackexchange.com/questions/507480/how-to-read-and-source-capacitors-on-a-xbox-one-x-motherboard
[7] https://www.eevblog.com/forum/beginners/capacitors-shorted-is-this-normal/
[8] https://www.overclockers.com/moving-motherboard-capacitors/


