Unleash the Hidden Potential of Your Smartphone Camera
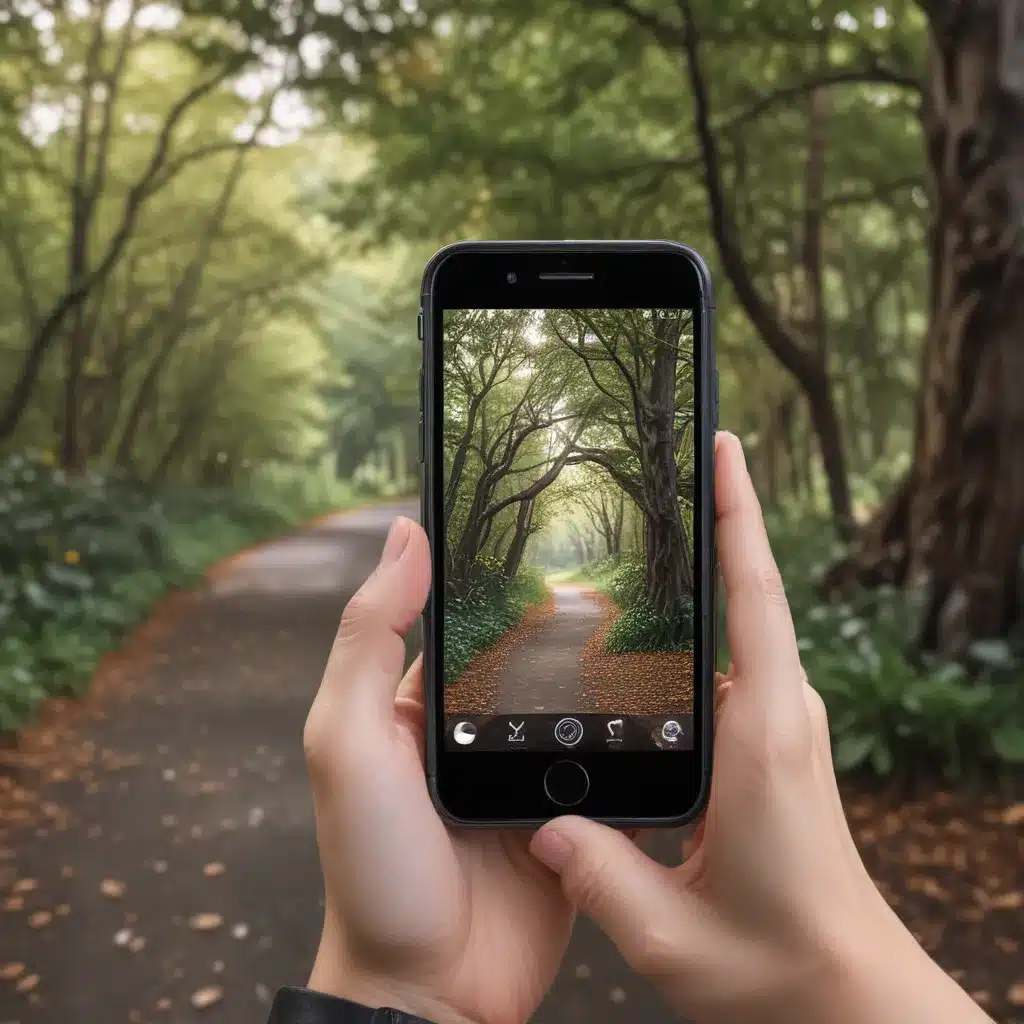
Picture this: you’re strolling along the vibrant streets of London, admiring the iconic architecture and bustling city life. Your iPhone is at the ready, eager to capture the moment. But as you frame the shot, something feels off. The colors look washed out, the details seem fuzzy, and your expertly composed image just doesn’t do justice to the scene unfolding before you.
Sound familiar? Fear not, my fellow iPhone photography enthusiasts! I’m here to share my tried-and-true tips and tricks to take your smartphone snapping to the next level. Whether you’re a seasoned pro or a budding shutterbug, get ready to unlock the hidden potential of your trusty iPhone and start capturing images that’ll make your friends and family do a double-take.
Mastering the Basics: Camera Settings and Composition
Let’s start with the fundamentals. While the iPhone’s camera has come a long way, it still has its limitations. But with a little know-how, you can work around these constraints and achieve DSLR-worthy results.
First up, camera settings. One of the most valuable features in the Lightroom mobile app is the ability to control your iPhone’s ISO, shutter speed, and white balance [1]. By adjusting these manual settings, you can fine-tune your exposure and create the perfect balance of light and shadow. And don’t forget about that nifty level tool – keeping your phone perfectly straight can make all the difference in your composition [1].
Speaking of composition, the Lightroom app offers a range of grid overlays to help you align your shots [1]. Whether you prefer the classic rule of thirds or something more creative, these guidelines can be a game-changer in framing your subjects. And if you’re tackling those drool-worthy flat lays, a sturdy tripod with an adjustable center column is an absolute must [1].
Harnessing the Power of Lighting
Ah, the eternal struggle of every photographer – lighting. But fear not, my iPhoneography friends, for I have the secret to conquering even the most finicky of lighting conditions.
When it comes to natural light, the key is to find a bright, diffused source. Position your subject near a large window, and use a simple white sheet or diffuser to soften the harsh rays [1]. And if you’re feeling adventurous, try experimenting with backlighting to create a stunning, ethereal effect.
For those times when Mother Nature isn’t cooperating, artificial lighting is your best friend. Look for continuous LED lights with a high wattage – the Godox SLB60s are my personal favorites [1]. Pair these bad boys with some inexpensive softboxes and grids, and you’ve got a professional-grade lighting setup right at your fingertips.
The Editing Alchemy: Unleashing the Power of Lightroom Mobile
Now, let’s talk about the magic that happens after you’ve snapped the perfect shot. Editing is where the real transformation takes place, and Lightroom mobile is your secret weapon.
One of the biggest advantages of using Lightroom is the ability to shoot in DNG (Digital Negative) format, which is essentially a RAW file [1]. This higher-quality file format gives you much more flexibility in post-processing, allowing you to fine-tune everything from exposure to color balance.
And the real beauty of Lightroom mobile? You can do all your editing right on your iPhone, no computer required. From adjusting the white balance to applying stylish presets, the app puts a whole suite of professional-grade tools at your fingertips [1]. Trust me, once you start editing in Lightroom, you’ll never go back to the default iPhone camera app.
Putting It All Together: Elevating Your iPhone Photography
Now that you’ve mastered the technical aspects, it’s time to put it all together and start creating mind-blowing iPhone photos. Remember, the key is to approach your smartphone photography with the same care and attention you would a DSLR.
Experiment with different angles, perspectives, and compositions. Play with leading lines, rule of thirds, and other classic photographic techniques. And don’t be afraid to get creative – after all, the best iPhone photos often come from thinking outside the box.
Most importantly, have fun with it! Embrace the spontaneity and flexibility of your iPhone, and let your creativity run wild. Before you know it, your friends and family will be asking, “Wait, you took that with your phone?!”
So, fellow iPhoneographers, what are you waiting for? Grab your device, fire up Lightroom mobile, and let’s take your photography to new heights. The world is your (iPhone) oyster!
[1] Knowledge from various sources including Reddit and We Eat Together:
– [1] https://www.reddit.com/r/AskPhotography/comments/16zqspe/how_to_improve_iphone_photos_and_what_is_the_next/
– [1] https://weeattogether.com/iphone-food-photography/
– [1] https://www.campusce.net/sfsu/course/course.aspx?C=1094&pc=118&mc=0&sc=0

