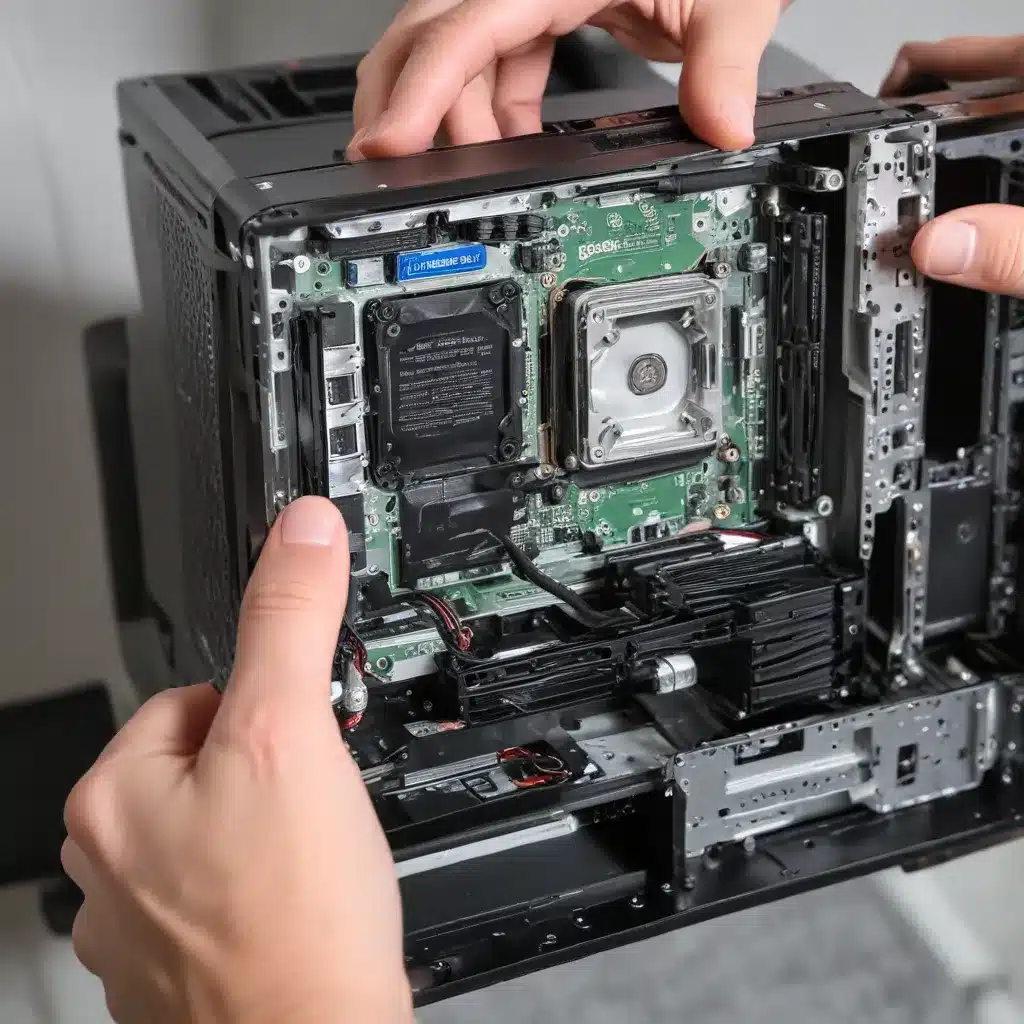
Safely Disassembling and Cleaning Your Desktop PC
In the ever-evolving world of technology, maintaining your desktop computer is crucial for ensuring optimal performance, longevity, and security. As an experienced IT consultant, I’ve seen firsthand the benefits of regularly disassembling and cleaning your PC. In this comprehensive guide, we’ll explore the step-by-step process of safely disassembling your desktop, effectively cleaning its components, and reassembling it to keep your system running like new.
Computer Hardware: Understanding the Essentials
System Components
Your desktop computer is composed of various interconnected components, each playing a vital role in its overall functionality. From the powerful processor and high-capacity storage drives to the efficient cooling fans and sleek chassis, every part works in harmony to deliver a seamless computing experience.
Disassembly Techniques
Disassembling your desktop computer requires a methodical approach to ensure the safe removal and handling of each component. By understanding the proper techniques, you can effectively access, clean, and maintain your system without causing any damage.
Cleaning Procedures
Dust, debris, and grime can accumulate within your desktop over time, impacting its performance and lifespan. Adopting effective cleaning procedures, such as using compressed air, isopropyl alcohol, and specialized tools, can help you restore your PC to its optimal condition.
Disassembly Process: A Step-by-Step Guide
Safety Considerations
Before embarking on the disassembly process, it’s crucial to prioritize safety. This includes allowing your computer to cool down, discharging any static electricity, and taking precautions to protect both yourself and your hardware.
Step-by-Step Disassembly
Carefully follow the steps outlined below to methodically disassemble your desktop computer. Remember to document the process and keep track of all screws and components to ensure a smooth reassembly later.
-
Power Down and Unplug: Begin by turning off your computer and unplugging the power cord. Disconnect any peripheral devices, such as the keyboard, mouse, and monitor, to minimize the risk of damage.
-
Remove Side Panels: Locate and remove the side panels of your computer case, typically secured with thumb screws or screws. This will provide you with easy access to the internal components.
-
Disconnect Cables and Connectors: Carefully identify and disconnect all the cables and connectors within your desktop, including power cables, data cables (SATA, USB, etc.), and any additional connectors for front panel components.
-
Remove Fans and Heatsinks: Locate and remove any standalone fans or heatsinks, taking note of their positions and orientations. These components are crucial for maintaining proper airflow and cooling within your system.
-
Detach Storage Drives: Carefully remove any hard drives, solid-state drives, or optical drives by unscrewing them from their mounts and disconnecting the necessary cables.
-
Eject Memory Modules: Gently push down the clips on both ends of the memory (RAM) modules and carefully remove them from their slots.
-
Uninstall the Power Supply: Unscrew the power supply unit (PSU) from the frame and disconnect any remaining cables attached to it.
-
Detach Expansion Cards: Remove any expansion cards, such as graphics cards, sound cards, or network cards, by unscrewing them from their slots and carefully lifting them out.
-
Disconnect the Motherboard: Finally, disconnect the motherboard from the frame by unscrewing the screws that secure it in place. Gently lift the motherboard out, being mindful of any remaining cables or connectors.
Tool Requirements
To safely disassemble your desktop computer, you’ll need a few essential tools:
- Phillips-head screwdriver: For removing and securing screws on various components.
- Flathead screwdriver: Occasionally used for specific component removal.
- Grounding strap: To discharge static electricity and protect sensitive components.
- Can of compressed air: For effectively blowing away dust and debris.
- Isopropyl alcohol: To clean and sanitize specific components.
- Soft cloths or cotton swabs: For delicate cleaning tasks.
Cleaning Strategies: Restoring Your PC’s Shine
Dust and Debris Removal
One of the primary reasons for disassembling your desktop is to address the buildup of dust and debris within the system. Using a can of compressed air, carefully blow out any accumulated dust from the fans, heatsinks, and other hard-to-reach areas. Avoid blowing directly onto the motherboard or other sensitive components to prevent any potential damage.
Component Sanitization
For a more thorough cleaning, you can use isopropyl alcohol and soft cloths or cotton swabs to wipe down the surfaces of various components, such as the motherboard, expansion cards, and storage drives. Be mindful not to get any liquid into the internal mechanisms of fans or other moving parts.
Preventing Static Discharge
Static electricity can be a significant concern when working with delicate computer components. Always ensure you’re grounded by touching an unpainted metal part of the computer or wearing a grounding strap to dissipate any static buildup before handling sensitive parts.
Reassembly and Testing: Bringing Your PC Back to Life
Proper Component Placement
When reassembling your desktop computer, it’s crucial to carefully reinstall each component in its correct position. Follow the reverse order of the disassembly process, ensuring that each part is securely in place and all necessary cables are properly reconnected.
Reconnecting Cables
Pay close attention to the cable connections, as improper reconnection can lead to system malfunctions or even damage. Double-check that all power, data, and front panel cables are firmly attached to their respective ports and sockets.
Post-Cleaning Functionality Verification
Once you’ve completed the reassembly process, power on your desktop computer and ensure that all components are functioning as expected. Test the system’s performance, check for any error messages or unusual behavior, and make any necessary adjustments or replacements if any issues arise.
By following these comprehensive guidelines, you can safely disassemble, clean, and reassemble your desktop PC, maintaining its optimal performance and extending its lifespan. Remember, regular maintenance is key to keeping your computer in top shape, so don’t hesitate to repeat this process periodically.
If you encounter any challenges or have additional questions, feel free to reach out to our IT Fix team at https://itfix.org.uk/computer-repair/. We’re always here to provide expert guidance and support to keep your technology running smoothly.


