Introduction
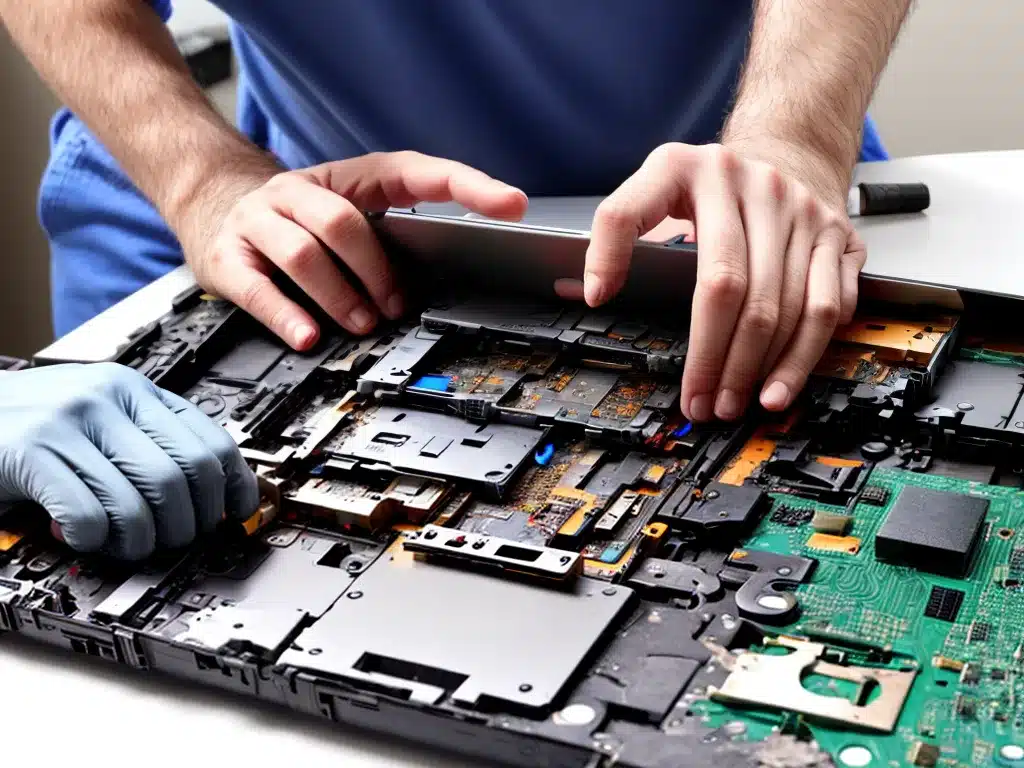
Disassembling a laptop can be daunting, but with the right precautions and proper technique, it can be done safely for repairs, maintenance, upgrades, or cleaning. As an avid do-it-yourselfer, I have disassembled my fair share of laptops, and learned some helpful tips along the way. In this guide, I will share my step-by-step process for safely taking a laptop apart and putting it back together again.
Before You Begin
Before disassembling your laptop, there are a few things you should do to prepare:
Gather The Right Tools
- Small Phillips head screwdriver
- Plastic pry tools
- Tweezers
- ESD wrist strap
Backup Important Data
- Copy personal files to external drive
- Sync online storage
Take Pictures Before Disassembly
- Will help with reassembly
- Focus on cable connections
Work On A Clean, Static-Free Surface
- Avoid carpet or beds
- Use anti-static mat if possible
Use An ESD Wrist Strap
- Grounds body to prevent static discharge
Consult The Service Manual
- Provides step-by-step instructions
- Can usually find online for your specific model
Step-By-Step Disassembly Process
Follow these steps to safely take apart your laptop:
1. Remove The Battery
- Flip laptop over and slide battery release latch
- Battery will pop up for easy removal
2. Remove Bottom Cover
- Take out all visible screws
- Use plastic pry tool to pop off cover
- Go slowly and gently
3. Disconnect The Internal Battery
- Locate cable connector or adhesive tabs
- Gently detach battery from motherboard
4. Remove RAM
- Push retaining clips outward on both sides
- Lift RAM module out of slot
5. Remove Hard Drive
- Remove single screw securing drive
- Lift drive out carefully by the sides
6. Remove Wireless Card
- Detach antenna cables
- Remove retaining screw
- Lift card straight up from slot
7. Remove Cooling Fan
- Disconnect fan cable
- Remove retaining screws
- Lift fan up and out
8. Remove Motherboard
- Disconnect all cable connections
- Remove all screws securing board
- Lift motherboard out of chassis
At this point, the laptop is fully disassembled. Further disassembly of individual components like the screen or keyboard is possible but increases complexity.
Reassembly Notes
When putting the laptop back together, keep these tips in mind:
- Refer to disassembly photos
- Double check cable connections
- Replace all screws and covers
- Reconnect battery last
- Test laptop functions before reinstalling bottom
Conclusion
With proper preparation and care, disassembling a laptop is completely doable for the average person. Just be sure to work slowly, label components, take pictures, use ESD protection, and refer to manufacturer instructions. Don’t force anything – if a piece isn’t coming off easily, you likely missed a screw or connection. With some patience and the right technique, you can safely open up your laptop for repairs, upgrades and maintenance.


