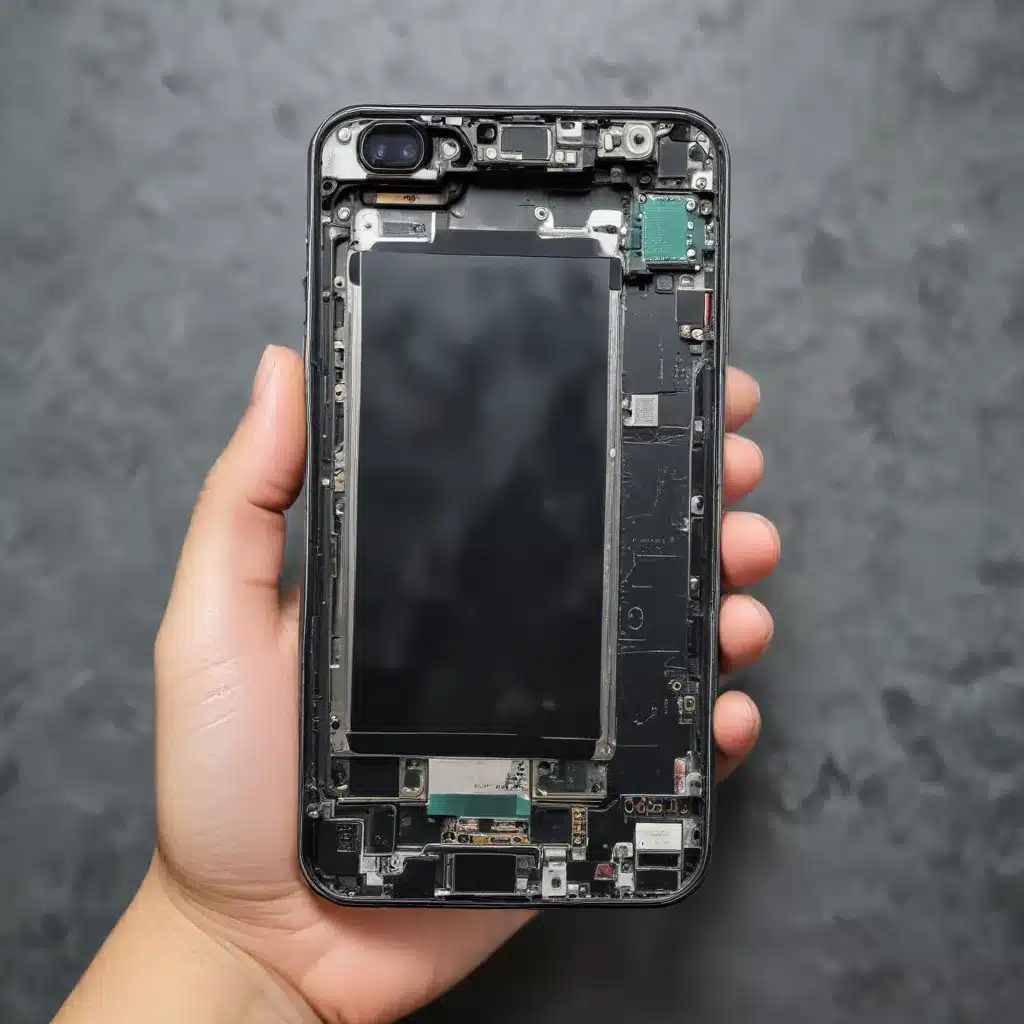
As an experienced IT professional, I’ve seen my fair share of ailing smartphones. Whether it’s a cracked screen, a sluggish processor, or a dwindling battery life, these once-prized devices can quickly become relics of the past. But fear not! In this comprehensive guide, I’ll walk you through the step-by-step process of reviving an old smartphone without breaking the bank.
Assessing the Damage
The first crucial step in any smartphone refurbishment project is to thoroughly inspect the device and identify the areas that need attention. This involves examining both the hardware and software components to determine the extent of the issues at hand.
Evaluating the Physical Condition
Start by carefully inspecting the smartphone’s exterior. Check for any visible signs of damage, such as cracks, dents, or scratches on the screen, body, or ports. Be mindful of the device’s overall condition, as this will directly impact the complexity and cost of the refurbishment process.
Diagnosing Software Problems
Next, delve into the software side of things. Power on the device and observe its performance. Is it running slowly? Does it frequently crash or freeze? These are telltale signs of potential software-related problems that may require a more comprehensive solution, such as a factory reset or a custom firmware installation.
Gathering the Necessary Tools and Materials
Once you’ve assessed the smartphone’s condition, it’s time to assemble the tools and materials needed for the refurbishment project. This step is crucial, as having the right equipment can make the process significantly easier and more efficient.
Essential Tools for Smartphone Refurbishment
- Screwdrivers (a variety of sizes to accommodate different screw types)
- Prying tools (such as a spudger or plastic playing cards)
- Tweezers or small pliers
- Soldering iron and solder (for more advanced repairs)
- Cleaning supplies (isopropyl alcohol, microfiber cloths, etc.)
- Static-free workspace and anti-static gloves (to prevent damage from static electricity)
Replacement Parts and Accessories
Depending on the issues identified, you may need to acquire replacement parts, such as:
– Display assembly (screen and digitizer)
– Battery
– Charging port
– Buttons or other hardware components
– Protective casing or housing
It’s important to ensure that any replacement parts are compatible with your specific smartphone model to avoid compatibility issues.
Disassembling the Smartphone
With the necessary tools and materials in hand, it’s time to begin the disassembly process. Carefully follow the manufacturer’s instructions or refer to online tutorials to guide you through the proper steps. Take your time and work methodically to avoid damaging any internal components.
Removing the Smartphone’s Outer Casing
Start by gently prying off the smartphone’s rear cover or outer casing, taking care not to damage any fragile parts. This will provide access to the internal components, allowing you to address any issues that may be present.
Accessing the Smartphone’s Internal Components
Depending on the smartphone model, you may need to remove additional screws or clips to access the main circuit board, battery, and other internal components. Be mindful of the order in which you remove parts, as this will facilitate the reassembly process later on.
Handling Components with Care
During the disassembly process, it’s crucial to handle all components with the utmost care. Avoid applying excessive force, as this can easily damage delicate parts. Furthermore, be sure to ground yourself to prevent static electricity from causing any unwanted issues.
Repairing and Replacing Components
With the smartphone disassembled, you can now focus on repairing or replacing the damaged or malfunctioning components. This step requires a careful and methodical approach, as improper handling or installation can lead to further complications.
Addressing Hardware Issues
If the smartphone’s display, charging port, or other hardware components are damaged, you’ll need to replace them with compatible parts. Follow the manufacturer’s instructions or refer to online repair guides to ensure a successful installation.
Restoring the Smartphone’s Software
In cases where the smartphone is experiencing software-related issues, such as sluggish performance or frequent crashes, a factory reset or custom firmware installation may be necessary. Be sure to back up any important data before proceeding with these more complex software interventions.
Cleaning and Maintenance
Once the necessary repairs or replacements have been made, take the time to thoroughly clean the smartphone’s internal and external components. This will not only improve the device’s appearance but also help prevent future issues related to dust, debris, or corrosion.
Reassembling and Testing the Smartphone
With the refurbishment process complete, it’s time to reassemble the smartphone. Carefully reinstall each component in the reverse order of the disassembly process, ensuring that all connections are secure and properly aligned.
Verifying Functionality
After the reassembly is done, power on the smartphone and test all of its features to ensure proper operation. This includes checking the display, camera, speakers, charging, and any other essential functions.
Optimizing the Smartphone’s Performance
If the smartphone is running on its original software, consider exploring options to enhance its performance, such as installing a custom ROM or upgrading the operating system. These steps can breathe new life into an aging device and extend its usable lifespan.
Embracing the Refurbished Smartphone
Congratulations! You’ve successfully revived an old smartphone and given it a new lease on life. By following this comprehensive guide, you’ve not only saved money but also gained valuable skills in the world of IT and computer repair.
As you continue to enjoy your refurbished smartphone, remember to share your knowledge and experiences with others who may be interested in tackling similar projects. The IT Fix blog is always eager to hear from enthusiastic readers, so feel free to reach out and share your story.
Happy refurbishing!


