Hardware Maintenance
Laptop Components
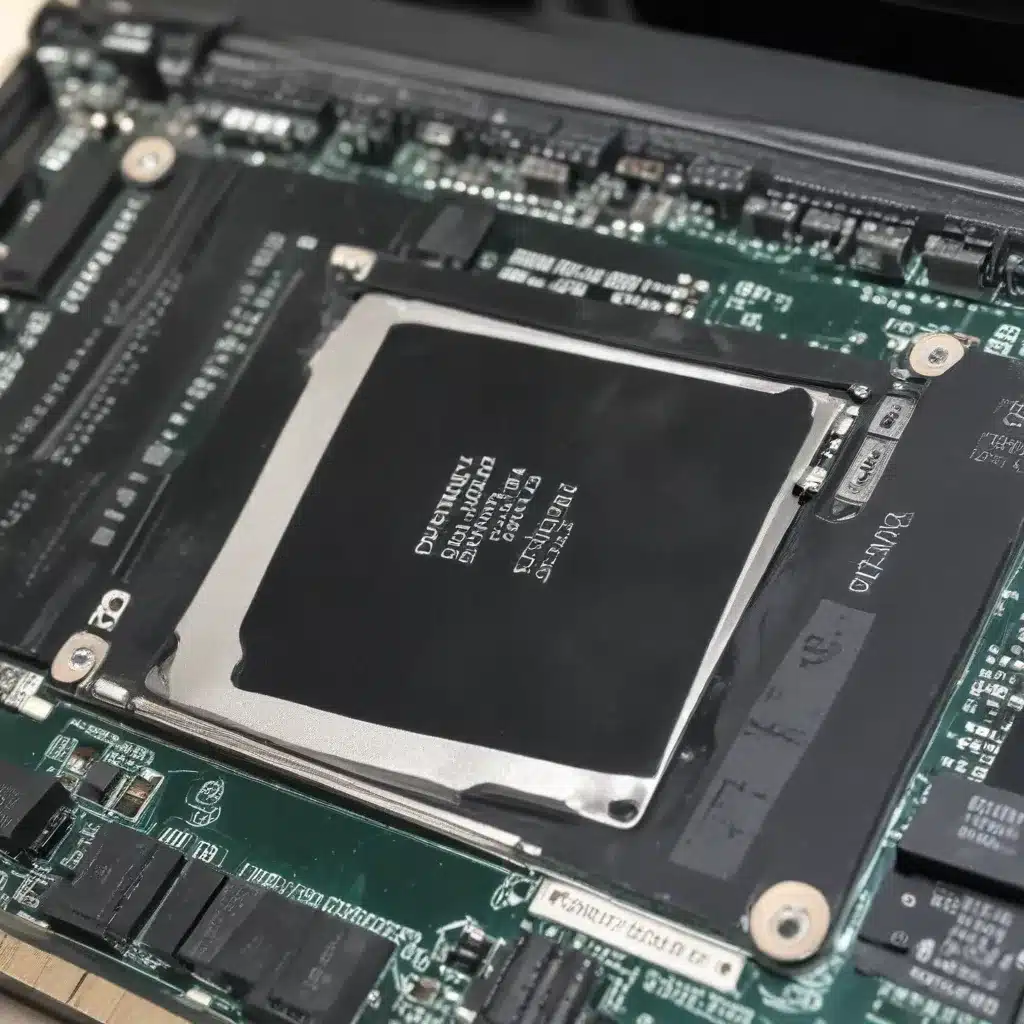
At the heart of any laptop lies a delicate balance of components, each working in harmony to deliver the computing power and performance we rely on. Among the critical elements in this intricate system are the central processing unit (CPU), the thermal interface material (TIM) or thermal paste, the heatsink, and the overall cooling system. Understanding how these pieces work together is key to maintaining your laptop’s health and longevity.
Laptop Aging and Overheating
As laptops age, they can begin to struggle with overheating issues, often manifesting in sluggish performance, fan noise, and even system shutdowns. This is commonly due to the gradual degradation of the thermal paste, which acts as a crucial conduit for heat transfer from the CPU to the heatsink. Over time, this thermal paste can dry out, crack, or simply lose its effectiveness, leading to poor heat dissipation and a rise in CPU temperatures.
Compounding the problem, laptops can also accumulate dust and debris within their cooling vents and fans, further restricting airflow and inhibiting the efficient removal of heat. This combination of thermal paste deterioration and airflow obstruction can cause your once-reliable laptop to become a veritable furnace, struggling to keep up with even basic tasks.
Thermal Paste Replacement
Thermal Paste Application
Addressing the aging laptop’s overheating woes often begins with a simple, yet impactful, step: replacing the thermal paste. This process involves carefully removing the old, dried-out paste and applying a fresh, high-quality thermal compound between the CPU and the heatsink. This crucial step ensures optimal heat transfer, allowing your laptop’s cooling system to operate at peak efficiency.
When it comes to removing the old thermal paste, it’s essential to be meticulous and gentle. Use a soft, lint-free cloth or a small amount of isopropyl alcohol to gently clean the CPU and heatsink surfaces, taking care not to damage any delicate components. Once the surfaces are clean and dry, you can apply the new thermal paste, typically using the “pea-sized” method, where a small, even dot of paste is placed in the center of the CPU.
Thermal Paste Selection
The type of thermal paste you choose can have a significant impact on your laptop’s cooling performance. Look for pastes with high thermal conductivity, as these will transfer heat more efficiently from the CPU to the heatsink. Some popular and effective options include Thermal Grizzly Kryonaut, Arctic MX-4, and Noctua NT-H1. Avoid low-quality or generic thermal pastes, as they may not provide the same level of thermal transfer and could even lead to performance issues.
Cooling System Optimization
Airflow Improvement
Once you’ve replaced the thermal paste, the next step is to optimize your laptop’s cooling system. This often involves a thorough cleaning of the heatsink and fans, removing any accumulated dust and debris. Use a can of compressed air or a soft-bristled brush to gently dislodge and remove any buildup, taking care not to damage the delicate components.
With the cooling system now cleared of obstructions, you can focus on improving airflow. Ensure that your laptop is positioned on a flat, stable surface with adequate ventilation around the vents and cooling fans. Avoid placing your laptop on soft surfaces, such as cushions or blankets, as these can restrict airflow and contribute to overheating.
Ventilation Optimization
In some cases, you may need to consider external cooling solutions to further enhance your laptop’s airflow and heat dissipation. These can include laptop cooling pads or stands that incorporate additional fans to draw hot air away from the device. Experiment with different positioning and cooling solutions to find the optimal setup for your particular laptop model and usage patterns.
Performance Optimization
CPU Throttling Prevention
With the thermal paste replaced and the cooling system optimized, you can turn your attention to preventing CPU throttling, a common issue that arises due to excessive heat. Thermal throttling occurs when the CPU automatically reduces its clock speed to prevent overheating, which can lead to a noticeable drop in performance.
To mitigate this, you can explore undervolting the CPU, a process that reduces the voltage supplied to the processor without affecting its clock speed. This can help lower the overall heat output and allow the CPU to maintain its peak performance for longer periods. Tools like ThrottleStop and Intel XTU (Extreme Tuning Utility) can be used to safely configure and test CPU undervolting on your laptop.
Benchmark Testing
To validate the effectiveness of your thermal paste replacement and cooling system optimization, consider running a series of benchmark tests. Monitor the CPU temperatures and overall system performance before and after your hardware maintenance efforts. This will allow you to quantify the improvements and ensure that your laptop is now operating at its full potential.
Popular benchmarking tools like Cinebench, Geekbench, and 3DMark can provide valuable insights into your laptop’s CPU, GPU, and system-wide performance. Additionally, software like HWMonitor or Speccy can help you track real-time temperatures and identify any lingering thermal issues.
By taking the time to revive your aging laptop through a thorough thermal paste replacement and cooling system optimization, you can breathe new life into your device, ensuring it continues to serve your computing needs with improved performance, reduced noise, and enhanced reliability. This simple yet impactful maintenance routine can make all the difference in keeping your laptop running smoothly for years to come.
If you found this article helpful, be sure to check out ITFix for more informative guides and troubleshooting tips to keep your technology in top shape.


