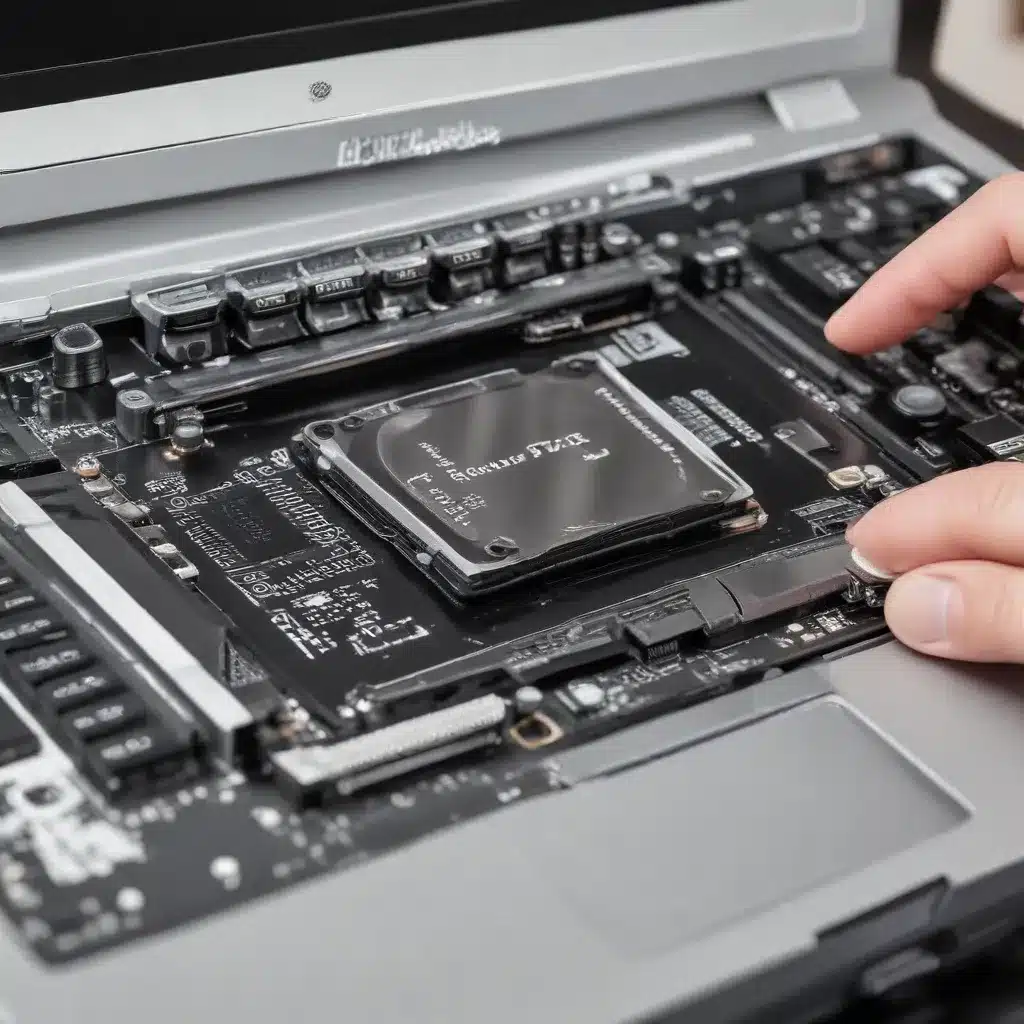
As laptops age, they often face a common issue – heat buildup and performance degradation. This can be especially true for older models or those used for demanding tasks like gaming, video editing, or AI/ML workloads. In this comprehensive guide, we’ll explore how you can breathe new life into your aging laptop by addressing its thermal challenges through a specialized cooling solution and a thorough thermal paste replacement.
Diagnosing Thermal Issues
The first step in reviving an aging laptop is to identify the root cause of its thermal problems. Excessive heat can manifest in various ways, such as:
- Frequent system shutdowns or crashes due to overheating
- Sluggish performance, even with simple tasks
- Abnormally high CPU/GPU temperatures, often reaching 85°C or higher
- Noisy fan operation as the system struggles to cool itself
If you’ve noticed any of these symptoms, it’s likely time to take a closer look at your laptop’s cooling system and thermal paste.
Understanding Laptop Cooling Systems
Laptops rely on a carefully designed cooling system to dissipate heat generated by the CPU, GPU, and other internal components. This system typically consists of:
- Heatsinks: Metal components that absorb and transfer heat away from the processors.
- Fans: Responsible for drawing hot air out of the laptop and circulating cooler air across the heatsinks.
- Thermal paste: A thermally conductive compound applied between the processor and heatsink to facilitate heat transfer.
Over time, the thermal paste can dry out and lose its effectiveness, while fans and heatsinks may accumulate dust and debris, reducing their cooling efficiency. This can lead to the thermal issues mentioned earlier, and ultimately, performance degradation.
Reviving Your Laptop’s Cooling System
To revive your aging laptop, we’ll focus on two key steps: installing a specialized cooling solution and replacing the thermal paste.
Step 1: Implementing a Specialized Cooling Solution
One effective way to improve your laptop’s cooling performance is to invest in a specialized cooling device. These come in various forms, such as:
- Laptop Cooling Pads: These are external devices that sit under your laptop, typically featuring one or more fans to draw in cool air and expel hot air.
- Laptop Stands with Cooling: Similar to cooling pads, these stands elevate your laptop and incorporate built-in fans to enhance airflow.
- External GPU Coolers: For laptops with dedicated graphics cards, external GPU coolers can provide an additional layer of thermal management.
When selecting a cooling solution, consider factors like fan speed, noise level, and compatibility with your specific laptop model. Opt for a product with adjustable fan speeds and a sturdy, well-designed construction to ensure maximum cooling efficiency.
Step 2: Replacing the Thermal Paste
In addition to a specialized cooling solution, replacing the thermal paste on your laptop’s CPU and GPU can make a significant difference in thermal performance. Here’s how to do it:
-
Gather the Necessary Supplies: You’ll need a tube of high-quality thermal paste, a small screwdriver set, and some isopropyl alcohol (90% or higher) for cleaning.
-
Disassemble the Laptop: Carefully follow your laptop’s service manual or online guides to access the CPU and GPU. This typically involves removing the bottom cover, heatsinks, and fans.
-
Clean the Surfaces: Use the isopropyl alcohol and a lint-free cloth to thoroughly clean the surfaces of the CPU, GPU, and heatsinks. Ensure that all the old thermal paste is removed.
-
Apply the New Thermal Paste: Apply a small, pea-sized amount of the new thermal paste directly onto the center of the CPU and GPU. Spread it evenly using a clean, non-abrasive tool, such as a plastic card or the back of a clean screwdriver.
-
Reassemble the Laptop: Carefully replace the heatsinks and fans, ensuring that they are properly seated and secured. Reassemble the laptop’s bottom cover, taking care not to damage any cables or components.
-
Power On and Monitor Temperatures: Turn on your laptop and monitor the CPU and GPU temperatures using a system monitoring tool. Ensure that the temperatures have improved compared to before the thermal paste replacement.
Remember to handle the internal components with care, as improper handling can damage sensitive electronics. If you’re unsure about the disassembly process, consider seeking the assistance of a qualified technician.
Optimizing Performance and Longevity
After implementing the specialized cooling solution and replacing the thermal paste, you can take additional steps to further optimize your laptop’s performance and longevity:
Hardware Upgrades
Consider upgrading your laptop’s hardware components, such as the CPU or GPU, to improve overall performance. This can be especially beneficial if your laptop is several years old and struggling to keep up with modern software and workloads.
Software Optimization
Optimize your laptop’s power management settings, close unnecessary background processes, and ensure that your operating system and drivers are up to date. These software-based optimizations can help reduce heat generation and improve system responsiveness.
Ongoing Maintenance
Regularly clean your laptop’s fans and heatsinks to prevent dust buildup, which can impair cooling efficiency over time. Additionally, consider reapplying thermal paste every 1-2 years, or whenever you notice a significant increase in temperatures.
By addressing the thermal challenges and implementing a comprehensive solution, you can breathe new life into your aging laptop and enjoy improved performance, reduced risk of overheating, and extended overall lifespan. Remember, a well-maintained and cooled laptop is a happy laptop!
If you encounter any difficulties or have additional questions, feel free to reach out to the experts at IT Fix for personalized assistance. We’re here to help you revive and optimize your aging tech devices.


