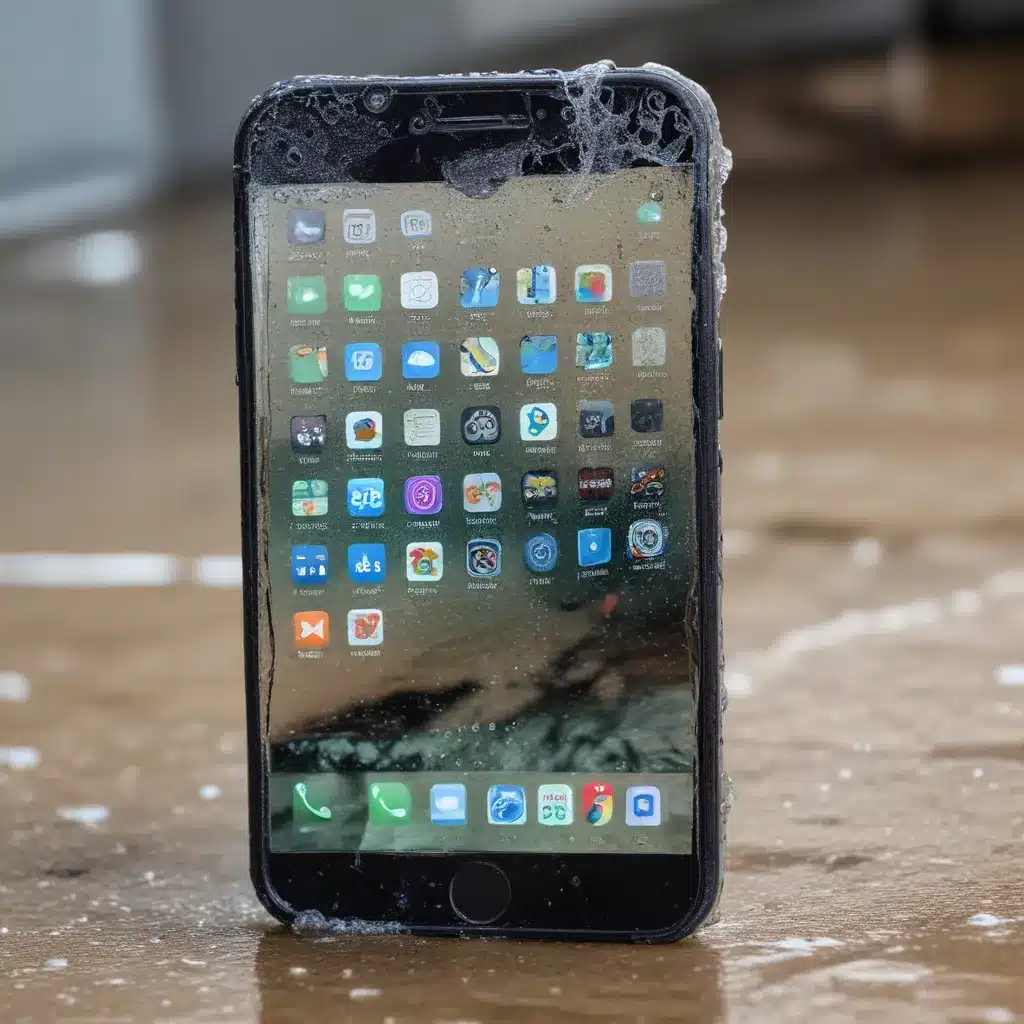
As a seasoned IT professional, I’ve witnessed countless cases of water-damaged smartphones, and I understand the sense of panic and frustration that comes with such an unexpected mishap. However, don’t despair – with the right approach and a few quick fixes, you can often revive your water-damaged device and get it back in working order.
Assessing the Damage
The first step in reviving a water-damaged smartphone is to assess the extent of the damage. Not all water-related incidents are created equal, and the severity of the damage can vary greatly depending on several factors, such as the duration of exposure, the type of water (fresh or saltwater), and the internal components affected.
If your smartphone has been submerged in water for an extended period, or if you notice visible signs of water intrusion, such as condensation on the screen or water droplets inside the speaker grille, it’s crucial to act quickly. Delaying the repair process can lead to further damage and potentially irreversible issues.
Immediate Actions
As soon as you’ve retrieved your water-damaged smartphone, follow these immediate steps:
-
Power off the device: Resist the urge to power on the device, as this can cause short-circuits and further damage the internal components.
-
Remove the battery (if possible): If your smartphone has a removable battery, take it out immediately. This helps prevent any potential electrical issues.
-
Dry the device: Gently wipe down the exterior of the smartphone with a clean, dry cloth to remove any excess moisture. Avoid using hair dryers or other heat sources, as they can push water deeper into the device.
-
Disassemble the smartphone (if comfortable): If you feel confident in your ability to disassemble your smartphone, carefully remove the back cover, SIM card, and SD card (if applicable). This will allow for better air circulation and faster drying.
Drying and Cleaning
Once you’ve completed the initial steps, it’s time to focus on the drying and cleaning process. There are several effective methods you can try:
Air Drying
-
Place the device in a well-ventilated area: Find a spot with good air circulation, such as near an open window or a fan, and let the smartphone sit for at least 24-48 hours.
-
Avoid direct heat: As mentioned earlier, do not use hair dryers or other heat sources, as they can push water deeper into the device and potentially cause further damage.
Silica Gel Packets
-
Gather silica gel packets: These small packets are often found in the packaging of electronic devices, clothing, and other consumer goods. They are designed to absorb moisture and can be incredibly useful for drying out water-damaged smartphones.
-
Place the smartphone in an airtight container: Find a sealable container, such as a plastic bag or a Tupperware-style box, and place the smartphone inside. Add the silica gel packets around the device, ensuring they have enough space to circulate air.
-
Wait patiently: Leave the sealed container in a dry, well-ventilated area for at least 24-48 hours, or until the silica gel packets have fully absorbed the moisture.
Compressed Air
-
Carefully use compressed air: Gently blow compressed air into the charging port, speaker grilles, and any other openings on the smartphone. This can help dislodge any water droplets or debris that may be trapped inside.
-
Avoid excessive force: Be cautious when using compressed air, as too much force can potentially damage delicate components.
Reassembly and Testing
Once the drying process is complete, it’s time to reassemble your smartphone and test its functionality:
-
Carefully reassemble the device: Reinsert the battery, SIM card, and SD card (if applicable), and gently put the back cover back in place.
-
Power on the smartphone: Carefully power on the device and check for any signs of water damage, such as flickering screens, unresponsive buttons, or malfunctioning speakers.
-
Test all features: Thoroughly test each function of the smartphone, including the camera, microphone, and charging capabilities, to ensure everything is working as expected.
If your smartphone is still not functioning properly after the drying and cleaning process, it’s important to seek professional help. Attempting further repairs or disassembly without the necessary expertise can lead to additional damage and potentially void your warranty.
Preventing Future Water Damage
To avoid the hassle of dealing with water-damaged smartphones in the future, consider the following preventive measures:
-
Use a waterproof case: Investing in a high-quality waterproof case can provide an extra layer of protection for your device, making it more resistant to accidental water exposure.
-
Avoid exposing your smartphone to water: Be mindful of your smartphone’s environment and try to keep it away from any potential sources of water, such as pools, bathtubs, or sinks.
-
Upgrade to a water-resistant smartphone: If you frequently find yourself in situations where your smartphone is at risk of water damage, consider upgrading to a device with an official water-resistance rating, such as IP67 or IP68.
By following these effective quick fixes and preventive measures, you can significantly increase the chances of reviving your water-damaged smartphone and avoiding costly repairs or replacements. Remember, acting quickly and following the right steps can make all the difference in the world.
If you’re in need of further IT support or want to stay up-to-date with the latest technology trends, be sure to visit IT Fix – your go-to resource for all things tech.


