Breathe New Life into Your Aging MacBook
Remember when you first unboxed your gleaming new MacBook? The sleek aluminum chassis, the vibrant Retina display, and that satisfyingly crisp keyboard. Those were the days. But as the years have gone by, your once-beloved laptop has started to show its age. The battery life has dwindled, the fan is constantly whirring, and the storage space feels woefully inadequate.
Well, fear not, my fellow MacBook enthusiasts! I’m here to share my personal journey of reviving an aging MacBook through a series of DIY repairs and upgrades. It’s amazing what a little elbow grease and a few choice components can do to breathe new life into an old machine. [1]
Battling the Battery Woes
One of the first issues I encountered with my old MacBook was the abysmal battery life. It would barely last a couple of hours before needing a recharge, making it a real pain to use on the go. I knew I had to tackle this problem head-on if I wanted to recapture the freedom of unplugged productivity.
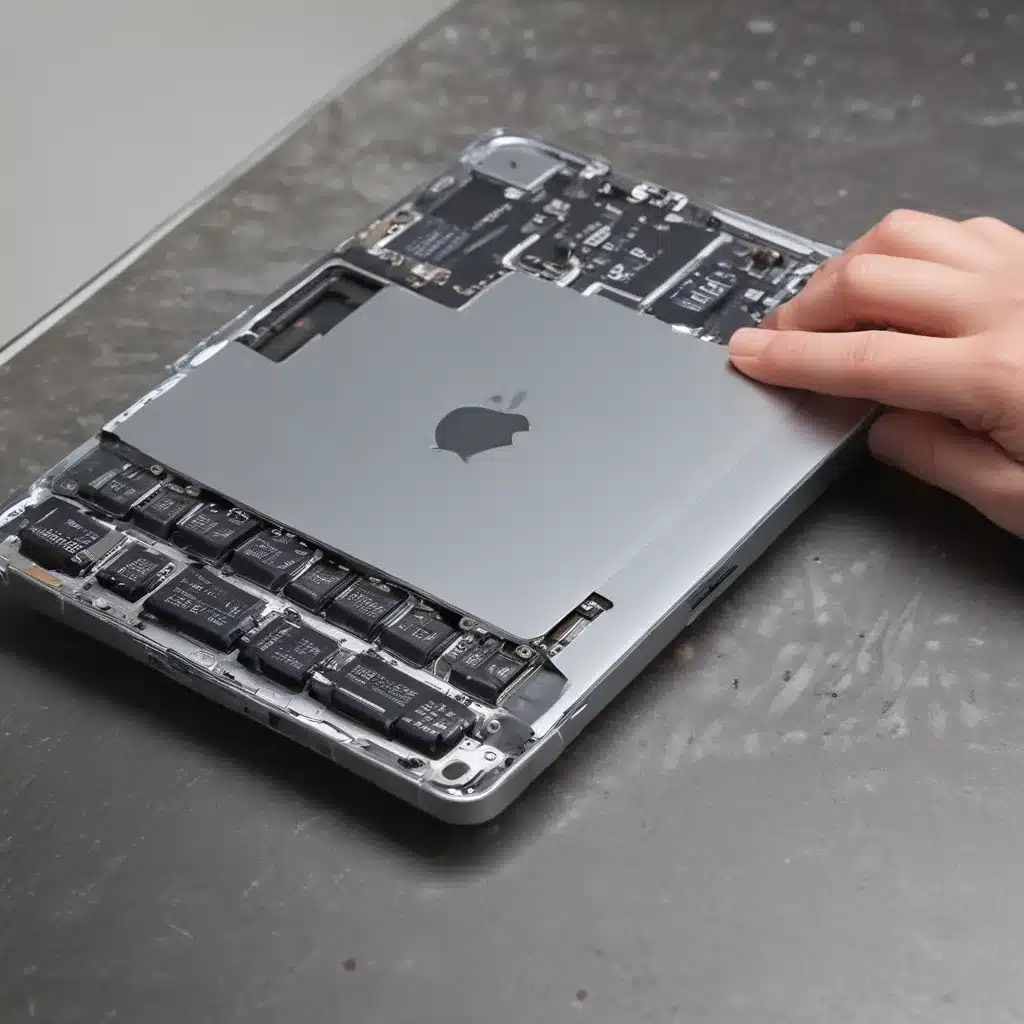
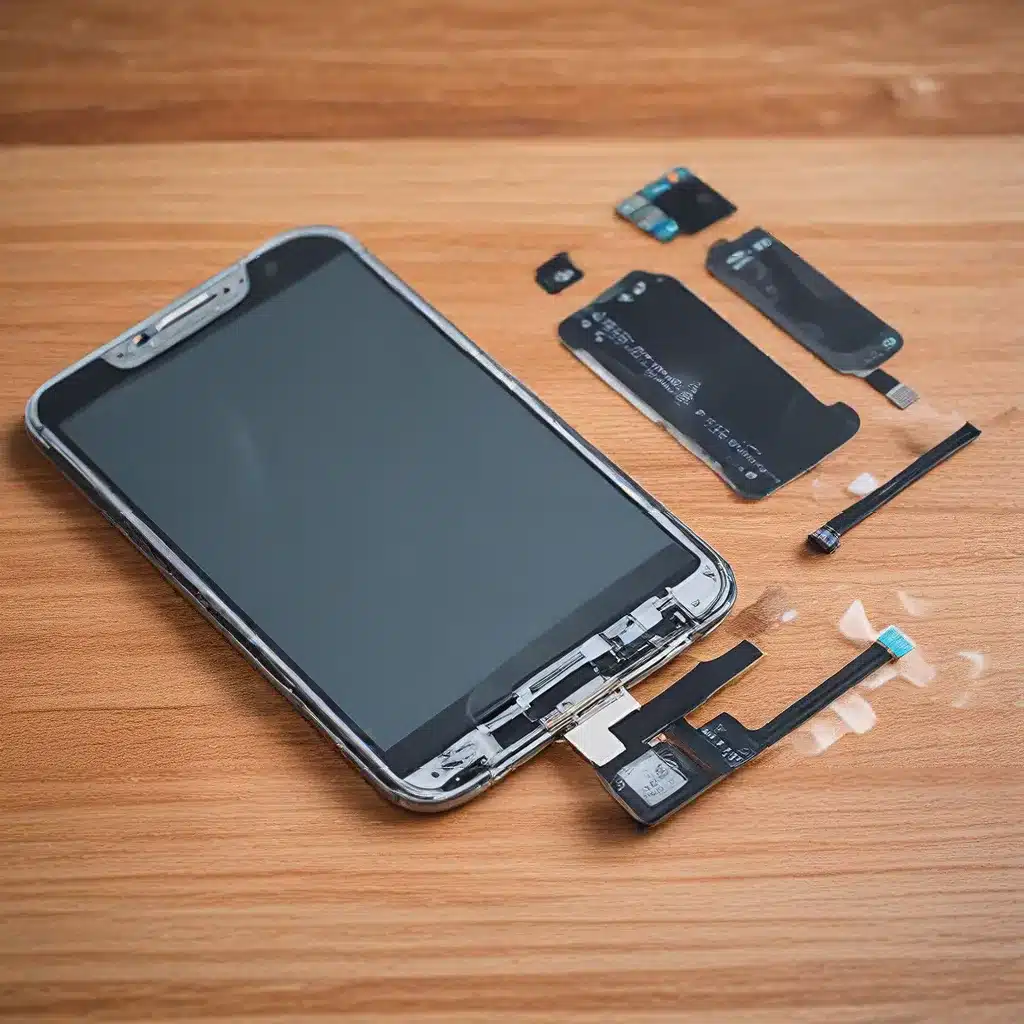
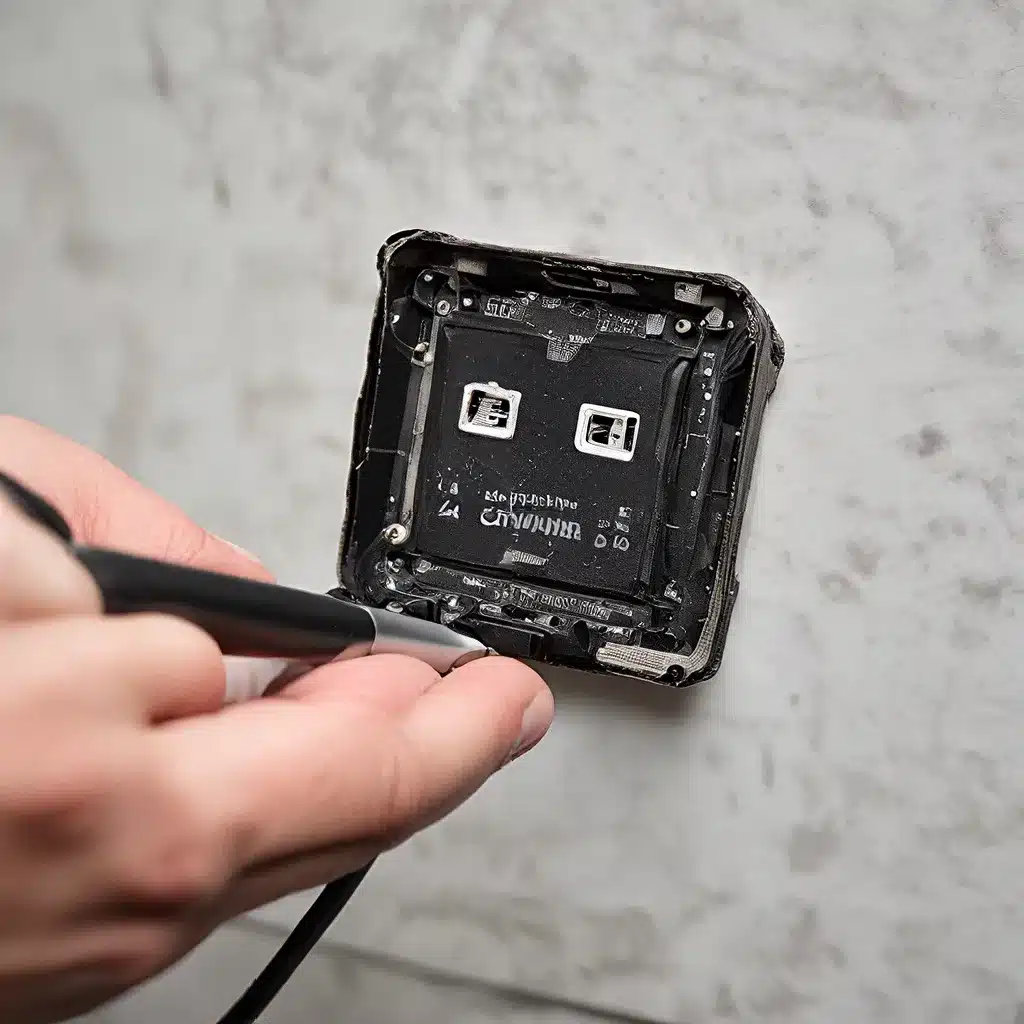
After some research, I discovered that replacing the battery was a relatively straightforward DIY project. [2] I headed over to iFixit, a fantastic resource for all things tech repair, and ordered a replacement battery kit. The kit came with a high-quality third-party battery, as well as all the necessary tools to safely open up my MacBook and swap out the old one.
The process wasn’t entirely without its challenges. Removing the old battery was a bit tricky, and I had to be careful not to overheat the device while using a hair dryer to loosen the adhesive. [2] But with a steady hand and a bit of patience, I managed to get the job done.
The difference was night and day! My MacBook’s battery life now lasts several hours, allowing me to work from anywhere without constantly searching for a power outlet. It’s amazing what a simple battery swap can do to revive an aging laptop.
Supercharging Storage with an SSD Upgrade
Another issue that had been plaguing my MacBook was the increasingly limited storage space. As I accumulated more files, photos, and videos over the years, my trusty old hard drive just couldn’t keep up. The once-snappy performance had started to feel sluggish and unresponsive.
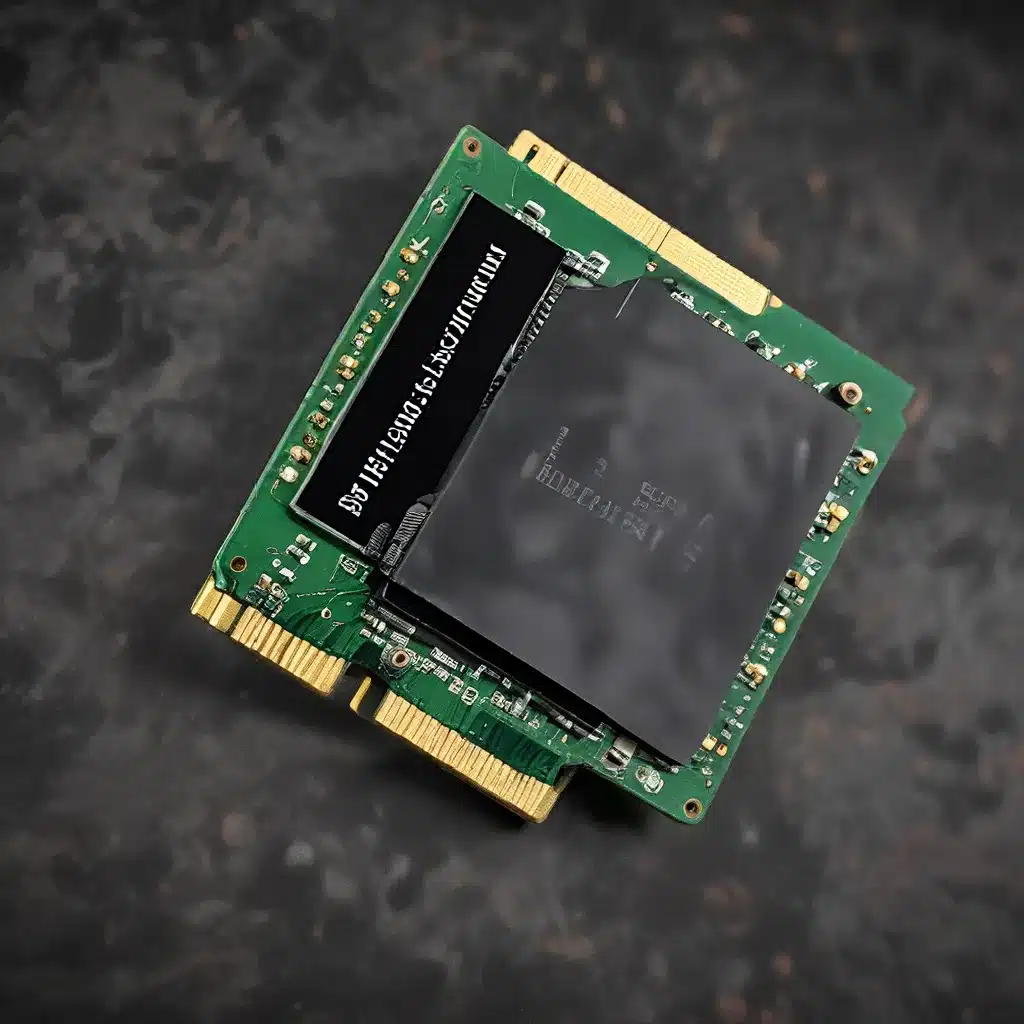
That’s when I decided to take the plunge and upgrade to a solid-state drive (SSD). [3] SSDs offer lightning-fast read and write speeds, as well as significantly more storage capacity than their traditional hard drive counterparts. I’d seen the difference an SSD can make in breathing new life into an older machine, and I was determined to give my MacBook the same treatment.
The process of swapping out the old hard drive for an SSD was a bit more involved than the battery replacement, but with the help of detailed tutorials, I managed to pull it off without a hitch. [3] The hardest part was actually backing up all my data, but once that was taken care of, the actual installation was a breeze.
Boy, was it worth it! My MacBook’s boot times have been slashed, and applications launch lightning-fast. Even basic tasks like opening files and browsing the web feel instantaneous. It’s like I have a brand-new machine – except I didn’t have to shell out thousands of pounds for a replacement.
Tackling Thermal Issues with a Cooling Pad
As my MacBook grew older, I noticed another issue creeping up: the dreaded thermal throttling. The fan would constantly be whirring, and the machine would often feel uncomfortably hot to the touch, especially during more intensive tasks.
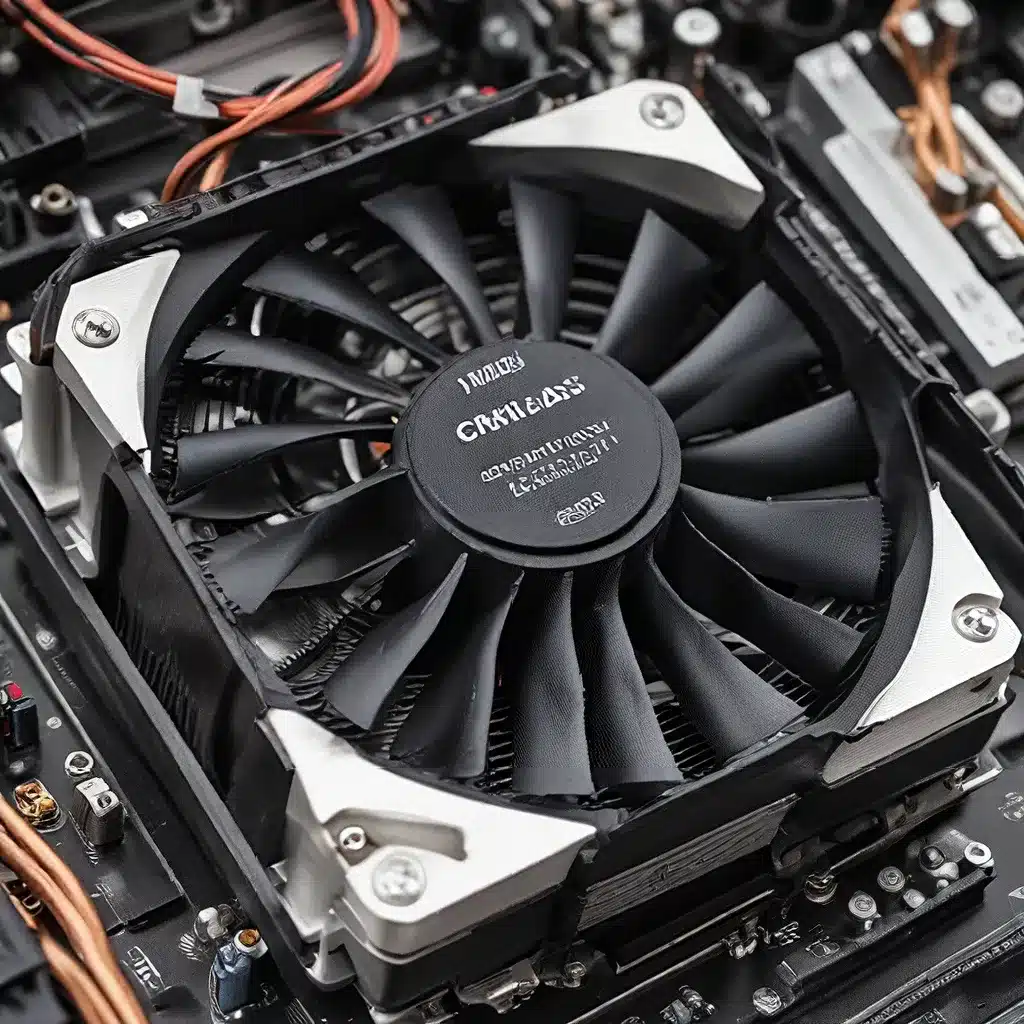
This problem was a bit trickier to address, as it’s not as simple as swapping out a component. However, I discovered a nifty solution in the form of a cooling pad. [1] These external devices feature built-in fans that help to dissipate the heat generated by your laptop, keeping it running at optimal temperatures.
I did some research and settled on a highly-rated cooling pad from a reputable brand. The difference was immediate – my MacBook’s fan no longer had to work overtime, and the overall temperature of the device remained comfortably cool, even during prolonged use.
Not only did this help to extend the lifespan of my MacBook’s internal components, but it also made for a much more pleasant user experience. No more sweaty palms or burning laps – just smooth, uninterrupted productivity.
Wrapping Up: The Joy of DIY Laptop Rejuvenation
As I look back on my journey of reviving my aging MacBook, I can’t help but feel a sense of pride and accomplishment. What could have been a costly and frustrating experience has instead been a rewarding and educational process.
By tackling these DIY repairs and upgrades, I’ve not only breathed new life into my trusty laptop, but I’ve also gained valuable skills and a deeper understanding of how these devices work. It’s empowering to know that I can take matters into my own hands and extend the lifespan of my technology, rather than simply discarding it and starting from scratch.
So, if you’re the proud owner of an old MacBook that’s starting to show its age, don’t despair. With a little elbow grease and the right tools, you too can transform your laptop into a like-new experience. It may take some time and effort, but the sense of satisfaction and the money you’ll save make it well worth the journey.
Happy repairing!
[1] Knowledge from https://www.youtube.com/watch?v=8xXeHMI6sJ8
[2] Knowledge from https://www.cnet.com/tech/mobile/i-replaced-my-iphone-battery-myself-and-it-was-easy-heres-what-i-did/
[3] Knowledge from https://www.youtube.com/watch?v=qp9wca1bYas

