Breathe New Life into Your Trusty Old PC
Remember the good old days when your desktop computer was the pride and joy of your home tech setup? Those were simpler times, before smartphones and tablets took over our digital lives. But just because your trusty old PC is starting to show its age doesn’t mean it’s time to put it out to pasture. With a few strategic upgrades, you can breathe new life into that aging workhorse and give it a new lease on life.
As a self-proclaimed tech enthusiast, I’ve had my fair share of experience with reviving older PCs. When my own desktop started chugging along like an asthmatic hamster on a wheel, I knew it was time for an upgrade. But rather than shelling out for a brand-new machine, I decided to go the DIY route and see what I could do to give my old friend a much-needed facelift.
Identifying the Weak Spots
The first step in any PC revitalization project is to take a good, hard look at the machine and identify its weak spots. Just like how a mechanic would inspect a vintage car before attempting to restore it, you need to assess your desktop’s current capabilities and pinpoint the areas that could use some serious TLC.
In my case, the culprit was clear as day: my aging Intel Core i3 processor was just not cutting it anymore. Forget about multitasking or running any resource-intensive applications – this poor little chip was practically wheezing every time I tried to do more than surf the web and check my email. [1] It was time for an upgrade.
Choosing the Right Replacement Parts
With the problematic component identified, the next step was to figure out what kind of replacement parts I needed. Now, I know what you’re thinking – “Upgrading a desktop PC? Sounds like a job for the professionals!” But trust me, it’s not as daunting as it might seem. [2]
After doing some research, I decided to go with an Intel Core i5-3470S processor. It’s a significant step up from my old i3, with four cores and a base clock speed of 2.9GHz that can even hit 3.6GHz in Turbo Boost mode. And the best part? I was able to snag it for a mere 50 bucks on the secondhand market. [3]
But the CPU upgrade was just the beginning. I also needed to beef up my RAM and storage to keep up with the new processing power. Luckily, the seller I bought the CPU from was kind enough to throw in a couple of 4GB DDR3 memory sticks for free, bringing my total RAM up to 8GB. And for the storage upgrade, I opted for a 240GB solid-state drive (SSD) from Philips – a bargain at just over 30 euros. [3]
Putting It All Together
With the new components in hand, it was time to get to work. Now, I know what you’re thinking – “Upgrading a desktop PC? Sounds like a job for the professionals!” But trust me, it’s not as daunting as it might seem. [2]
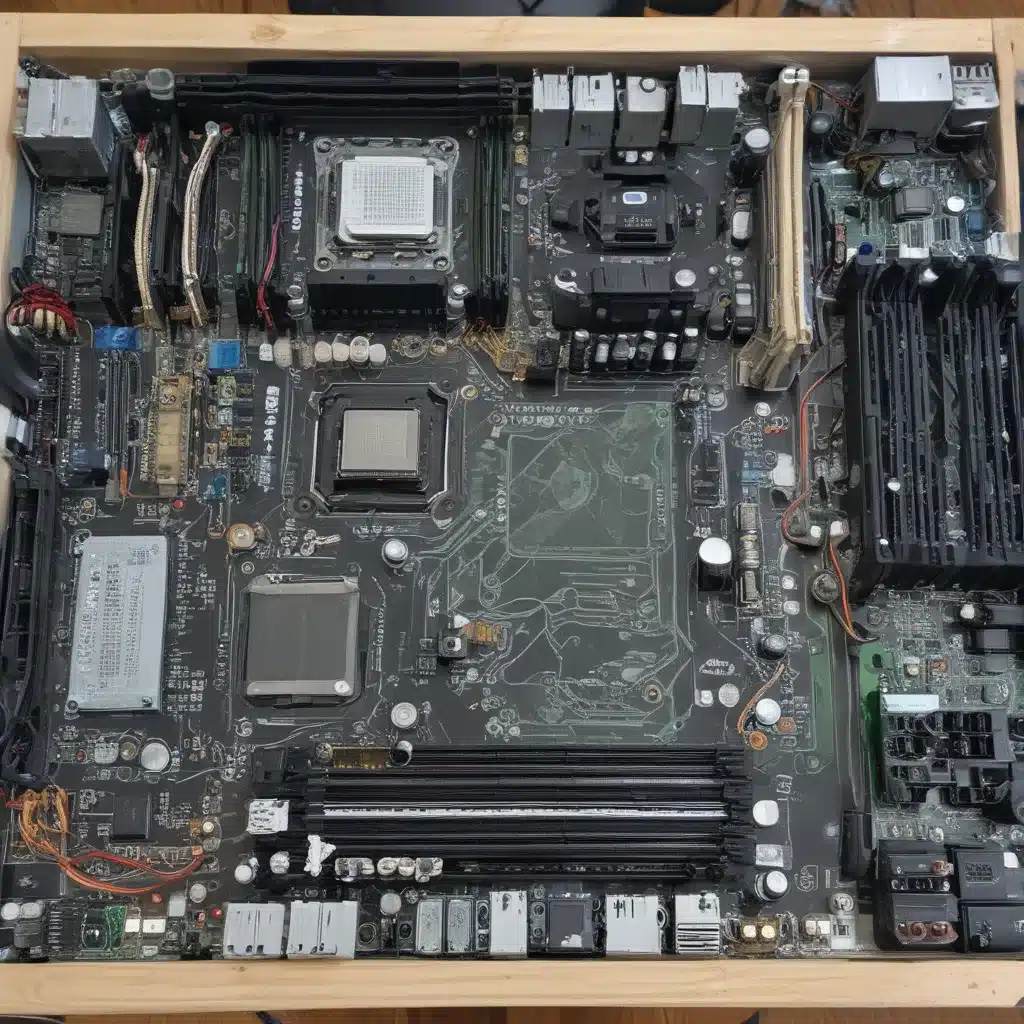
I carefully removed the old CPU and heatsink, making sure to handle the delicate components with care. Then, I gently slotted in the new i5 processor, applied a fresh layer of thermal paste, and secured the beefy Be Quiet! CPU cooler I had purchased. [3] After that, it was just a matter of popping in the new RAM sticks and swapping out the old hard drive for the shiny new SSD.
The Moment of Truth
With all the upgrades complete, it was time to power on my freshly revitalized desktop and see what it could do. I held my breath as the machine booted up, half-expecting it to let out a final, wheezy gasp and give up the ghost. But to my delight, the familiar Windows login screen appeared, and everything seemed to be running smoothly.
I quickly fired up a few of my go-to applications – Photoshop, Premiere Pro, even a couple of lightweight games – and was pleasantly surprised by the snappy performance. My once-sluggish desktop was now blazing through tasks like a champ, with nary a hint of the lagging and stuttering that had plagued it before.
The Joys of DIY Upgrades
As I sat back and admired my handiwork, I couldn’t help but feel a sense of pride and accomplishment. Sure, it might have been easier to just buy a brand-new computer, but where’s the fun in that? By rolling up my sleeves and getting my hands dirty, I not only saved a bundle of cash, but I also gained a deeper appreciation for the inner workings of my trusty old desktop.
And let’s be honest, there’s just something inherently satisfying about taking an aging machine and giving it a new lease on life. It’s like reviving a vintage car or restoring a cherished piece of furniture – you’re not just fixing a problem, you’re preserving a piece of history and honoring the hard work that went into its creation. [4]
Closing Thoughts
So if your desktop computer is starting to show its age, don’t be so quick to write it off. With a little elbow grease and a few strategic upgrades, you can breathe new life into that aging workhorse and turn it into a lean, mean, productivity-boosting machine. Whether you’re a seasoned tech enthusiast or a curious novice, the joy of reviving an old PC is an experience that’s well worth the effort.
Just remember to take your time, do your research, and approach the project with a steady hand and a healthy dose of patience. With the right mindset and a little bit of know-how, you’d be amazed at what you can accomplish. So what are you waiting for? Get out there and start resurrecting those tech relics!
References:
[1] Knowledge from https://www.quora.com/Is-it-possible-to-restore-an-older-vehicle-to-brand-new-using-all-of-the-original-parts-and-no-replacements
[2] Knowledge from https://www.instructables.com/VicPi-Revitalize-Your-VIC20-for-the-Modern-Computi/
[3] Knowledge from https://roytanck.com/2021/03/30/reviving-an-old-pc-part-2-shopping/
[4] Knowledge from https://www.bikeforums.net/bicycle-mechanics/754078-best-way-polish-restore-older-vintage-alloy-parts.html

