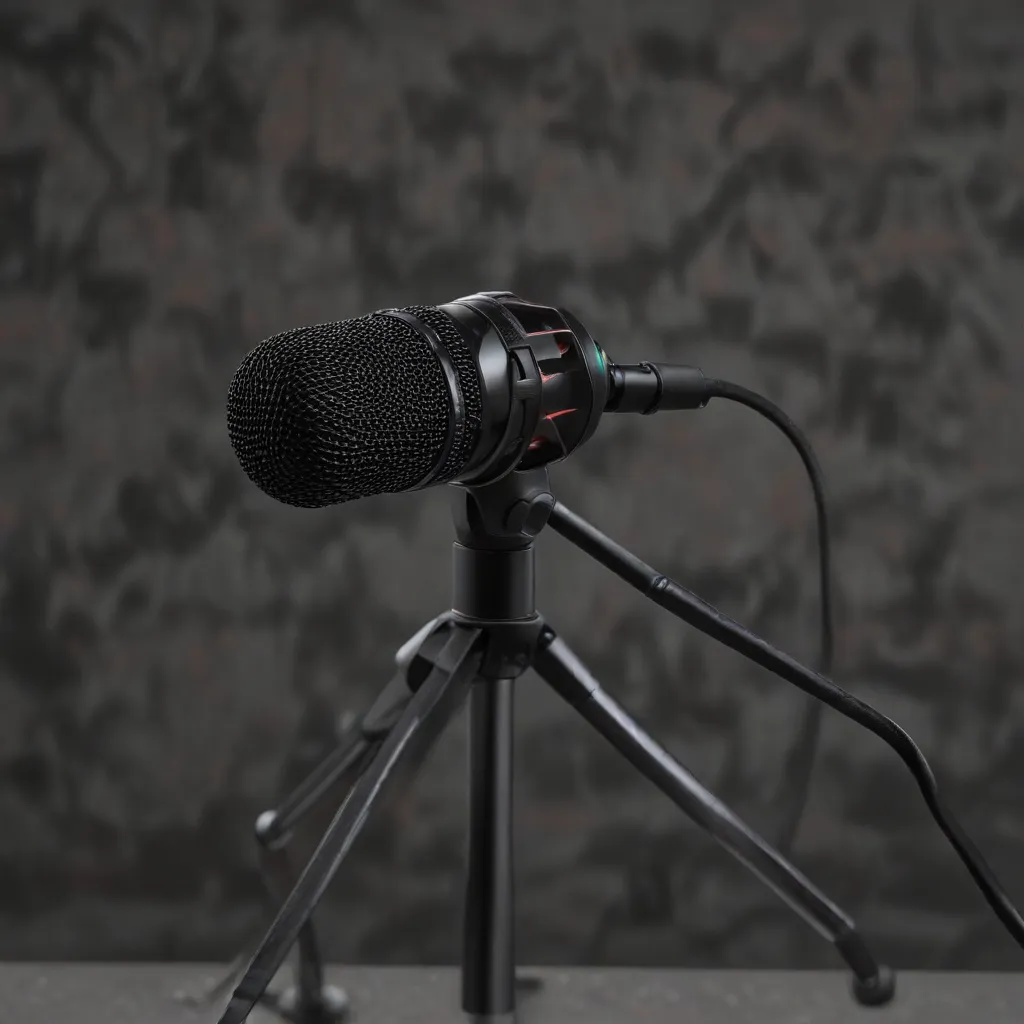
As a seasoned IT professional, I’ve encountered numerous cases of users struggling with microphone issues on their Windows 10 devices. Whether it’s a problem with the built-in microphone, a headset, or a standalone USB microphone, the root causes can vary, and troubleshooting can be a complex process. In this comprehensive guide, I’ll walk you through a series of proven steps to help you resolve Windows 10 microphone problems and get your audio devices functioning seamlessly.
Verify Microphone Permissions
One of the most common causes of a non-working microphone in Windows 10 is a lack of permissions. After updating your operating system, your apps may no longer have access to the microphone. To address this:
- Go to Start > Settings > Privacy & security > Microphone.
- Ensure that Microphone access is turned on.
- Make sure Let apps access your microphone is also enabled.
- If you want to give access to desktop apps, ensure that Let desktop apps access your microphone is turned on.
If your camera contains a microphone, you may need to grant permission for apps to access the camera as well. Navigate to Start > Settings > Privacy & security > Camera and ensure that Camera access is enabled.
Check Microphone Connections and Settings
Before diving into more complex troubleshooting, let’s start with the basics:
- Verify the physical connection: Ensure that your microphone or headset is properly connected to your computer. Check the audio jack or USB port for a secure connection.
- Mute button check: If your headset has a mute button, make sure it’s not active, preventing the microphone from picking up your voice.
- Default device selection: Confirm that your microphone or headset is set as the default recording device. In Windows 10, go to Start > Settings > System > Sound, and under the Input tab, select the appropriate device.
- Volume adjustment: Increase the volume of your microphone. In the Sound settings, select your microphone, click on the Device Properties, and adjust the Microphone and Microphone Boost sliders as needed.
Run the Recording Audio Troubleshooter
Windows 10 has a built-in troubleshooter that can help identify and resolve microphone-related issues. Here’s how to access it:
- Go to Start > Settings > System > Troubleshoot > Other troubleshooters.
- Locate the Recording Audio troubleshooter and click Run.
- Follow the on-screen instructions to complete the troubleshooting process.
The troubleshooter will scan your system, detect any problems, and provide recommended solutions to get your microphone working again.
Reinstall Audio Drivers
If the previous steps haven’t resolved the issue, the problem may lie with your audio drivers. Here’s how to reinstall them:
- Right-click the Start button and select Device Manager.
- Expand the Sound, video and game controllers section.
- Right-click on the audio device or driver and select Uninstall device.
- Ensure the Delete the driver software for this device option is checked, then click Uninstall.
- Repeat this process for any other audio devices or drivers in the list.
- Restart your computer, and Windows will attempt to automatically reinstall the audio drivers.
- If that doesn’t happen, right-click the Sound, video and game controllers section in Device Manager and select Scan for hardware changes.
- Once your computer has restarted, go back to Device Manager, expand the Sound, video and game controllers section, right-click your audio driver, and select Update driver.
This process will ensure that you have the latest and most compatible audio drivers installed, which can often resolve microphone issues.
Troubleshoot Third-Party Applications
If you’re experiencing microphone problems specifically with a third-party application, such as Zoom, there are a few additional steps you can take:
- Check the application’s audio settings: Ensure that the microphone is selected as the default input device within the application’s settings.
- Disable and re-enable the microphone: Some applications may require you to disable and then re-enable the microphone to properly detect it.
- Update the application: Check for any available updates for the problematic application and install them, as newer versions may address known microphone issues.
- Try a different browser: If the issue is with a web-based application, try accessing it through a different browser, such as Microsoft Edge, which may provide a workaround.
Upgrade to Windows 11 (If Possible)
In some cases, upgrading to Windows 11 has been reported to resolve persistent microphone issues. While this may not be a viable option for everyone, it’s worth considering if you’re unable to find a solution using the previous troubleshooting steps.
Remember to weigh the benefits and potential drawbacks of upgrading your operating system, as it may impact other software or hardware compatibility. Consult with your organization’s IT policies and guidelines before proceeding with a Windows 11 upgrade.
Conclusion
Resolving Windows 10 microphone issues can be a complex task, but by following the proven troubleshooting steps outlined in this article, you’ll be well on your way to getting your audio devices functioning correctly. Remember to approach each problem methodically, starting with the basic checks and gradually moving towards more advanced solutions.
If you’re still struggling to resolve the issue after trying these steps, don’t hesitate to reach out to the IT Fix community for further assistance. Our team of experienced IT professionals is always ready to provide expert guidance and support.


