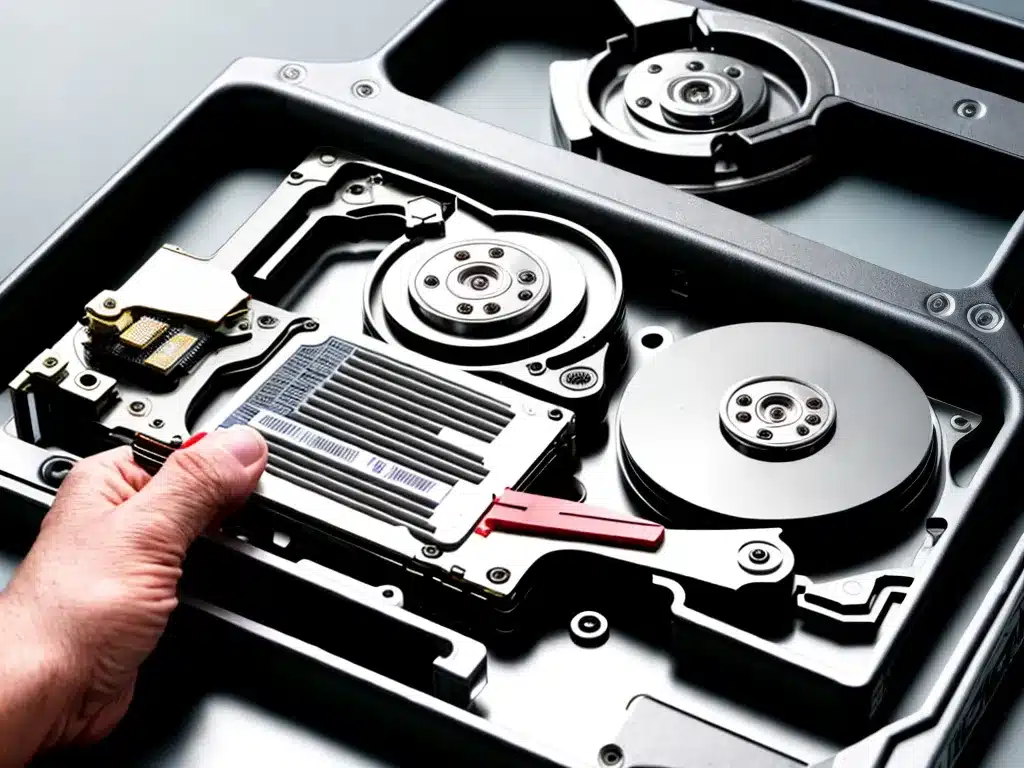
Upgrading from a traditional hard disk drive (HDD) to a solid state drive (SSD) can significantly improve your computer’s performance. Here’s a comprehensive guide on how to replace your old HDD with a new SSD.
Choosing an SSD
When selecting an SSD, there are a few key factors to consider:
SSD Form Factor
Make sure to get an SSD with the same physical size and interface as your current HDD. The most common form factors are:
- 2.5″ SATA SSDs for laptops
- M.2 SSDs for ultrabooks and small form factor PCs
- 3.5″ SATA SSDs for desktop PCs
SSD Capacity
Bigger is better when it comes to SSD capacity, as it allows you to store more programs and files on the faster SSD storage. However, larger SSDs cost more per GB. Aim for at least 250GB – 500GB for your OS drive.
SSD Interface
SATA and M.2 are the most common SSD interface types. M.2 SSDs are faster than SATA, but also pricier. Make sure your computer supports M.2 before buying one.
SSD Brand
Stick with reputable brands like Samsung, Crucial, WD, and Kingston for proven performance and reliability.
Backing Up Your Data
Before replacing your HDD, back up all your personal files and data to an external drive or cloud storage. This guarantees you won’t lose anything during the upgrade.
Use the Windows Backup and Restore utility or third party software like Macrium Reflect to create a full system image backup of your HDD. This will let you easily restore your old programs and settings onto the new SSD if needed.
Installing the SSD
Installing the SSD involves both hardware and software steps.
Physical Installation
For a desktop PC, you’ll need to mount the new SSD in an open drive bay and connect the SATA data and power cables. Most SSDs come with their own SATA cables.
For a laptop, you’ll have to remove the bottom panel to access the internal drive bay. Refer to a teardown guide for your specific laptop model. Carefully detach the old HDD and insert the new SSD in its place.
Initializing and Partitioning
Once connected, boot into the Windows installation media or recovery tools. Initialize the new SSD using Disk Management, then create a single large partition occupying all available space on the SSD. Format this partition NTFS.
Transferring Your Data
Now it’s time to migrate your apps, files, and Windows OS from the old HDD to the new SSD.
Clean Installation
For a fresh start, do a clean install of Windows on the SSD, then manually reinstall your apps. Transfer your personal files from the HDD once done.
Cloning the HDD
For easier migration, use disk cloning software like Macrium Reflect to clone the HDD onto the SSD. This creates an exact copy including all your data and programs.
Fresh and Clean
To maintain a clean system after cloning, reformat the old HDD once you’ve verified the cloned SSD works properly. Then you can use the old HDD for storage.
Tweaking Your SSD
Here are some final tips for getting the most out of your new SSD:
- Enable TRIM in Windows to optimize write speeds
- Disable SuperFetch and Prefetch to avoid unnecessary writes
-
Configure your power plan settings for maximum performance
-
Update the SSD firmware using the manufacturer’s software for bug fixes and improvements
With your SSD properly installed and optimized, you can now enjoy faster boot times, quicker app launches, and a snappier overall system! This simple upgrade really does make your computer feel brand new again.


