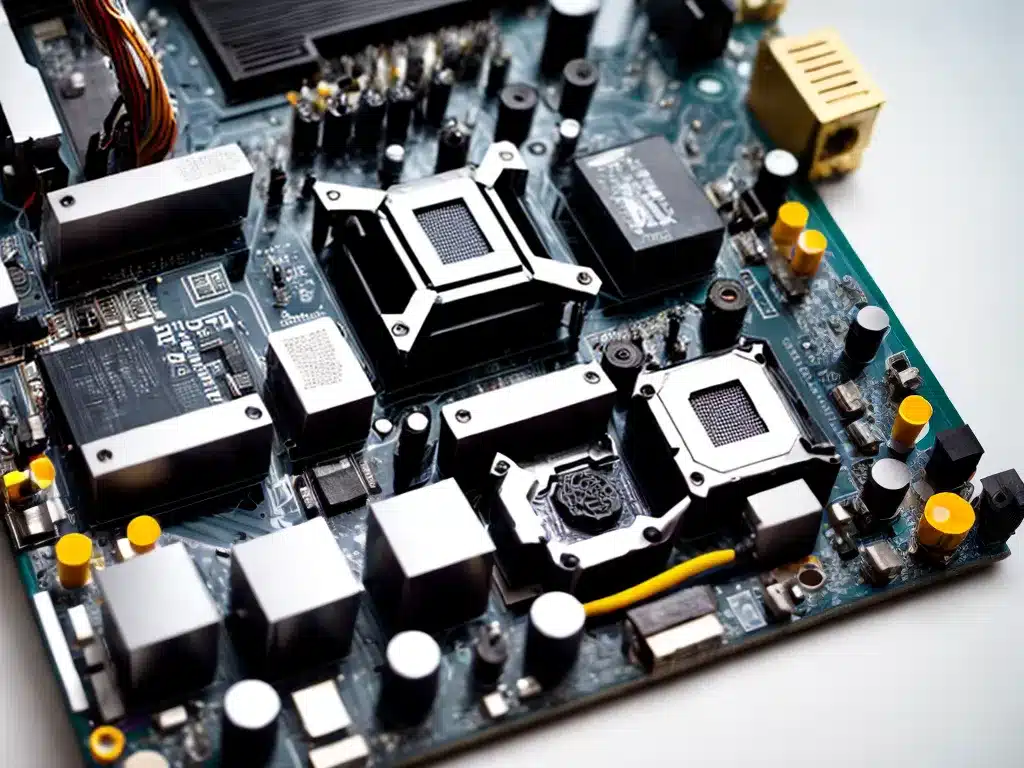
Replacing the motherboard in your computer can seem like a daunting task, but with some preparation and by following this step-by-step guide, it is very doable even for less tech-savvy users. A motherboard replacement allows you to upgrade to a newer, faster model or replace a faulty board.
When You Should Replace Your Motherboard
There are a few common scenarios when replacing your motherboard makes sense:
-
Upgrading to newer features – Newer motherboards offer faster processor sockets, more RAM capacity, better graphics support, more USB ports, NVMe support, etc. If your computer is outdated, a motherboard swap lets you upgrade.
-
Fixing hardware faults – Issues like random crashes, component failures, etc. can sometimes be traced back to a failing motherboard. Replacing it can fix these problems.
-
Repurposing an old PC – Putting a new motherboard in an old PC case with a new PSU can give it new life. The cost is often less than building a brand new system.
-
Troubleshooting component failures – If you’re having issues and have ruled out other components, try swapping in a new motherboard as a troubleshooting step.
Preparation Steps Before Replacing Your Motherboard
Replacing a motherboard requires some legwork. Here are some things I do before replacement:
-
Record your BIOS settings – Note down any custom BIOS tweaks so you can reconfigure them later.
-
Install necessary drivers & software – Download chipset drivers, graphics drivers, etc. for the new motherboard.
-
Backup important data – In case anything goes wrong, backup your data to external media.
-
Collect tools you’ll need – Phillips screwdriver, parts like thermal paste/cable ties, anti-static bracelet, etc.
-
Ensure compatibility – Verify the new board fits your case and works with your other components.
-
Plan part transitions carefully – Determine which parts are moving over from old board, which are being replaced, etc.
Step-By-Step Motherboard Replacement Instructions
Once you’re prepped, it’s time to tackle the physical board replacement:
1. Disconnect and Remove Old Motherboard
- Power down and unplug all cables from components and motherboard
- Open the case and remove any expansion cards like the graphics card
- Unscrew motherboard screws and carefully pull it out of the case
2. Prepare the New Motherboard
- Unbox the new motherboard and visually inspect for damage
- With the board out of the case, now is the time to install the CPU, RAM, M.2 SSD, etc
- Don’t forget the I/O shield – snap it into the case’s rear panel
3. Install the New Motherboard
- Carefully lower board into case, aligning ports with I/O shield cutouts
- Reinstall standoffs and screw motherboard into place
- Ensure all ports align and rear panel fits back on case
4. Connect Cables & Power On
- With board secured, reconnect all cables like power, data, front panel
- Replace any expansion cards you removed earlier
- Attach CPU cooler with fresh thermal paste
- Power on and enter BIOS to reconfigure settings
5. Install Drivers & Software
Now you’re ready to start using your “new” computer!
- Boot into Windows and install necessary drivers first
- Update to latest BIOS/firmware for new motherboard
- Reinstall programs, games, etc and restore backups
Troubleshooting Tips for Motherboard Issues
During or after installation, you may run into issues like:
- Failure to POST or boot into OS
- peripherals/components not detected
- BSODs or instability after booting
Things to try in this scenario:
- Reseat CPU, RAM, cables, etc
- Clear CMOS to reset BIOS
- Try onboard graphics instead of GPU
- Verify PSU cables are connected properly
- Update BIOS and chipset drivers
- Start troubleshooting other components
With some diligence and patience, you can overcome most post-replacement issues. Don’t hesitate to ask online PC communities for help too!
Conclusion
While the process may seem intimidating, replacing a motherboard is very doable. With the right preparation and precautions, you can upgrade your PC or breathe new life into old hardware. Just take it slow, follow proper ESD protection procedures, and don’t hesitate to get help when needed. With this guide, you should now feel equipped to tackle a DIY motherboard replacement project.


