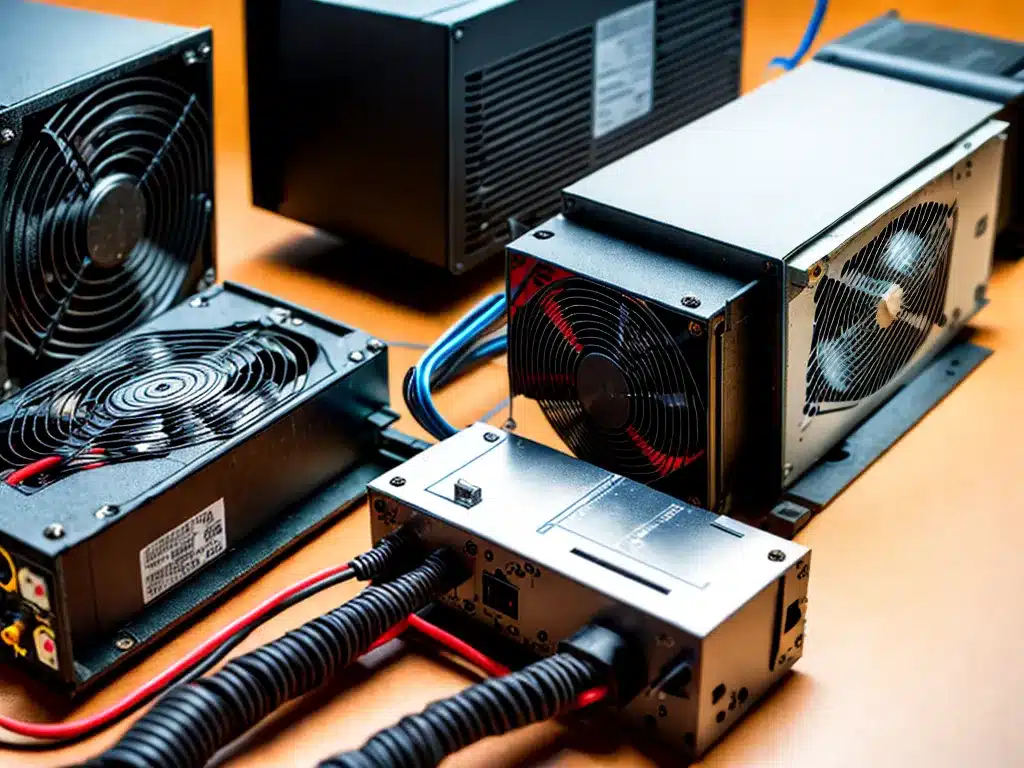
Why You May Need to Replace Your Power Supply
A faulty power supply is one of the most common reasons a computer won’t turn on or keeps crashing. As the key component responsible for delivering power to all of your PC’s components, if it fails, nothing will work properly. Here are some signs that your power supply may need replacing:
-
Computer randomly shuts off or restarts: An inconsistent power supply can cause random shutdowns or restarts. This occurs when the power supply fails to deliver sufficient, stable power.
-
Computer won’t turn on: If your PC won’t boot up at all, it could mean your power supply has totally failed. No power is being delivered to start the computer.
-
Odd noises from inside the case: Whining, buzzing or high-pitched noises can indicate issues with your power supply’s fan or internal components.
-
Overheating issues: An inadequate power supply may struggle to deliver enough power, causing components to overheat. This leads to crashes, freezes and shutdowns.
-
Corrupted data: An unstable power supply can cause crashes, data loss and file corruption.
If you suspect your power supply is malfunctioning, it’s best to replace it sooner rather than later to avoid damaging other components.
Choosing a Replacement Power Supply
When selecting a new power supply, there are a few key factors to consider:
-
Wattage: You need sufficient wattage to power your specific configuration. Aim for a power supply that offers at least 100W more than your system’s estimated requirements.
-
Efficiency rating: Look for an 80 PLUS Bronze, Silver, Gold or Platinum certified PSU for optimal efficiency and reliability.
-
Modularity: Modular power supplies allow you to only connect the cables you need, aiding cable management.
-
Trusted brand: Stick to reputable brands like Corsair, EVGA and Seasonic that make quality power supplies.
-
Form factor: Ensure you get the proper form factor (ATX, SFX, etc) that fits your case.
Refer to your motherboard manual to determine the right connectors and wattage for your setup. It’s better to spend a bit more for a quality, high-efficiency PSU from a top brand.
How to Replace a Faulty Power Supply
Replacing a power supply involves just a few steps. Here is the process:
-
Turn off and unplug the computer
- Shut down your PC and flip the switch on the power supply to OFF.
- Unplug the power cable from the back to disconnect AC power.
-
Open up the case
- Remove the side panel to access the interior.
- Use a Phillips screwdriver to remove any screws securing the power supply.
-
Unplug all power supply cables
- Disconnect the main 24-pin motherboard connector.
- Unplug the 8-pin CPU/EPS connector.
- Detach all other connectors, such as PCIE, SATA and molex cables.
-
Remove the old power supply
- Remove any remaining screws securing the PSU.
- Carefully slide it out of the case.
-
Install the new power supply
- Set the new PSU into position and screw it in place.
- Reconnect the 24-pin and 8-pin motherboard connectors.
- Plug in other cables to your components.
-
Close up the case
- Tidy all cables and tuck them out of the way.
- Replace the side panel and screw it back in.
-
Verify operation
- Reconnect the power cable and turn on your PC.
- Make sure the system boots up properly.
As long as you select a compatible unit, swapping in a new power supply is a straightforward process anyone can do themselves. Just take care to connect all cables correctly.
Troubleshooting Common Power Supply Issues
If your newly installed replacement power supply isn’t working correctly, here are some tips to troubleshoot common problems:
-
No power at all – Make sure the PSU switch is turned ON and the power cable is firmly connected. Double check all motherboard power connectors. Test the wall outlet with another device.
-
Computer turns on then shuts off – The PSU may be overloading and triggering protection. Verify you have the proper wattage for your system. Try disconnecting extra components.
-
Noise from power supply – Unusual buzzing or grinding noises point to a fan failure or internal PSU faults. Replace the unit if under warranty.
-
Overheating – Ensure your new power supply has a properly working fan. Check case airflow and cable clutter that could block ventilation.
-
PC crashes under load – If the PC runs fine at low loads but crashes when gaming or under heavy load, the PSU may not provide enough power. Get a higher wattage PSU.
-
BSOD errors – Faulty power delivery can also lead to Blue Screen of Death errors. Run MEMTEST to check for RAM issues. Test with another PSU.
Carefully inspecting all connections and double checking compatibility requirements can help isolate any power supply gremlins. Overall, replacing a malfunctioning PSU with a new quality unit often solves a majority of system instability problems.
Summary
Replacing a failing power supply is one of the easier DIY upgrades you can perform to revive an ailing computer and improve system stability. Here are some key tips:
-
Watch for signs of a failing PSU like crashes, shutdowns and file corruption.
-
Select a replacement PSU with enough watts, good efficiency rating, modular cabling and a trusted brand.
-
Disconnect and remove old cables and power supply; install and connect the new unit.
-
Verify the computer starts up correctly and functions well under load.
-
If issues persist, methodically troubleshoot connections, compatibility and PSU wattage.
With the right replacement power supply properly installed, you can eliminate those frustrating crashes and boot failures. Just be slow and careful swapping over all the connectors.


