Introduction
Replacing a desktop PC power supply may seem daunting, but it’s actually a straightforward process that anyone can do with a little guidance. In this article, I’ll walk you through the step-by-step process I followed to replace the power supply in my desktop PC.
A power supply replacement can provide several benefits. An old or failing power supply can cause system instability, crashes, and component failures. Replacing it restores dependable power delivery. A higher wattage unit allows for future upgrades like adding drives and graphics cards. More modern designs run quieter, cooler, and more efficiently.
So if you find yourself in need of a new desktop power supply, don’t be intimidated. Just follow along with this guide, take your time, and you’ll have your PC back up and running with a fresh power supply in no time.
Preparation
Before replacing your power supply, it’s important to make sure you have compatible replacement options and the necessary tools on hand.
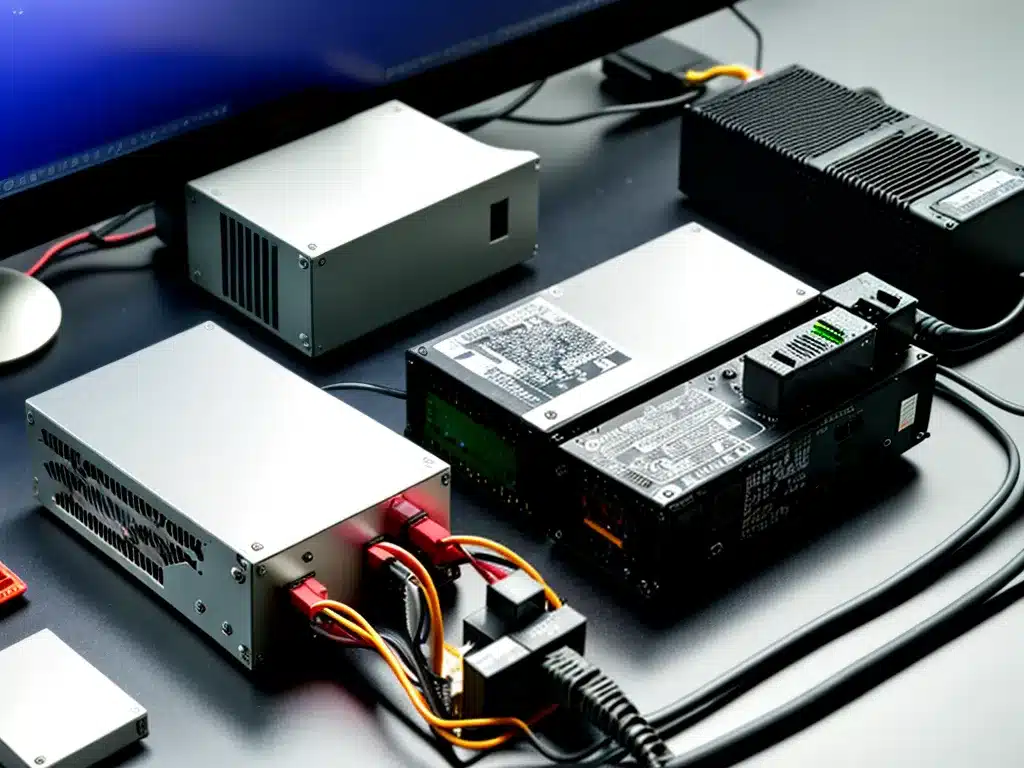
First, you’ll need to select a compatible power supply unit (PSU) to replace your old one. Desktop PSUs come in standard sizes like ATX and SFX. You’ll want the new PSU to match the size of your case. Look at the connectors on your motherboard and components to determine what power cables you need. Aim for a similar or higher wattage rating. When in doubt, 550-650W is a safe bet for a standard ATX build.
Next, gather some basic tools:
- Phillips head screwdriver
- Zip ties
- Flashlight
Optional but helpful tools include:
- Needle nose pliers
- Anti-static wrist strap
Finally, make sure your computer is turned off and disconnected from power. Flip the switch on the PSU and then unplug the power cable from the back. This ensures components are safely powered down during the replacement process.
With your new PSU and tools on hand, you’re ready to dive into the replacement process.
Removing the Old Power Supply
The first step is accessing and removing the old desktop power supply for replacement.
-
Unplug all cables connected to the back of the PSU. This includes the motherboard power connector (usually 20+4 pin), graphics cards, storage drives, etc.
-
If your PSU is modular, detach all modular cables.
-
Remove the screws securing the PSU to the back panel of the case. Most commonly, there will be 4 screws, one in each corner.
-
With the screws removed, you can now slide the old PSU out the back of the case. Move it off to the side.
Be careful not to mix up the detached cables. Lay them out in a logical order or take photos if needed. This will make reconnecting them easier when installing the new PSU.
Installing the New Power Supply
With the old unit removed, it’s time to mount the new power supply for use.
-
If the new PSU is modular, attach the necessary cable accessories like PCIe, SATA, etc.
-
Align the PSU into position on the back panel and insert/start the 4 corner screws. Don’t tighten fully yet.
-
Reconnect all the cables to their original spots based on your notes or photos. The motherboard power cable usually goes in first.
-
Once aligned, tighten down the 4 corner screws fully to secure the PSU.
-
Neatly bundle up any excess cabling with zip ties to improve airflow and aesthetics.
-
Plug in the AC power cable to the new PSU and flip the rear switch to the ON position.
The physical installation is now complete. All that remains is booting up the system and verifying normal operation.
First Boot and Verification
With the new power supply physically installed, it’s time to boot up your system and confirm normal operation.
-
Reconnect the power cable and any other externals like your monitor.
-
Press the case power button to boot the system.
-
The system should power on like normal. Load into the operating system.
-
Verify all your components are detected and functioning properly in the OS.
-
Run some system stress tests like Prime95 and FurMark for 10-15 minutes.
-
As long as no issues or instability arise, the PSU replacement is likely successful.
-
Perform regular backups and enjoy your upgraded, stable power delivery.
And that’s it! By methodically following the steps above to remove the old unit and install the new one, you’ve successfully replaced your desktop PC’s power supply all on your own. While it may look intimidating, just take it slow and double check your connections. Feel free to refer back to this guide for a refresher next time you need to swap a PSU.
Troubleshooting Help
If your PC encounters issues booting up or any component doesn’t seem to work after the replacement, here are some things to check:
-
Re-examine all connections to make sure cables are fully seated.
-
Try a CMOS reset to clear any incorrect BIOS settings.
-
Test the system with just the essential components like one stick of RAM.
-
Ensure the PSU switch is in the ON position.
-
Verify the wall outlet has power. Consider trying a different outlet.
-
Try reseating critical components like the graphics card and RAM.
-
If problems persist, it’s possible the new PSU is faulty and needs to be replaced.
Don’t hesitate to reach out to experts for assistance if you exhaust all troubleshooting steps. Replacing a desktop power supply is very doable with some patience and care.
Conclusion
Replacing a failing or underpowered desktop PC power supply is one of the more straightforward DIY upgrades you can perform. With this step-by-step guide, you learned the proper process of selecting, removing, installing, and verifying a new PSU.
The key things to remember are:
-
Choose a compatible replacement PSU with sufficient wattage and required connectors.
-
Disconnect and remove all cables and screws to remove old PSU.
-
Install the new unit with screws and reconnect all cables properly.
-
Boot up, stress test, and confirm normal operation of the newly upgraded system.
While daunting at first glance, simply follow along with these steps and take your time. Before you know it, your desktop will be back up and running with a fresh power supply. This upgrade will provide more reliable power delivery and can extend the life of your system.

