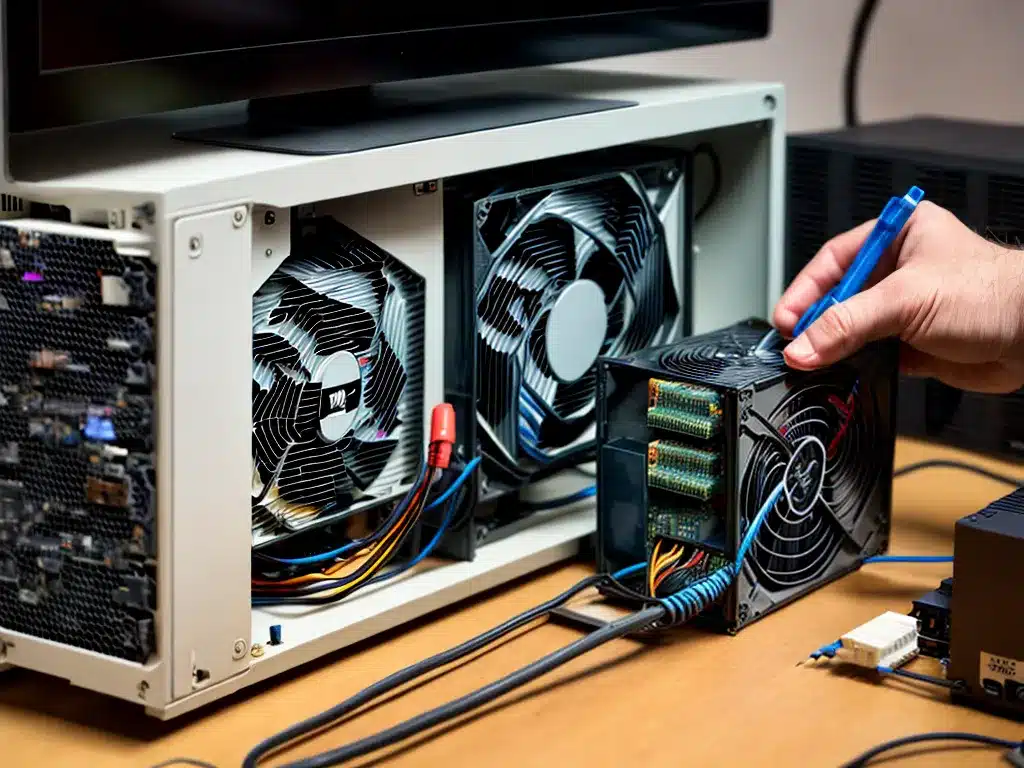
Replacing Your Computer’s Power Supply Unit
Introduction
Replacing a computer’s power supply unit (PSU) is a straightforward process that can boost your system’s performance and extend its lifespan. In this article, I will walk you through the steps to replace a PSU, from selecting the right model to installing it properly. I’ll also cover common issues that arise during PSU replacements and how to troubleshoot them. With some basic tools and safety precautions, you can upgrade your computer’s PSU yourself.
Selecting the Right Power Supply
The most important aspect of replacing a PSU is choosing one that’s compatible with your system. Here are some key factors to consider:
Power Output
- The PSU must provide enough wattage to power all of your PC’s components. A 500W unit may be sufficient for a basic setup, while high-end gaming rigs require 750W or more. You should choose a PSU that allows at least 100W of headroom above your estimated peak power draw.
Form Factor
- Most desktop PSUs conform to the ATX form factor. However, some small form factor cases require SFX or TFX units. You need to match the form factor to your case.
Efficiency Rating
- Look for an 80 PLUS Bronze or ideally Gold certified PSU. These offer better energy efficiency, reducing electricity bills and heat output.
Modularity
- Modular PSUs allow you to detach unused cables, improving airflow and tidiness. They cost more but are worthwhile for most builds.
Warranty
- Aim for at least a 3-year warranty. Quality PSUs often come with 5-year or even 10-year warranties, signaling durability.
Preparing for Installation
Replacing a PSU requires working inside your PC case. Here are some tips to ensure safe installation:
-
You should ground yourself by touching a metal case periodically while working to avoid static discharge.
-
Turn off the computer and unplug the power cord from the wall outlet.
-
Use a magnetic screwdriver to avoid drops into the case.
-
Have replacement mounting screws on hand as removing the old PSU may strip some.
-
Carefully inspect the new PSU and its cables before installing. Look for any damage or missing connectors.
Step-by-Step Installation
Follow these steps to safely replace your computer’s PSU:
1. Remove the case side panel
Use the correct screwdriver to remove the screws securing the case side panel. Pull it off gently to avoid scratching the case.
2. Disconnect all PSU cables
You need to detach the main motherboard power connector, SATA cables, and any GPU/peripheral connectors from the old PSU. Be organized and note where each cable was connected.
3. Unscrew and remove the old PSU
There are typically 3-4 screws securing the PSU to the back of the case. Unscrew these and slide the old unit out.
4. Install the new PSU
Slide the replacement PSU into position and use the screws to secure it in the case. Consult the manual if needed.
5. Reconnect all cables
Refer to your notes and reconnect all the cables to the appropriate sockets on the new PSU. Take care not to bend any pins.
6. Reattach case side panel
With all connections made, reattach the case side panel securely with the original screws.
7. Boot up PC
Plug the power cable back into the wall outlet and boot up your computer. Ensure the new PSU powers up and all components function normally.
Troubleshooting Common Issues
If your computer encounters issues after the PSU swap, here are some likely culprits:
-
Loose connector – Check that all cables are firmly attached at both ends.
-
Incompatible PSU – The new unit may lack connectors or not provide enough wattage for your full setup.
-
DOA unit – Rare but possible; test with another PSU to confirm.
-
Damaged components – In extreme cases, a faulty PSU can damage other parts before failing.
-
Short circuit – Loose screws or cables may be causing a short. Check for any metal contact.
Carefully go through installation and compatibility to identify the problem source. Contact technical support if still unresolved.
Conclusion
While seeming complex, replacing a computer PSU simply requires selecting a compatible unit and carefully reconnecting all cables. With some preparation and safety steps, you can achieve noticeable gains in performance, stability, and longevity. This upgrade is also cheaper than replacing most other PC components. Just be sure to research your options and follow installation best practices.


