Introduction
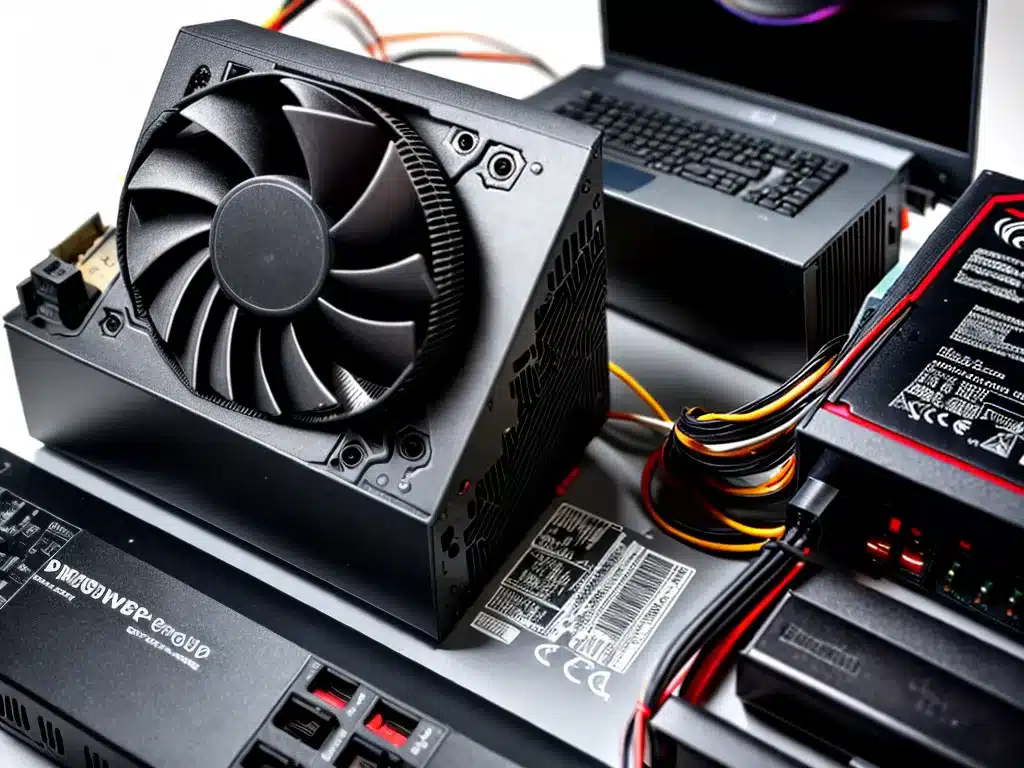
Replacing an aging power supply is one of the best ways to give an older computer a new lease on life. As power supplies get old, they lose the ability to provide stable, clean power to the other components in your PC. This can lead to crashes, freezes, reboots, and other issues. In this article, I will discuss the benefits of replacing an old power supply, how to choose the right new one, and steps for installation.
Why Replace an Old Power Supply?
There are several key reasons why replacing an aging power supply can dramatically improve your computer’s stability and performance:
-
Insufficient wattage – Older power supplies degrade over time and can no longer provide enough wattage for high-end components like GPUs. This leads to shutdowns during intensive tasks.
-
Voltage instability – Fluctuations and ripple in voltage outputs can cause components to malfunction or fail prematurely.
-
Overheating – Excessive heat shortens the lifespan of a PSU and other components. Elevated temperatures cause throttling.
-
Noisy operation – Excessive coil whine indicates components are stressed. This noise can be very distracting.
-
Lack of protections – Modern PSUs have safeguards against voltage spikes, overcurrents, short circuits, etc. Old ones often lack these.
Replacing an aging, underpowered, or failing power supply can provide more stable power delivery and allow components like the CPU and GPU to run optimally.
Choosing the Right Replacement PSU
When selecting a new power supply, there are three key factors to consider:
-
Wattage – The new PSU must have ample wattage for all components. 500-650W is good for most single GPU systems. Use a PSU calculator to determine needs.
-
Efficiency rating – Look for an 80 Plus Bronze or better rated PSU for less wasted heat. Higher efficiency saves energy and lowers noise.
-
Modularity – Modular PSUs with detachable cables help tremendously with cable management for good airflow. Non-modular cables can be a tangled mess.
Stick with reputable brands like Corsair, EVGA, and Seasonic when choosing a replacement. Avoid cheap, generic power supplies which can damage components. Spending a bit more on a quality PSU is worthwhile.
Step-by-Step Installation Guide
Replacing a power supply is straightforward. Follow these steps for safe installation:
1. Disconnect and remove old PSU
- Switch off and unplug the computer.
- Remove case side panel.
- Unplug all power connectors from components.
- Unscrew and remove old PSU.
2. Install new power supply
- Carefully mount new PSU and screw in place.
- Reconnect main motherboard power connector and CPU power.
- Connect other power cables to components like GPU, drives etc.
- Tidy and cable manage wires for good airflow.
3. Boot up and verify operation
- Replace case side panel.
- Plug in and switch on the computer.
- Enter BIOS to verify detected components.
- Boot into operating system to check stability.
Take care when handling PSUs to avoid electric shock. Consulting the manual for specific instructions is wise.
Enjoy Revitalized Performance!
After replacing an aging power supply with a new high-quality unit, you can expect:
- Rock solid stability – No more random crashes or freezes.
- Faster boot times – Clean power allows components to initialize reliably.
- Cooler operation – Efficient PSU and better airflow lowers temperatures.
- Quieter acoustic profile – Minimum coil whine from quality unit.
- Higher frame rates – GPU can sustain boost clocks better with ample clean power.
You’ll be able to use your PC confidently for gaming or intensive tasks without nagging stability issues. Replacing an old PSU breathes new life into an aging computer!


