A Shocking Discovery
As I peered into the guts of my aging desktop, I couldn’t help but notice a peculiar sight – a trio of capacitors on the motherboard, swollen and bulging like miniature muffin tops. “Uh oh,” I muttered, “this can’t be good.” You see, I’m the kind of person who likes to squeeze every last drop of usefulness out of my tech gadgets, often pushing them well beyond their warranty periods. But these capacitors, with their unsightly protrusions, signaled that my beloved machine was about to meet its demise.
Now, I know what you’re thinking – “Just toss the whole thing and get a new computer!” But hold on, my friend. As a self-proclaimed tech enthusiast and someone who enjoys a good challenge, I wasn’t about to give up on my trusty desktop so easily. I had a hunch that with a bit of elbow grease and some careful soldering, I could breathe new life into this aging behemoth. After all, how hard could it be to replace a few measly capacitors?
Demystifying Capacitors
Before we dive into the nitty-gritty of capacitor replacement, let’s take a quick refresher on what these little electronic components actually do. Capacitors are essentially tiny energy storage devices, responsible for smoothing out the flow of electricity within a circuit. In the case of a motherboard, they play a crucial role in regulating the power supply to various components, ensuring stable and consistent performance.
When a capacitor starts to fail, it can manifest in a variety of ways – random system crashes, unexpected reboots, or even complete system failure. In my case, the telltale sign was those swollen, bulging capacitors – a clear indication that the electrolyte inside had dried up or leaked, compromising their ability to do their job properly.
Preparing for Surgery
Now, before you go poking around inside your precious machine, it’s important to take a few precautions. First and foremost, make sure to ground yourself by touching a metal object or using an anti-static wrist strap. Motherboards are delicate creatures, and static electricity can be their kryptonite.
Next, gather your tools – a soldering iron, some lead-free solder, a desoldering pump or wick, and a pair of needle-nose pliers. Oh, and don’t forget your trusty magnifying glass – those capacitor legs can be mighty tiny, and you’ll need all the visual aid you can get.
The Delicate Dance of Desoldering
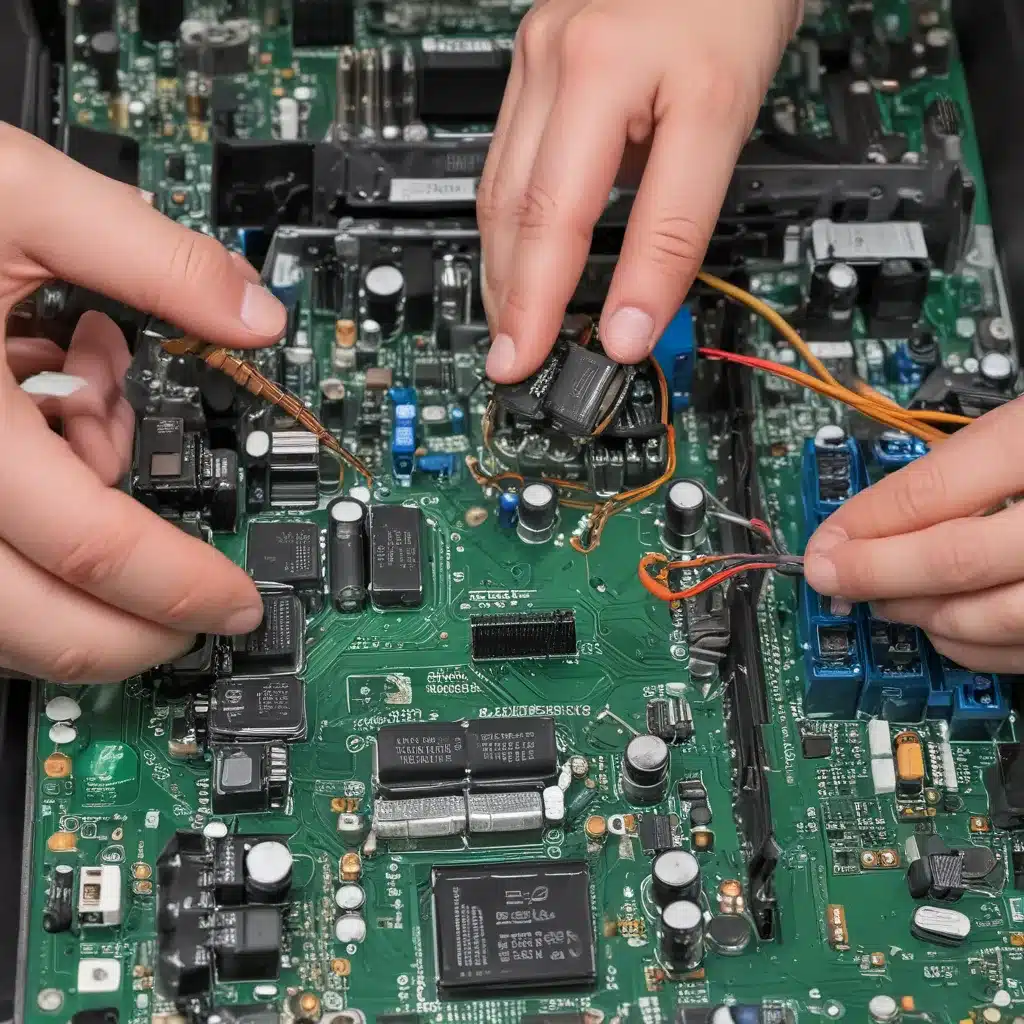
With my tools in hand and a deep breath taken, I set to work on the first swollen capacitor. Carefully applying the soldering iron to the exposed legs, I waited patiently for the solder to melt, then gently pried the component free from the motherboard. [1] It was a delicate dance, as I had to be mindful not to pull too hard and risk tearing the fragile copper traces on the board.
Once the first capacitor was out, I moved on to the next two, following the same methodical process. [2] I made sure to keep the old capacitors separate, as I didn’t want to accidentally mix up their values or polarity when it came time to install the replacements.
A Leap of Faith
With the faulty capacitors removed, it was time to tackle the task of finding suitable replacements. Luckily, I had a stash of various capacitors in my electronics toolbox, and after some careful comparison, I settled on a few that matched the size and electrical specifications of the originals. [3]
Now, the moment of truth had arrived. Tentatively, I aligned the new capacitors’ legs with the holes on the motherboard, double-checking the polarity to ensure I didn’t accidentally reverse them. [4] Taking a deep breath, I applied the soldering iron, carefully melting the solder and securing the components in place.
A Triumphant Reboot
As I secured the last capacitor, I couldn’t help but feel a sense of nervous anticipation. Would my trusty desktop spring back to life, or would I have to resign myself to a trip to the electronics recycling center?
With a flick of the power switch, the familiar whir of the fans filled the air, and to my delight, the monitor sprang to life, displaying the familiar Windows login screen. “Yes!” I pumped my fist in triumph, grinning like a kid on Christmas morning.
Lessons Learned
Through this experience, I’ve learned a few valuable lessons about the art of capacitor replacement. First and foremost, patience and attention to detail are key. Rushing through the process or getting sloppy with the soldering can lead to disastrous consequences. [5] Secondly, it’s always better to err on the side of caution and replace all the capacitors of the same type, even if only one or two are visibly damaged. [6] And lastly, don’t be afraid to tackle these kinds of repairs yourself – with the right tools and a bit of know-how, you can breathe new life into aging tech and save yourself a bundle in the process.
So, the next time you spot those telltale bulges on your motherboard, don’t panic. Grab your soldering iron, channel your inner electronics wizard, and get to work. Who knows, you might just end up with a freshly revived machine that’s good as new.
References:
[1] Knowledge from https://www.itsacon.net/computers/hardware/replacing-bad-motherboard-capacitors/
[2] Knowledge from https://www.quora.com/Is-replacing-capacitors-on-a-motherboard-worth-it
[3] Knowledge from https://www.reddit.com/r/buildapc/comments/84xdw6/if_a_capacitor_on_my_motherboard_is_dead_can_i/
[4] Knowledge from https://www.instructables.com/Replace-capacitor-in-computer-board/
[5] Knowledge from https://linustechtips.com/topic/1031984-motherboard-bad-capacitor-replacement/
[6] Knowledge from https://www.quora.com/Can-a-bad-motherboard-be-fixed-by-replacing-or-repairing-its-components-capacitors-transistors-etc

