The Dreaded SIM Card Tray Dilemma: A Tale of Woe and Triumph
Picture this: You’re casually scrolling through your favorite apps, minding your own business, when suddenly, your smartphone decides to throw a tantrum. The SIM card tray, that unassuming little slot that houses your lifeline to the digital world, has decided to stage a revolt, refusing to cooperate. A sinking feeling sets in as you realize that you’re now a victim of the dreaded “SIM card tray problem.”
I know this feeling all too well. It happened to me just a few months ago with my trusty LG G3 D855. One minute, I was happily making calls, and the next, my SIM card was playing a game of hide-and-seek, refusing to stay in its rightful place. Needless to say, I was not amused.
But fear not, my fellow smartphone enthusiasts! I’m here to share my journey of replacing a faulty SIM card tray, complete with the ups and downs, the triumphs, and the occasional (okay, maybe more than occasional) moments of pure frustration. By the end of this article, you’ll be equipped with the knowledge and confidence to tackle this common smartphone ailment and emerge victorious.
Identifying the Problem: Is It Really a Faulty SIM Card Tray?
Before we dive into the nitty-gritty of the replacement process, it’s crucial to ensure that the issue you’re experiencing is, in fact, a faulty SIM card tray. After all, we don’t want to go through the hassle of a repair if the problem lies elsewhere.
One of the telltale signs of a faulty SIM card tray is when your SIM card keeps popping out or refuses to stay in place, no matter how gently you try to insert it. You may also notice that the tray itself is loose or wiggly, indicating a structural issue.
If you’re experiencing issues with your SIM card connectivity, such as intermittent service or the dreaded “No SIM” error message, those could also be signs that the SIM card tray is the culprit. According to iFixit, a common problem with the LG G3 D855 is that the SIM card slot contacts can break, leading to these kinds of connectivity issues.
Preparing for the Repair: Gather Your Tools and Supplies
Now that you’ve determined the root of the problem, it’s time to prepare for the repair. Replacing a faulty SIM card tray can be a delicate process, so it’s essential to have the right tools and supplies on hand.
First and foremost, you’ll need a small screwdriver set, preferably one with a variety of bits that can handle the tiny screws found in smartphones. As one Reddit user shared, it’s crucial to have the right tools to avoid stripping the screws and making the situation even worse.
In addition to the screwdriver set, you’ll also need a pair of tweezers or a plastic pry tool to gently remove the SIM card tray without damaging the surrounding components. Some people even recommend using a suction cup to help with the tray removal process.
It’s also a good idea to have a clean, well-lit workspace and a soft, static-free surface to work on. This will help you avoid any accidental drops or scratches on your precious device.
Step-by-Step Guide: Replacing the Faulty SIM Card Tray
Alright, now that you’re prepared with the right tools and supplies, let’s dive into the step-by-step process of replacing the faulty SIM card tray.
Step 1: Power Down and Prepare Your Smartphone
The first step is to power down your smartphone completely. This will ensure that you’re working with a safe, de-energized device, reducing the risk of any electrical mishaps.
Step 2: Locate and Remove the SIM Card Tray
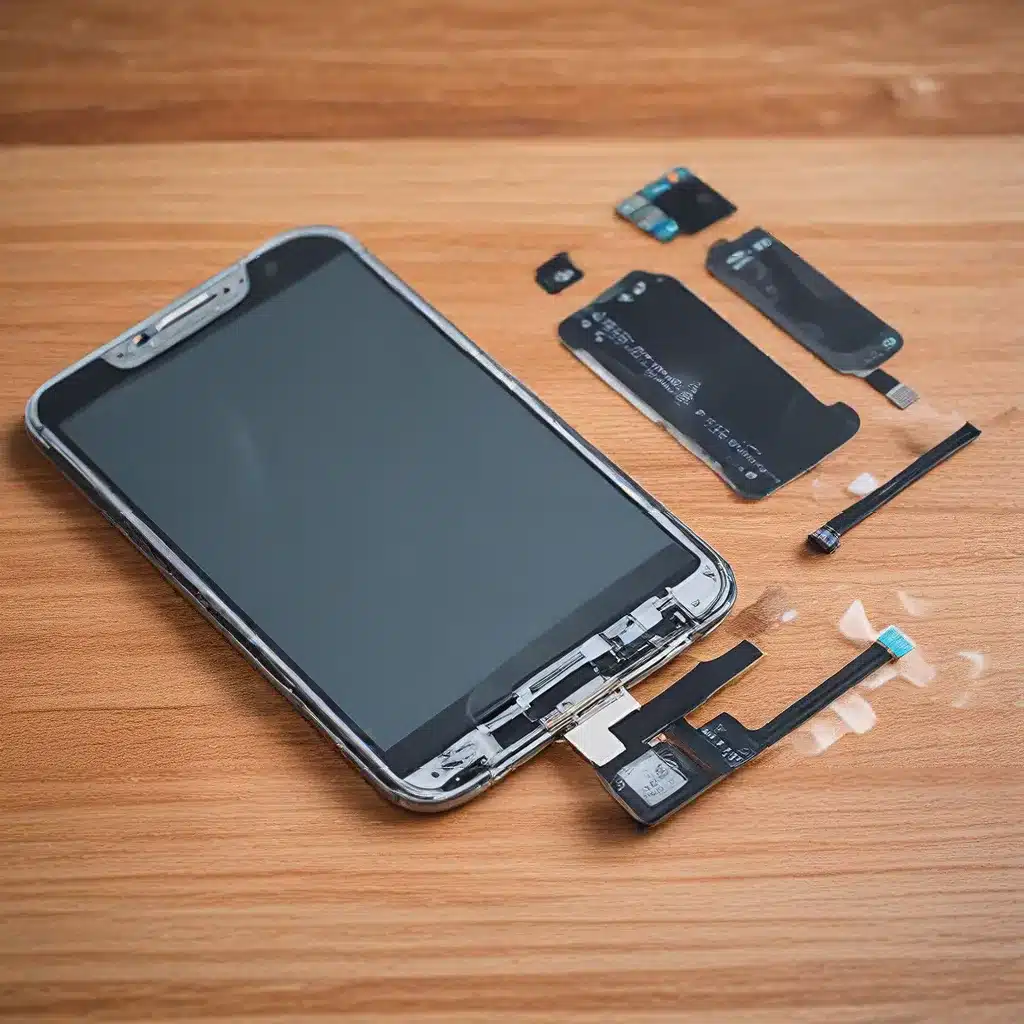
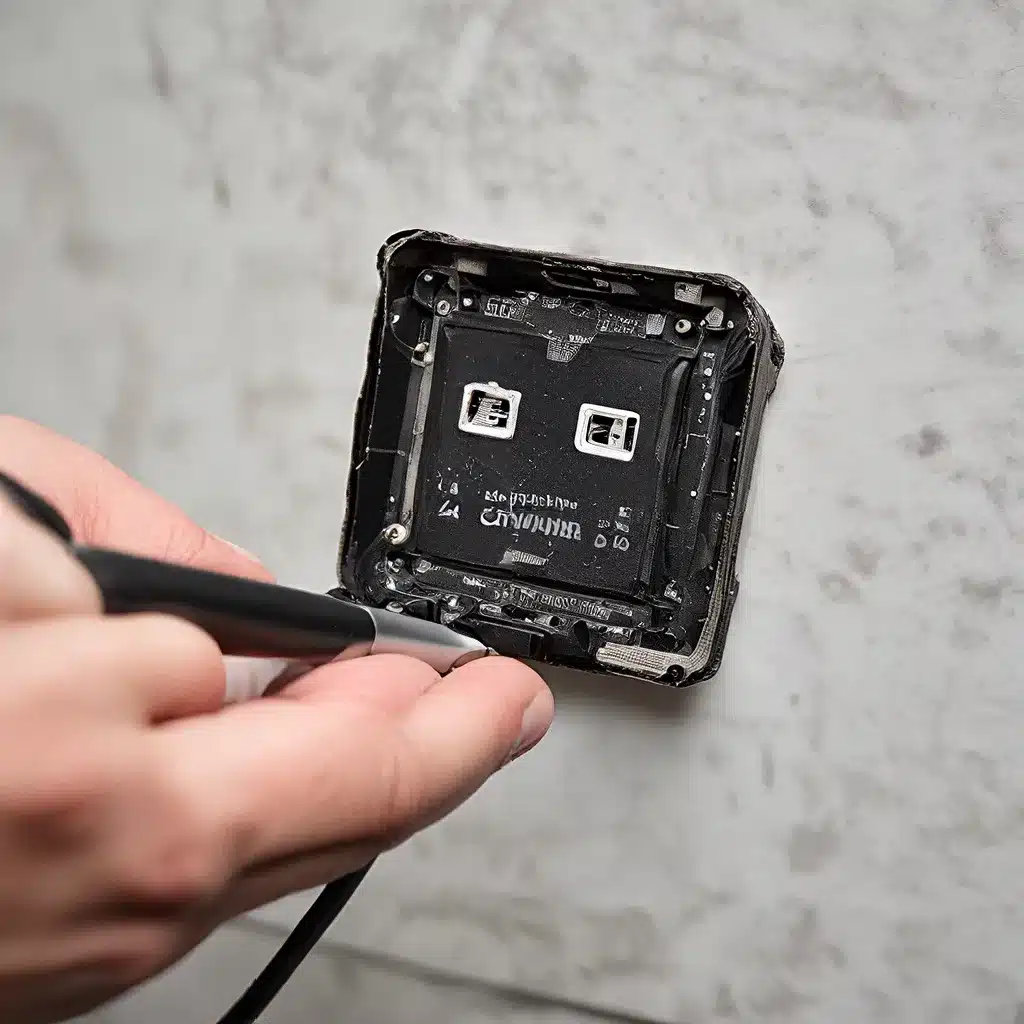
Carefully examine the exterior of your smartphone to locate the SIM card tray. It’s usually situated on the side of the device, either at the top or the bottom. Use your tweezers or pry tool to gently pull out the tray. Be gentle, as you don’t want to damage the surrounding components.
Step 3: Disconnect the Faulty Tray
Once the tray is out, you’ll need to disconnect it from the phone’s internal components. This may involve removing a few small screws or carefully prying the tray away. As one Samsung user shared, it’s crucial to take note of how the tray is connected to avoid any confusion during the reassembly process.
Step 4: Install the Replacement Tray
With the old tray removed, it’s time to install the new one. Carefully align the replacement tray with the appropriate connectors and gently press it into place. Make sure to secure it with any screws or clips that were previously holding the old tray in place.
Step 5: Test and Reassemble
Once the new tray is installed, power on your smartphone and test it out. Make sure the SIM card fits snugly and that you’re able to make calls, send messages, and access the internet without any issues.
If everything is working as it should, go ahead and reassemble your device, taking care to replace any panels or covers that you had to remove during the process.
Troubleshooting and Maintenance: Ensuring a Smooth SIM Card Tray Experience
Now that you’ve successfully replaced the faulty SIM card tray, it’s time to talk about troubleshooting and maintenance. After all, we don’t want to go through this whole ordeal again anytime soon.
One common issue that can arise is the SIM card getting stuck in the tray. This can happen if the tray is not properly aligned or if there’s a build-up of dust or debris in the slot. If this happens, resist the urge to force the tray open, as you may end up causing further damage.
Instead, try gently blowing compressed air into the SIM card slot to dislodge any debris. You can also use a pair of tweezers to carefully try to pull the SIM card out, being mindful not to apply too much force.
Another important aspect of maintenance is keeping your SIM card tray clean and well-maintained. As mentioned earlier, the LG G3 D855 can sometimes experience issues with the SIM card slot contacts breaking. To prevent this, make sure to gently insert and remove your SIM card, and avoid exposing the tray to excessive dust or moisture.
If you ever find yourself in need of professional assistance, don’t hesitate to reach out to ITFix, our trusted IT services company. They have a team of skilled technicians who can help you with all your smartphone repair needs, including replacing a faulty SIM card tray.
Conclusion: Embrace the Challenge and Emerge Victorious
Replacing a faulty SIM card tray on your smartphone may seem like a daunting task, but with the right tools, a little bit of patience, and a dash of determination, you can conquer this common issue and regain control of your mobile life.
Remember, every challenge is an opportunity to learn and grow. Embrace the experience, take your time, and don’t be afraid to ask for help if you need it. Before you know it, you’ll be the neighborhood smartphone repair guru, sharing your newfound knowledge with all your friends and family.
So, the next time your SIM card tray decides to stage a mutiny, don’t panic. Grab your trusty screwdriver set, channel your inner tech-savvy self, and get ready to replace that faulty tray with the confidence of a seasoned professional. After all, you’ve got this – and ITFix has got your back.


