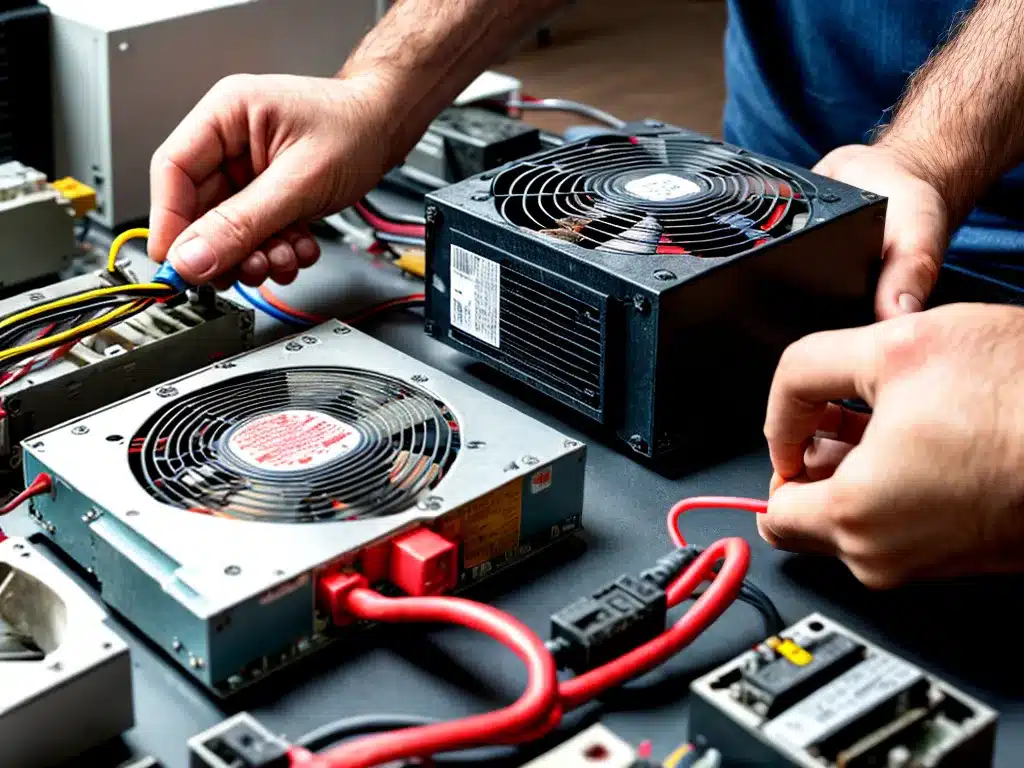
Why My Power Supply Unit Might Be Faulty
As the owner of a desktop computer, I rely on the power supply unit (PSU) to deliver stable, clean power to all of the components. However, PSUs can fail over time for a variety of reasons:
- Age and wear: PSUs contain mechanical components like fans and capacitors that wear out over years of continuous use. Older PSUs are more prone to failure.
- Power surges: Sudden power spikes from the outlet can damage PSU components. Surge protectors help but don’t fully protect from extreme surges.
- Dust buildup: Dust accumulation on internal components can lead to overheating and failure over time. Regular cleaning helps mitigate this.
- Defective parts: Sometimes PSUs fail due to faulty capacitors or other components that passed initial quality testing but proved unreliable over time.
In most cases, I can confirm a PSU is faulty through troubleshooting:
- Computer doesn’t turn on at all, even when plugged into a known good outlet.
- Computer randomly reboots or turns off during use.
- Burning smell coming from the PSU.
- Abnormal noises (clicking, buzzing) from PSU.
- Testing PSU with a voltmeter shows incorrect voltage readings.
If I suspect the PSU, it’s best for me to replace it as soon as possible to avoid damage to other components.
Choosing A Replacement PSU
Selecting the right replacement PSU involves some key considerations:
- Wattage: I need sufficient wattage to support my PC’s components. A quality 500W+ unit is recommended for most modern gaming PCs.
- Form factor: The PSU’s physical size/shape must match my computer case. Common options are ATX and SFX.
- Connectors: My new PSU requires all the necessary power connectors for components like GPU, storage drives, etc.
- Efficiency rating: Look for an 80+ Bronze or better certified PSU for optimal efficiency and heat output.
- Modular cables: Modular PSUs with detachable cables allow for easier installation and cable management.
- Warranty: Ideally get a unit with at least a 3-year warranty from a reputable brand.
I also make sure to read professional reviews on sites like Tom’s Hardware to pick a reliable, well-built PSU and avoid potential “lemons”. It’s an important component I don’t want to skimp on for quality and longevity.
Installing The New Power Supply Unit
When my new PSU arrives, I take care to properly install it step-by-step:
- Unplug all power cables and open the computer case. Disconnect all cables from the old PSU and unscrew it from the case.
- Compare connectors and ensure cables of new PSU will reach all components.
- Place new PSU in case and screw in securely. Attach modular cables as needed.
- Reconnect all component power cables to corresponding PSU connectors. Consult manual if unsure.
- Tidy up cables as much as possible for airflow. Close up case.
- Plug in power cable and switch on PSU. Press power button to boot up PC.
I watch for any signs of trouble like noises, burning smell, or shutdowns which could indicate I missed a connection. As long as the PC boots normally, my PSU swap is likely a success!
Replacing a dead PSU isn’t difficult, but I take care to choose a suitable replacement and install it properly. With power restored, I can get my desktop back up and running.
Troubleshooting Tips
If my PC encounters issues after installing the new PSU, here are some troubleshooting tips:
- Check all power connections. Make sure cables are fully inserted into correct PSU ports.
- Try a known good power cable. Faulty cables can cause startup issues.
- Verify PSU switch is in the ON position. It may have a 0/1 or I/O style switch.
- Check if PSU fan is spinning when starting up. If not, the PSU could be defective.
- Make sure all motherboard power cables are connected (24-pin ATX, 8-pin EPS, etc).
- Reset CMOS by removing motherboard battery for 30 seconds.
- Test PSU voltages with a multimeter. Refer to pinout for proper values.
- Try eliminating GPU and all but one RAM stick, then add back one component at a time.
Thoroughly inspecting all connections and testing parts individually can help isolate and fix any lingering PSU-related problems. Overall, taking proactive steps helps ensure a smooth PSU replacement and gets my computer up and running again quickly.


