Introduction
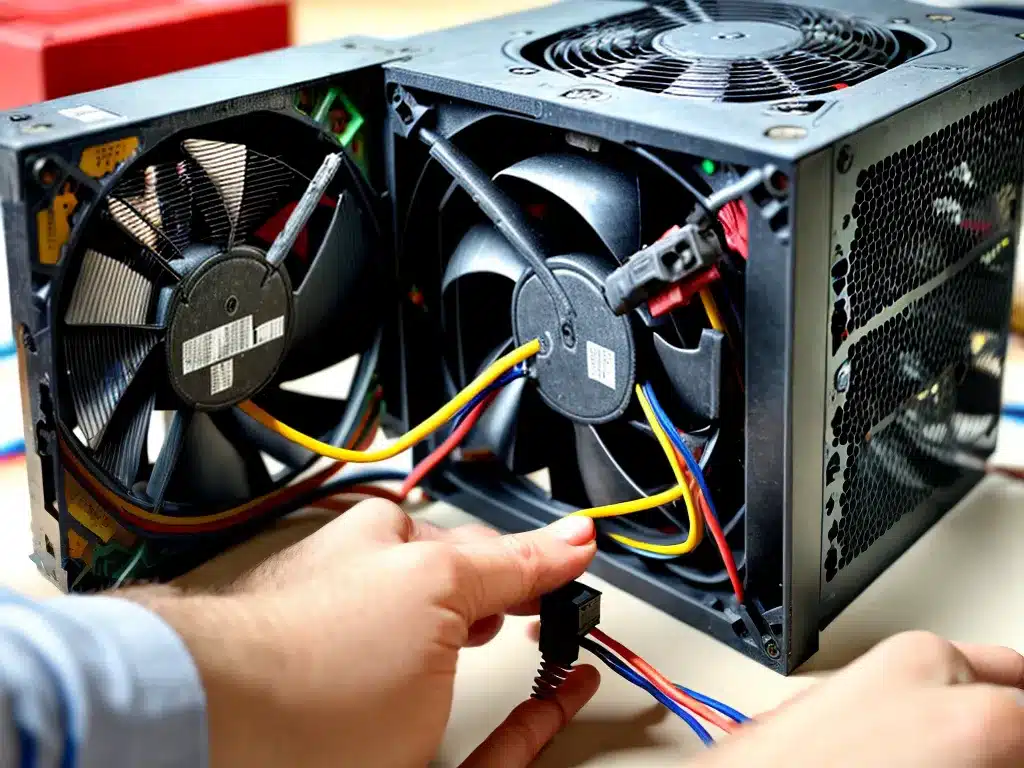
Replacing a faulty power supply unit (PSU) is an important repair that can restore function to your computer. As the PSU provides power to all of the components in your system, failure of this part will result in a non-functional machine. In this guide, I will walk you through the steps to properly identify, remove, and replace a bad PSU.
Symptoms of a Faulty PSU
How do you know if your PSU is causing problems? Here are some common signs of a failing or faulty unit:
-
The computer will not turn on at all. No fans, lights or noises when pressing the power button indicates the PSU is not providing power.
-
The computer randomly shuts down or restarts during use. An inconsistent power supply can cause abrupt loss of power.
-
You notice strange noises coming from the PSU like buzzing, clicking or coil whine. Abnormal sounds indicate a problem.
-
The PSU makes a burning smell. A distinct burning odor is a sure sign something is wrong with the PSU.
-
You see smoke or sparks coming from the back of the computer. This is a major warning that the PSU is malfunctioning.
If you observe any of these symptoms, it’s likely your power supply needs to be replaced.
Identifying your PSU specifications
Before purchasing a new PSU, you’ll need to make note of some specifications from your current one:
-
Wattage – How much power can the PSU deliver? 300W, 500W and higher are common.
-
Form factor – The size and shape of the PSU. ATX is the most widely used in desktop PCs.
-
Connectors – What cables does your motherboard and hardware require? Take note of required connectors like 24-pin ATX, 8-pin EPS, PCIe, SATA etc.
-
Efficiency rating – Look for 80+ Bronze, Silver, Gold etc. Higher ratings are more energy efficient.
Match these specs closely when selecting a replacement PSU for an easy swap.
Purchasing a New Replacement PSU
When buying a new power supply, keep these guidelines in mind:
-
Choose a unit with at least equal wattage to your old PSU. More is OK, but lower will be underpowered.
-
Stick to reputable brands like Corsair, EVGA, Seasonic for quality and reliability.
-
Do not go with a cheap no-name PSU to save money. Quality matters for this part.
-
Verify the dimensions and connectors fit your PC case and components.
-
Aim for an 80 Plus Bronze or better efficiency rating to save power.
-
Modular PSUs with detachable cables can help reduce cable clutter.
With the right replacement PSU, your computer will be back up and running. Be sure to safely dispose of the old faulty unit.
Step-by-Step Guide to Replacing the PSU
Once you have the new power supply, follow these steps to complete the installation:
1. Unplug the Computer and Switch Off Power Supply
- Shut down the computer and unplug the power cord from the back.
- If possible, flip the power switch on the PSU to the off position. This prevents accidental shocks.
2. Open the Case and Disconnect All Cables
- Remove the side panel on the computer case to access the components.
- Unplug all connectors from the 24-pin motherboard cable, PCIe cables, SATA cables etc.
- Make a note of where each cable was connected to make reassembly easier.
3. Remove the Faulty Power Supply
- Unscrew and remove any brackets or screws securing the PSU in the case.
- Slide the old PSU out of the mounting bay and set it aside.
4. Install the New Replacement PSU
- Insert the new PSU into the vacant mounting bay in the case.
- Reattach any brackets or screws to keep it firmly in place.
5. Reconnect All Cables and Close Case
- Using your notes, reconnect all cables to original locations.
- Double check important connections like the 24-pin ATX and 8-pin EPS.
- Replace the side panel and any other case covers removed earlier.
6. Plug In and Power On the Computer
- With everything reassembled, plug the power cord back into the computer.
- Turn on the new PSU’s power switch if it has one.
- Press the computer’s power button and it should now start!
Take your time when swapping the old and new PSU to ensure all connections are made properly. If the system powers on normally, the replacement was a success!
Troubleshooting Tips
If your computer fails to start up properly after replacing the PSU, try some of these tips:
-
Check all power connections – Make sure the 24-pin ATX and 8-pin EPS cables are fully seated.
-
Test the Power switch – Bypass the case button by shorting the power switch pins on the motherboard instead.
-
Verify compatibility – Make sure all connectors match between PSU and hardware.
-
Try disconnecting components – Remove unnecessary drives and cards to simplify boot.
-
Reset the BIOS – Clearing CMOS can resolve configuration issues.
-
Test with a multimeter – Check the PSU rails for proper voltage levels.
With multiple checks and a process of elimination, you should be able to isolate and remedy any problems encountered.
Conclusion
Replacing a faulty power supply unit is a straightforward process that anyone can complete themselves. By carefully selecting a compatible replacement PSU, taking proper precautions, following the step-by-step installation guide, and troubleshooting any potential issues, you will have your computer back up and running in no time. A quality power unit ensures stability and performance, making this an important maintenance task for your system.


