A Shocking Surprise
Picture this: You’re happily tinkering away on your computer, minding your own business, when suddenly – POOF! The screen goes black, the fans stop spinning, and a faint smell of burnt electronics wafts through the air. Your heart sinks as you realize the unthinkable has happened – your trusty power supply has breathed its last breath.
As a seasoned computer repair technician, I’ve seen my fair share of power supply failures. And let me tell you, replacing one is not for the faint of heart. It requires a delicate touch, a keen eye, and a deep understanding of the dos and don’ts. That’s why I’ve put together this comprehensive guide to walk you through the process, so you can avoid the pitfals and come out on top.
Diagnosing the Problem
The first step in replacing a failed power supply is to accurately diagnose the issue. Is your power supply truly the culprit, or is there something else going on? Start by checking the obvious – is the power cable firmly plugged into the wall and the back of your computer? If that checks out, try powering on your machine with the power button. If you’re greeted with a blank screen and no fan activity, chances are your power supply has kicked the bucket.
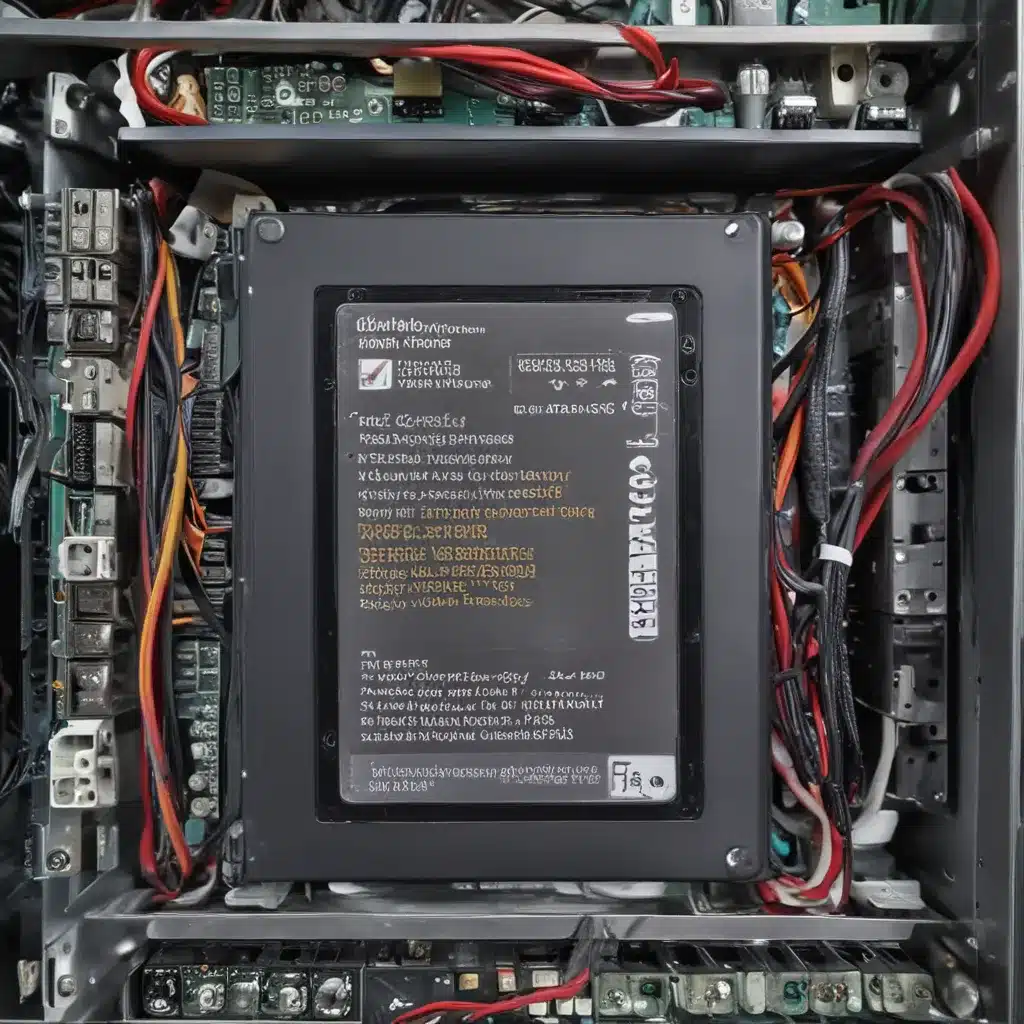
But before you go running to the electronics store, there’s one more thing you should do: open up your computer’s case and take a close look at the power supply. [1] Are there any visible signs of damage, like scorch marks or bulging capacitors? If so, then you’ve got your answer – it’s time to start shopping for a replacement.
Choosing the Right Replacement
Now that you know your power supply needs to be replaced, the next step is to find the perfect match. This is where things can get a bit tricky, as power supplies come in a wide range of voltages, amperages, and form factors. [2] The key is to make sure your replacement is compatible with your specific computer model and can provide enough juice to keep all your components running smoothly.
To do this, you’ll need to take a close look at the old power supply’s label. Note down the voltage (typically 12V, 5V, or 3.3V) and the maximum current (in amps) for each of those voltages. [3] This information will be crucial in finding a replacement that can handle the power demands of your system.
But wait, there’s more! You’ll also need to consider the physical dimensions of the power supply. Make sure the replacement unit fits snugly into your computer’s chassis and that the cables are long enough to reach all your components. [4] Trust me, you don’t want to end up with a power supply that’s too big or too small – that’s a recipe for disaster.
Swapping Out the Old for the New
Alright, now that you’ve got your shiny new power supply, it’s time to put it to work. But before you start unplugging and reconnecting cables, take a deep breath and remember: this is where the real tricky part begins.
First, make sure to turn off your computer and unplug it from the wall. [5] We don’t want any unexpected jolts or sparks, now do we? Next, carefully remove the old power supply, taking note of how the cables are routed and where they’re plugged in. [6] This will make the installation of the new unit a breeze.
Now, it’s time to get that new power supply in place. Carefully line it up with the mounting points in your computer’s case and secure it with the appropriate screws. [7] Once it’s firmly in place, start reconnecting the cables, making sure to match each one to its corresponding port. Double-check your work – you don’t want any loose connections or crossed wires.
Moment of Truth
With the new power supply installed and all the cables securely in place, it’s time for the moment of truth. Plug your computer back into the wall and press the power button. Hold your breath, cross your fingers, and pray to the tech gods that everything works as it should.
If you’ve done your job right, your computer should spring to life, fans whirring and screen flickering to life. [8] Take a moment to bask in the glory of your handiwork – you’ve just conquered the dreaded power supply replacement, and you should be proud.
But if, for some reason, things don’t go as planned, don’t panic. Double-check your connections, make sure the new power supply is compatible with your system, and try again. And if all else fails, don’t be afraid to reach out to a professional for help.
Conclusion
Replacing a failed power supply can be a daunting task, but with the right knowledge and a bit of patience, you can conquer it like a pro. Just remember to take your time, pay attention to the details, and never underestimate the importance of a proper power supply. Trust me, your computer (and your sanity) will thank you in the end.
Now, go forth and tackle that power supply replacement with confidence! And if you ever find yourself in a similar situation, remember – I’ve got your back.
[1] https://www.youtube.com/watch?v=pffOJdCQ7kw
[2] https://www.reddit.com/r/buildapc/comments/x1fa99/advice_dont_change_power_supplys_without_changing/
[3] https://www.youtube.com/watch?v=RaV_s4WgTxI
[4] https://community.spiceworks.com/t/dell-optiplex-3020-flashing-orange-power-button/642985
[5] https://www.youtube.com/watch?v=dLPbznvmRfg
[6] https://electronics.stackexchange.com/questions/34745/choosing-power-supply-how-to-get-the-voltage-and-current-ratings
[7] https://www.youtube.com/watch?v=HcYFbCqM61g
[8] https://answers.microsoft.com/en-us/windows/forum/all/help-with-blue-screen-driver-power-state-failure/3a7427d5-8965-47d4-858d-b34601496f65


