Hardware Troubleshooting
Your laptop’s power supply is a critical component, responsible for providing the necessary electrical current to power your device and charge the battery. One of the most common hardware issues laptop owners face is a faulty DC power jack – the port where you plug in your power adapter. If you’re experiencing issues with your laptop’s power connection, such as intermittent charging, the dreaded “AC power adapter wattage and type cannot be determined” error, or a loose power adapter, the DC power jack may be the culprit.
Computer Components
The DC power jack is a small, but essential part of your laptop. It’s the interface between the power adapter and the internal circuitry of your device, allowing the flow of electricity to charge the battery and power the system. Over time, the power jack can become worn, damaged, or loose, leading to connectivity problems and potential power-related issues.
Power Supply
Your laptop’s power supply consists of two main components: the DC power jack and the power adapter. The power adapter, often referred to as the “charger,” converts the alternating current (AC) from the wall outlet to the direct current (DC) required by your laptop. The DC power jack then receives this DC power and distributes it to the various components within your laptop.
Proper voltage regulation is crucial for the smooth operation of your laptop. If the power jack is faulty, it can disrupt the flow of electricity, leading to inconsistent power delivery and potential damage to internal components.
Laptop Repair
If you suspect your laptop’s DC power jack is the source of your power-related issues, you may be able to repair it yourself. This process can be a bit delicate, but with the right tools and a bit of patience, it’s a task that many tech-savvy users can tackle.
Disassembly
The first step in repairing your laptop’s DC power jack is to access the internal components. This typically involves removing the back cover or panel of your laptop, which may require unscrewing several screws. Be sure to follow any disassembly instructions provided by the manufacturer, as the process can vary depending on the make and model of your laptop.
Take care to handle the internal components with caution, as they can be fragile. Use anti-static precautions, such as an anti-static mat and wrist strap, to avoid electrostatic discharge (ESD) that could potentially damage sensitive electronics.
Power Jack Replacement
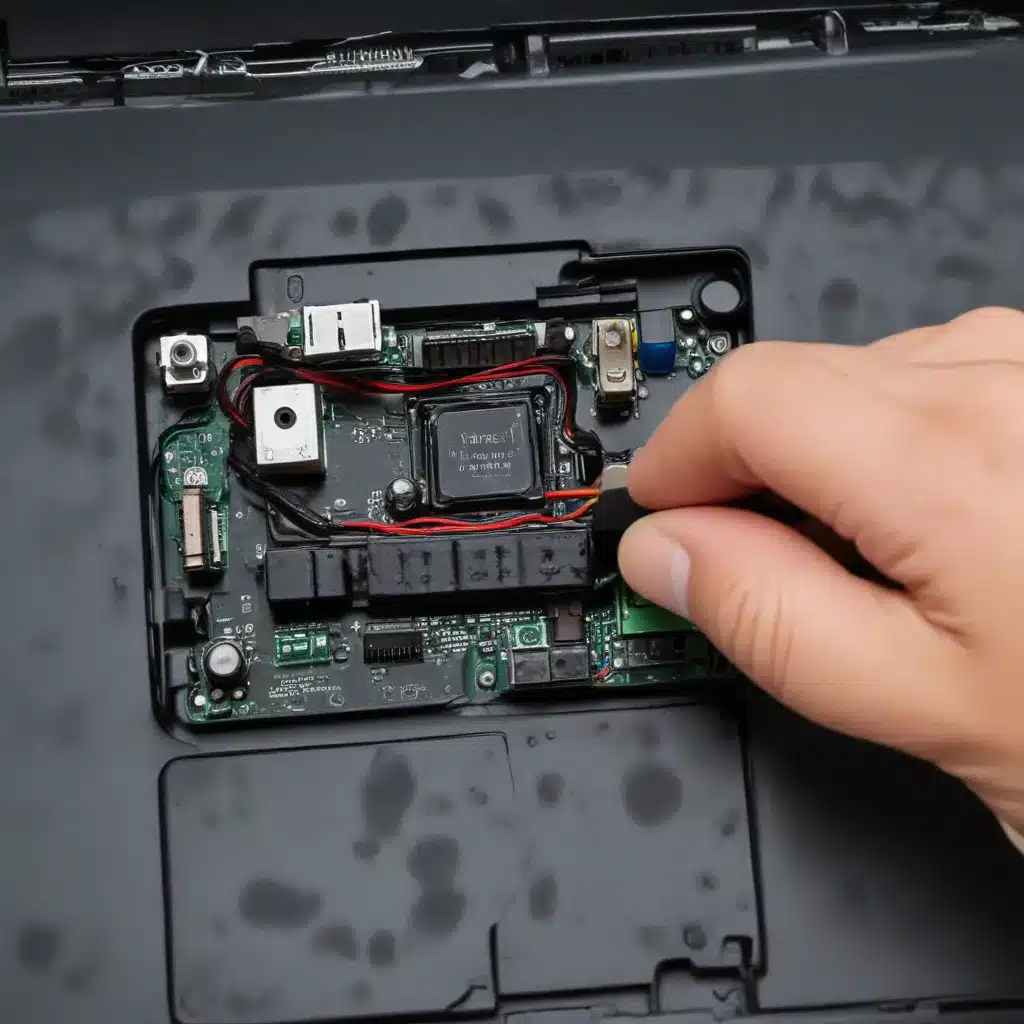
Once you’ve gained access to the laptop’s internals, you’ll need to locate the DC power jack. It’s usually located near the power input port on the side or back of the laptop. Carefully examine the power jack for any visible signs of damage, such as cracks, bent pins, or loose connections.
If the power jack appears to be faulty, you’ll need to purchase a replacement part. Make sure to obtain the correct model and type of power jack for your specific laptop. You can often find these replacement parts online or at local electronics stores.
To replace the power jack, you’ll need to disconnect the old one and solder the new one in place. This process may involve desoldering the old jack, cleaning the contact points, and carefully aligning and soldering the new jack. Take your time and follow any instructions provided with the replacement part.
Electrical Safety
When working with electronic devices, it’s crucial to prioritize safety. Proper electrostatic discharge (ESD) protection and power considerations are essential to avoid potential damage to your laptop or yourself.
Electrostatic Discharge (ESD) Protection
Electrostatic discharge can occur when you touch a component or surface with a different electrical charge, potentially causing damage to sensitive electronic parts. To prevent ESD, use an anti-static mat or work surface, and wear an anti-static wrist strap to ground yourself. Avoid working in dry environments, as static electricity builds up more easily in low-humidity conditions.
Power Considerations
Before attempting any repair, ensure that the replacement power jack is compatible with your laptop’s voltage and current requirements. Consult your laptop’s documentation or the manufacturer’s specifications to confirm the appropriate power ratings. Using an incompatible power jack can lead to further damage or even a fire hazard.
Diagnostics and Testing
To ensure that your laptop’s power issue is indeed caused by a faulty DC power jack, you may want to perform some diagnostic tests using a multimeter. This tool can help you measure voltage and check for continuity, allowing you to identify any electrical problems.
Multimeter Usage
Set your multimeter to the appropriate voltage or continuity setting, and use it to test the power jack’s terminals. Check for the expected voltage levels and ensure there are no breaks in the electrical connection. This can help you confirm the power jack’s condition and rule out any other potential issues.
Troubleshooting Methodology
When troubleshooting a power-related problem, it’s essential to take a systematic approach. Start by isolating the issue to the power jack by testing the power adapter and battery separately. If the power jack is indeed the culprit, follow the step-by-step repair process to replace it.
Remember, while repairing a laptop’s DC power jack can be a rewarding DIY project, it’s crucial to exercise caution and follow safety protocols. If you’re not confident in your ability to perform the repair, or if the issue persists after replacement, it’s always best to consult a professional technician.
For more information on computer hardware troubleshooting and repair, visit our IT Fix website. Our team of experts is dedicated to providing reliable and comprehensive IT solutions to help you get your devices back in working order.


