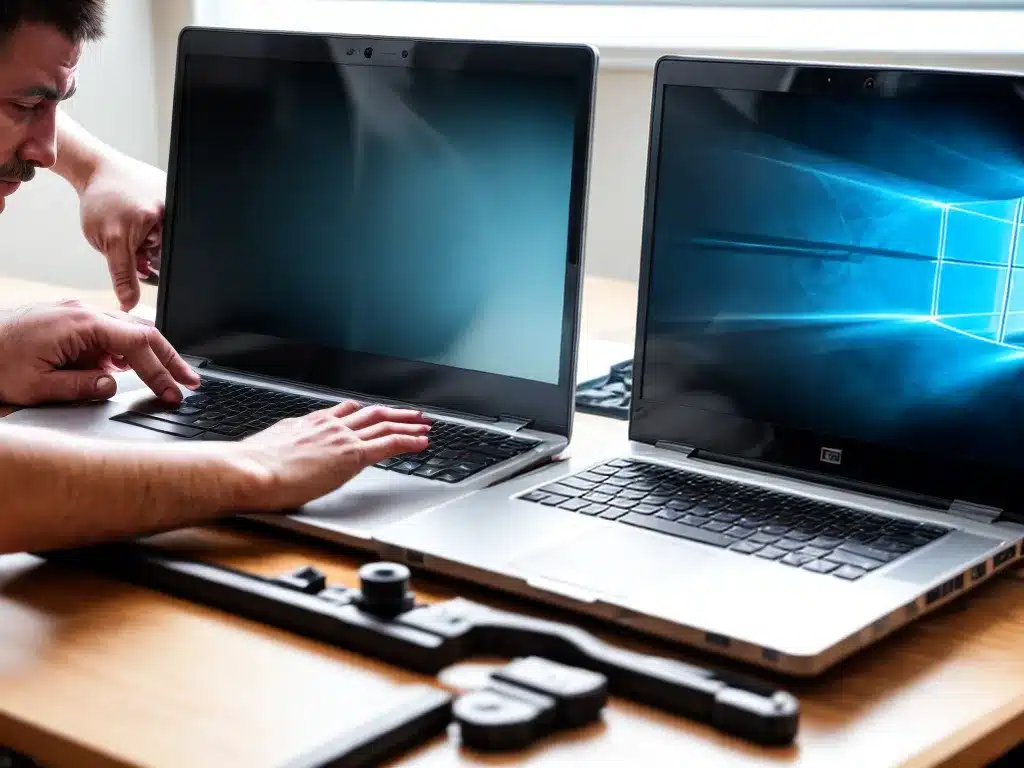
Dropping and damaging your laptop can be stressful and frustrating. However, with some care and effort, you can often repair physical damage on your own and get your laptop working again. This comprehensive guide covers common types of physical damage, step-by-step DIY repair instructions, when to seek professional help, and tips for preventing damage in the future.
Assessing the Damage
The first step is to thoroughly inspect your laptop to identify what exactly is damaged.
Check the Outside of the Laptop
Carefully look over the outside of the laptop and note any cosmetic damage like cracks, dents, or scratches. Pay special attention to high impact areas like the corners and edges. Even if the damage appears minor, look closely for any internal components visible through cracks.
Open the Laptop and Inspect the Inside
If your laptop powers on, open it up and check whether the screen, keyboard, trackpad, ports, and other internal components are functioning properly. Look for any loose, cracked, or damaged parts.
Diagnose Any Functional Issues
Attempt to turn on your laptop and operating system. Note any error messages and whether components like the screen, keyboard, speakers, ports, or battery are malfunctioning. This will help pinpoint internal damage.
Assess Liquid Damage
If your laptop was exposed to liquids, look for corrosion, mineral deposits, moisture, and residue. Liquids can short circuit electronics and cause oxidation.
Determine the Repairability
Consider the extent and locations of damage. Cosmetic damage is often easier to repair than electronic components or the motherboard. Assess your technical skill level and whether DIY repairs seem feasible.
Common Physical Damage and Repairs
The specific repairs needed will depend on the type and extent of damage. Here are some common issues and how to fix them:
Cracked Screen
Symptoms: Display issues, dark/light spots, loose glass, no visual at all.
Repair: Replace entire screen assembly. DIY screen replacements are straightforward with some laptop models.
Broken Hinges
Symptoms: Hinge weakness/cracking, screen looseness, failure to stay upright.
Repair: Replace both hinge brackets. Tricky repair that may require full disassembly.
Dented/Cracked Casing
Symptoms: Cosmetic damage, compromised structure, loose ports.
Repair: Replace individual case pieces like the bottom cover, top lid, or bezel.
Keycap or Keyboard Damage
Symptoms: Sticky/unresponsive keys, missing keycaps.
Repair: Replace keycaps or entire keyboard depending on extent of damage. Easy DIY fix.
Liquid Damage
Symptoms: Short circuiting, corrosion, failed components.
Repair: Clean corrosion, replace damaged electronic components. Risky DIY repair.
Hard Drive Failure
Symptoms: Won’t boot up, lost data, clicking sounds.
Repair: Replace hard drive. Affordable DIY repair if hardware intact.
Cracked Motherboard
Symptoms: System instability, power issues, failed components.
Repair: Motherboard replacement recommended. Difficult repair requiring soldering skills.
Step-by-Step DIY Repair Instructions
Many physical laptop repairs can be performed yourself at home with the right tools, parts, and mechanical skills. Here are some step-by-step repair tutorials for common damage:
How to Replace a Cracked Laptop Screen
- Order a replacement LCD screen compatible with your laptop model.
- Follow teardown guide to disassemble laptop and remove old screen.
- Disconnect delicate cables and mounts to remove broken screen.
- Install new screen unit and reconnect cables and mounts.
- Reassemble laptop in reverse order. Verify new screen works.
How to Replace Broken Laptop Hinges
- Remove screen bezel/trim pieces to access hinge brackets.
- Detach hinge mechanism from lid very carefully.
- Remove old hinge brackets and install new replacements.
- Reattach hinge mechanism and reassemble laptop cautiously.
- Adjust tightness and screen alignment. Test motion.
How to Replace a Laptop Hard Drive
- Backup important data and remove any disks.
- Follow disassembly guide to access hard drive bay.
- Detach cables, mounts, and brackets to remove old drive.
- Install replacement drive into bay and reconnect everything.
- Reassemble laptop and reinstall operating system and data.
When to Seek Professional Repair
While DIY repairs are great for saving money, some types of damage require professional service for proper fixing:
-
Liquid damage – Safely cleaning corrosion and replacing damaged electronics is best left to pros.
-
Cracked motherboard – Component-level board repair involves expert soldering skills and equipment.
-
System software issues – If physical damage causes operating system errors, corrupted files, or boot problems.
-
Diagnosing complex problems – If you can’t pinpoint the exact issue through troubleshooting.
-
Lack of technical skill – Attempting difficult repairs without sufficient electronics repair experience could further damage the laptop.
Seek out a reputable local computer repair shop that services your laptop brand. Repair costs vary greatly depending on parts and complexity of damage.
Tips to Prevent Physical Laptop Damage
Practicing careful handling, storage, and use of your laptop can help minimize the risk of accidental damage:
-
Always store and transport your laptop in a padded bag or sleeve.
-
Avoid dropping your laptop or putting it in risky spots where it could fall.
-
Keep away from moisture and liquids. Never eat or drink around an open laptop.
-
Ensure your laptop surface is stable, clean, and free of clutter.
-
Open and carry your laptop gently with two hands supporting the bottom.
-
Don’t leave cables/chargers connected where they can be tripped over.
-
Keep your laptop away from extreme heat or cold environments.
-
Monitor children and pets when using your laptop. Keep out of reach when storing.
With proper care and maintenance, you can extend the lifespan of your laptop and avoid costly damage as much as possible. But should an accident happen, use the tips in this guide to get your laptop repaired and working again. Let me know if you have any other laptop damage repair questions!


